
Managing Contacts
You can use the Core module to help you manage contact records.
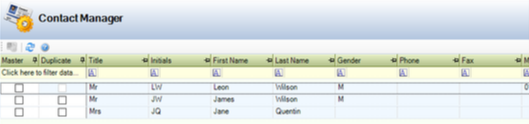
Use Contact Manager (accessed by navigating to Functions > Core > Contact Manager) to merge contacts.
After merging, all reactive maintenance calls, leases, and charges previously linked to the duplicate records will be linked to the master contact. All locations, notebook entries, trades, links to agencies, and links to users associated with the archived contacts remain associated with the archived contacts.
By default, Contact Manager displays all contacts. You can use the row of filters at the top of the grid to narrow the results if required.
To merge contacts:
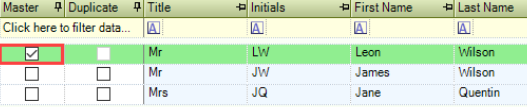
Select the Master check box of the contact you want duplicates to merge.
You can only select one record to be the master.
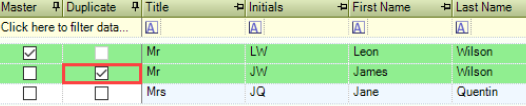
Select the Duplicate check box of records you want to merge into the master.
Click the Manage Contacts button.
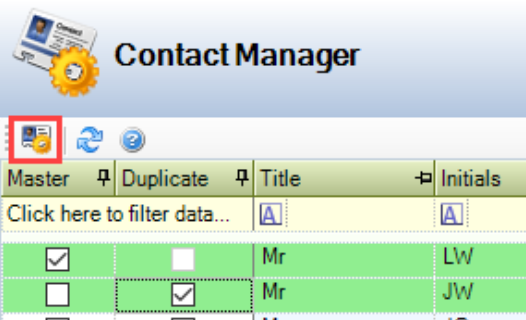
The Merge Contacts window is displayed.

By default, the master contact record is denoted by green cells, which indicate the data that will be saved to the new merged contact.
Select the cells of data in the duplicate records that you want to record for the new merged contact. These cells turn green.

Click the Merge button.
A confirmation message is displayed.
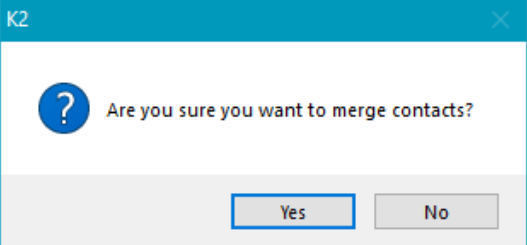
Click Yes.
The records are then merged.
Contacts can be linked to a K2 user record.
This enables an additional level of information recorded against the contact record that is not recorded against the user record (for example: email addresses, employee details, contact addresses, and so on).
This function can be used in a number of situations, for example: to record contact details for users if it is necessary to email or call them.
Each user of the Portal module requires a contact record created for Tribal to update them on the status of their help desk requests.
To link a contact to a user:
Click the Link contact to user option in the Tasks panel.
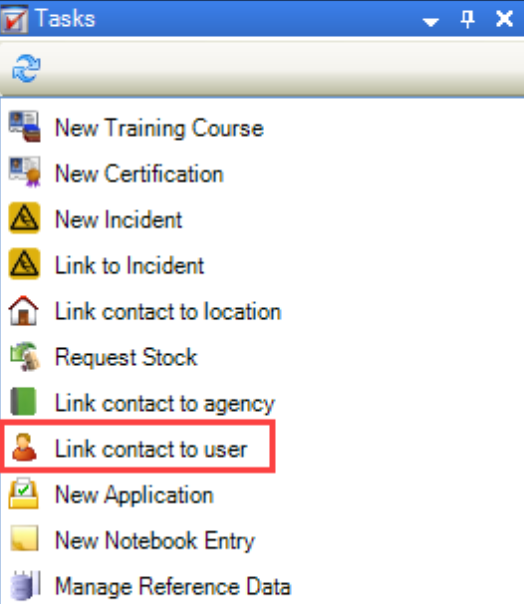
The Linking items window is displayed.
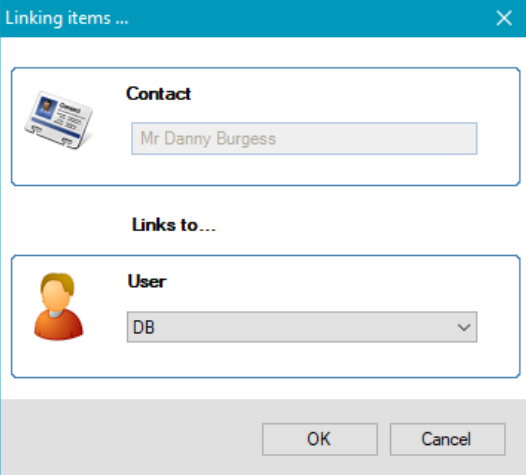
Select the relevant user from the User drop-down list, and then click OK.
Contacts can be linked to an agency record. You will then be able to assign trades to the contact.
You can also link a contact to an agency from the Agency record.
To link a contact to an agency:
Click the Link contact to agency option in the Tasks panel.

The Linking items window is displayed.
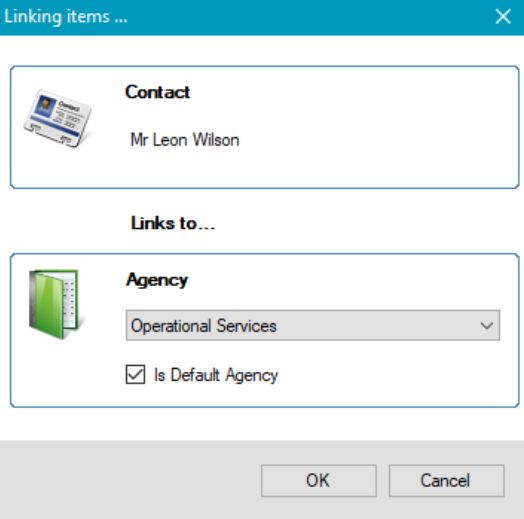
Select the relevant agency from the Agency drop-down list.
Select whether the agency is the contact's default agency, and then click OK.
The Agency List tab is displayed, where you can manage the contact's linked agencies if required.
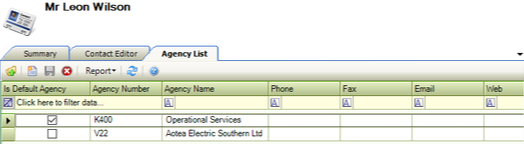
This tab can also be accessed by clicking the Agencies linked to contact option in the Associated Items panel when a contact record is open.
Once a contact has been linked to one location (that is: a location is recorded in Person details in the Contact Editor), you can link additional locations to the contact, if required.
To link an additional location:
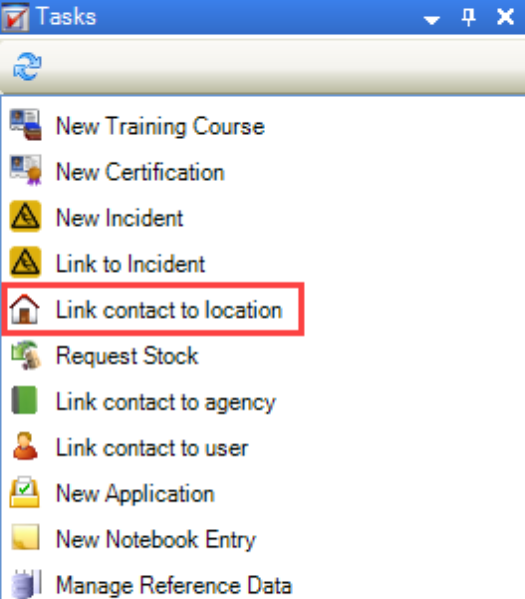
Click the Link contact to location option in the Tasks panel.
This option is only displayed if a location has been recorded.
The Select location window is displayed.
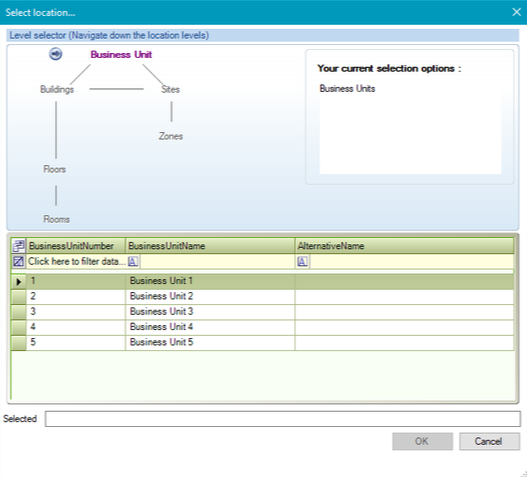
Use the level selector to select the relevant room, floor, zone, building, site, or business unit.
Click OK.
The Edit contact location link window is displayed.
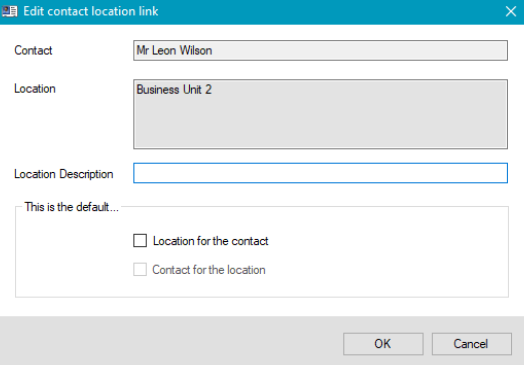
Enter a Location Description.
Select whether the contact is the default location for the contact and/or vice versa using the relevant check boxes.
Click OK.
Related Topics
Click the links below to navigate to the following related topics: