Using the Risk Register
The Risk Register allows risks to be identified for the project.
The Risks may already be generated depending on the Project Type selected and the Project Template linked to it. This can be set up using Project Templates Reference Data and linking them to Project Type Reference Data (accessed by navigating to Maintenance > Projects > Projects).
To add or edit a risk:
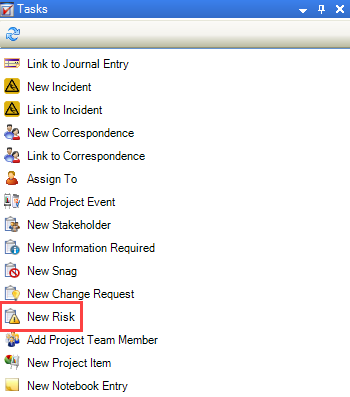
Click the New Risk option in the Tasks panel.
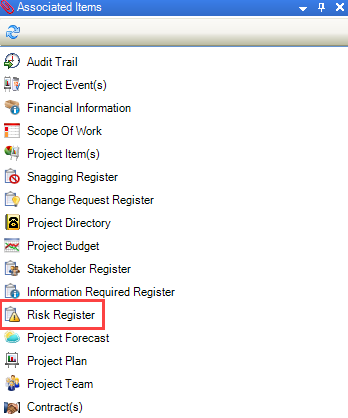
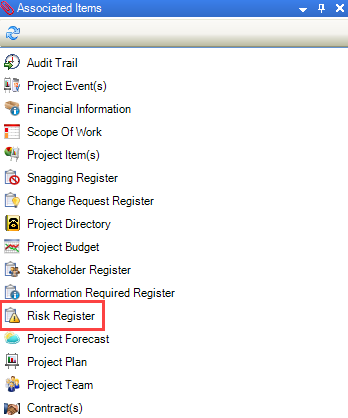
Alternatively, click the Risk Register option in the Associated Items panel and double-click an existing record to edit it.
The Risk Editor is displayed.
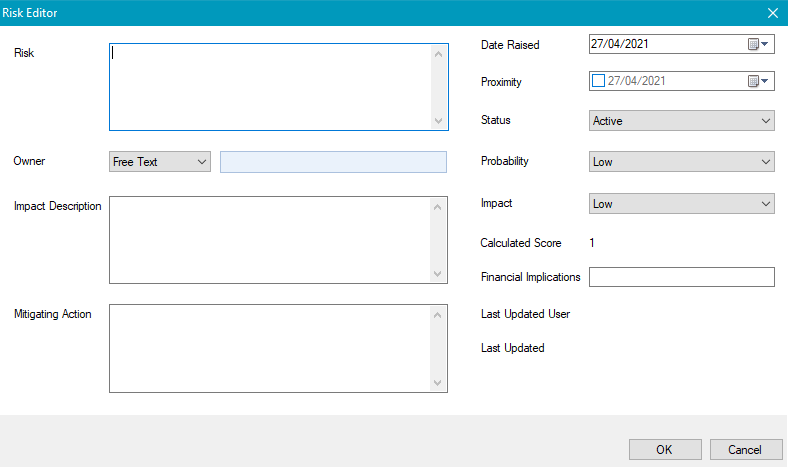
Enter or edit the relevant details.
The fields on the Risk Register are described in the following table:
This field… | Holds this information... |
|---|---|
Risk | The name of the risk. This field is mandatory. |
Owner | The person responsible for the risk. |
Impact Description | A description of the impact that the risk may have. |
Mitigating Action | The action to be taken to mitigate the risk. |
Date Raised | The date that the risk was raised. |
Proximity | The date when the risk is likely to have occurred. |
Status | The status of the risk. Select whether the risk is active or closed. |
Probability | The likelihood that the risk will occur. |
Impact | The impact level of the risk. |
Calculated Score | The impact score. This is calculated automatically based on the probability and impact levels. |
Financial Implications | The financial implications of the risk. This is a free text field. |
Last Updated User | The user who last updated the record. This is populated automatically on saving. |
Last Updated | The date that the record was last updated. This is populated automatically on saving. |
Click OK.
To add a risk event:
You must have the Project Assignment role to access the Risk Register.
Click the Risk Register option in the Associated Items panel.
The Risk Register is displayed.
Click the Add Risk Event button on the ribbon.
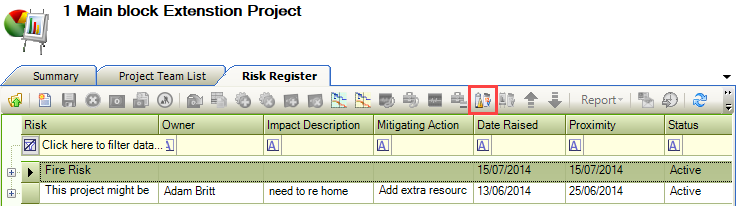
The Event window is displayed.
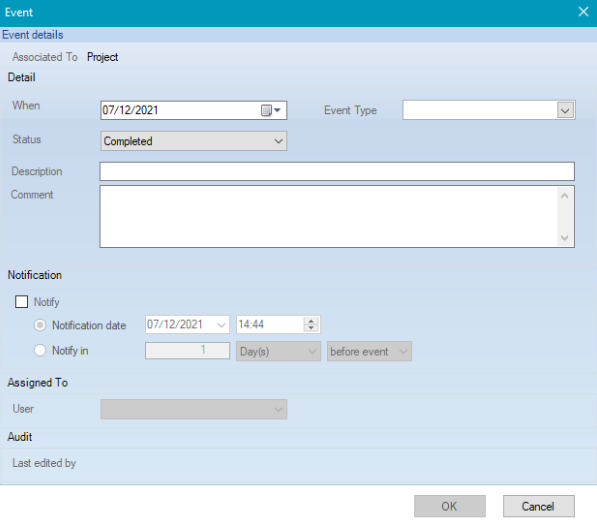
Enter the relevant details.
The fields on the Event window are described in the following table:
This field… | Holds this information... |
|---|---|
Associated To | What the event is associated with. This is automatically populated with 'Risk Register'. |
When | The date of the event. |
Event Type | The type of event. These can be defined in Risk Event Type Reference Data (accessed by navigating to Maintenance > Projects > Projects. |
Status | The status of the event. |
Description | A description of the event. |
Comment | Any comments on the event? |
Notify | Whether to notify a user. When selected, the Notification date, Notify in, and User fields are enabled. |
User | The user whom you want to receive the notification. |
Last edited by | The user who last edited the event record. This is populated automatically. |
Click OK.
The Risk Event appears below the Risk.

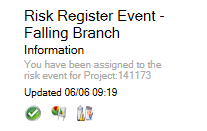
Click on the Notification panel.
The Risk Register Event notification is displayed.