Manage Orders
You can create orders against jobs, maintenance calls or PPM (planned preventative maintenance) Active Tasks.
Note: If an order is created directly from a PPM Active Task, a job is automatically created with the status set to Auto-created.
Use K2 to:
-
Do one of the following:
- Search for and open the relevant order.
- Search for and open the relevant job, condition or PPM Active Task, then either:
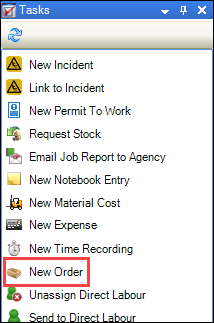
Click the New Order option in the Tasks panel.
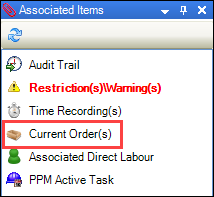
Click the Current Order(s) option in the Associated Items panel to display the Orders List, and then double-click an existing record to open it.
The Order Editor is displayed.
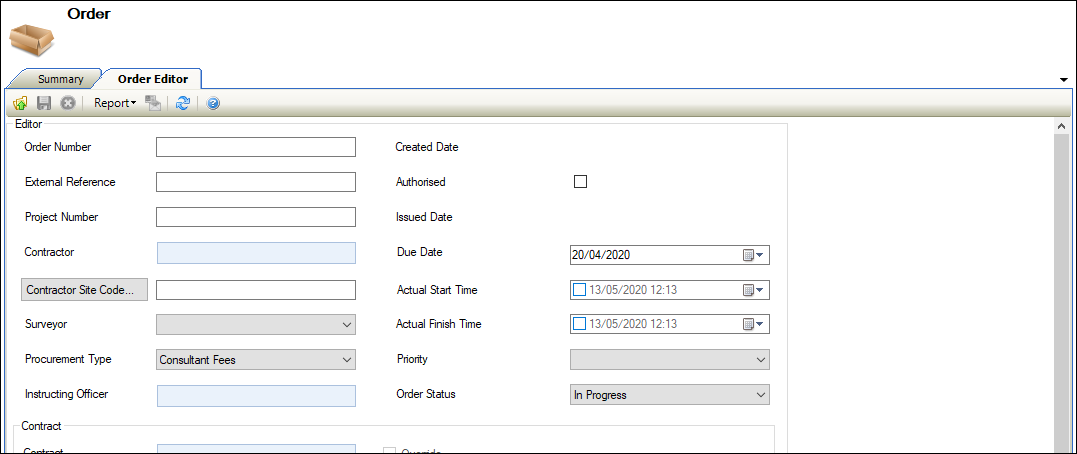
- Enter or edit the relevant details.
The fields on the Order Editor are described in the following table.
| Section | This field | Holds this information... |
|---|---|---|
| Editor | Order Number |
A unique order number. Note: This can either be entered or populated automatically, depending on the Order Unique Number setting in System Options (accessed by navigating to Tools > System Options and then clicking the System Options button). |
| External Reference | A reference from another system, if required. | |
| Project Number | A reference to a project, if required. | |
| Contractor |
The order's contractor. If the order is for a PPM Task that is linked to a contract, this populates automatically. Note: The contractor must have the Approved and Is Contractor check boxes selected on the Agency Editor. Refer to Add or Edit an Agency for further information. |
|
| Contractor Site Code | The contractor's site code, if the contractor has multiple site codes set up against the Purchase Ledger entry. | |
| Surveyor | The surveyor, if required. Select from the drop-down list, which is populated with contacts that have the Surveyor check box selected. | |
| Procurement Type |
The procurement method used to select the contractor. Note: These can be defined in Procurement Type reference data (accessed by navigating to Finance > Accounts Payable > Order). |
|
| Instructing Officer | The instructing officer, if required. Select from the drop-down list, which is populated with contacts that have the Instructing Officer check box selected. | |
| Created Date | The date the order record was created. This is populated automatically on saving. | |
| Authorised |
Whether the order has been authorised. Note: You need a role with the OrderAuthorise or OrderAuthoriseOwnOrders permission to enable this check box. |
|
| Issued Date | The date the order was issued. This is populated automatically based on when the email was sent to the contractor. | |
| Due Date | The date the order is due to be completed. This field is mandatory. | |
| Actual Start Time | The actual start time of the order, if required. | |
| Actual Finish Time | The actual end time of the order, if required. | |
| Priority |
The priority of the order. Note: These can be defined in Priorities reference data (accessed by navigating to Services > Service Request). |
|
| Order Status |
The status of the order. Note: These can be defined in Order Status reference data (accessed by navigating to Finance > Accounts Payable > Order). |
|
| Contract | Contract | The relevant contract. This is populated automatically if the order was added to a maintenance contract. |
| Estimate | Material | Estimated material costs. |
| Labour | Estimated labour costs. | |
| Plant | Estimated plant costs. | |
| Total | Estimated total costs. This is populated automatically based on the Material, Labour and Plant fields. | |
| Totals | Order Value | The value of the order. This is populated automatically. |
| Authorised Order Variations Value | The value of any authorised order variations. This is populated automatically. | |
| Total Value | The total value of the order. This is populated automatically. |
- Add or edit any order items or cost codes as required.
- Click Save.
Order items are populated automatically from PPM Instructions per PPM Item (that is: if the instruction set against the PPM Task has two instructions and there are three locations linked to the PPM Task, there will be six order items - two for each location).
To add order items to an order:
- Search for and open the order record, if required.
-
Click the Add Item button in the Order Items section.
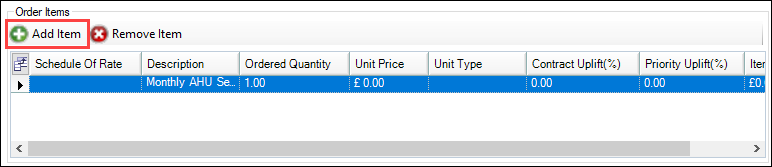
Alternatively, double-click an existing record to edit it.
The Edit Order Item window is displayed.
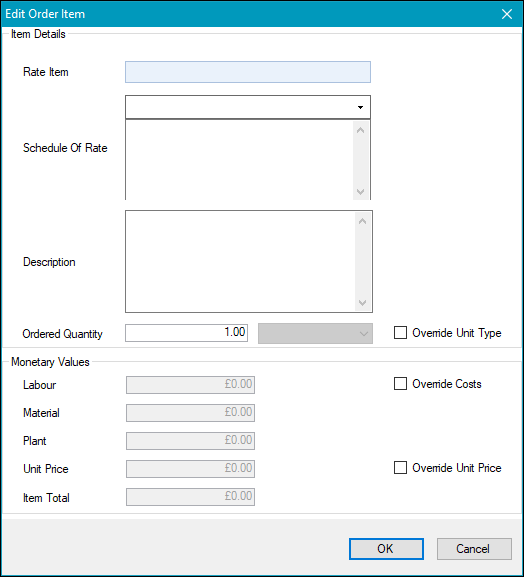
- Enter or edit the relevant details.
The fields on the Edit Order Item window are described in the following table.
| Section | This field | Holds this information... |
|---|---|---|
| Item Details | Rate Item |
The rate type item. Note: These can be defined in Rate Types reference data (accessed by navigating to Functions > Schedule of Rates > SOR). |
| Schedule Of Rate |
The schedule of rate. This is populated automatically based on the selected Rate Item. Note: These can be defined in Schedule of Rates reference data (accessed by navigating to Functions > Schedule of Rates > SOR). |
|
| Description | A description of the item. This field is mandatory. | |
| Ordered Quantity | The quantity of the item ordered. | |
| Monetary Values | <Cost fields 1-3> |
Costs associated with the rate types. These can be overridden by selecting the Override Costs check box. Note: These can be defined using the Cost Name1 to Cost Name3 fields in Rate Types reference data (accessed by navigating to Functions > Schedule of Rates > SOR). |
| Unit Price | The unit price. This can be overridden by selecting the Override Unit Price check box. | |
| Item Total | The total cost of the item. |
- Click OK.
Cost codes are automatically populated from the PPM Active Task or job, but can be edited if necessary.
To add or edit a cost code:
- Search for and open the order record, if required.
-
Click the Add Cost Code button in the Cost Code section.

Alternatively, double-click an existing record to edit it.
The Cost Code Editor is displayed.
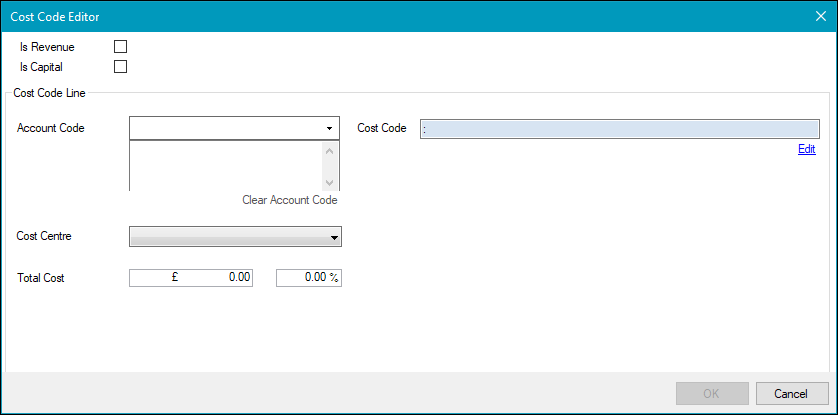
- Enter or edit the relevant details.
The fields on the Cost Code Editor are described in the following table.
| This field | Holds this information... |
|---|---|
| Is Revenue | Whether the cost code is revenue. |
| Is Capital | Whether the cost code is capital. |
| Account Code |
The account code. Select from the drop-down list. Note: These can be defined in Chart of Accounts reference data (accessed by navigating to Finance > Finance). |
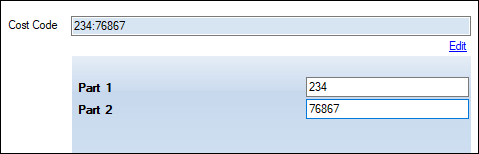
| Cost Code |
The cost code. Click the Edit button to display the Part 1 and Part 2 fields, where you can enter the parts of the cost code.
|
| Cost Centre |
The cost centre. Select from the drop-down list. Note: These can be defined in Cost Centre reference data (accessed by navigating to Functions > Core > Reference Data > Core). |
| Total Cost | The total cost. |
- Click OK.
Refer to Add or Edit Work Permits for further information.
Refer to Order Reference Data for further information.
Refer to Manage Notes for further information.
Refer to Use Attribute Manager for further information.