
Managing the Project Plan
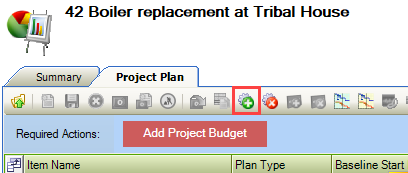
Use the Project Plan screen to set milestones and checkpoints for a project.
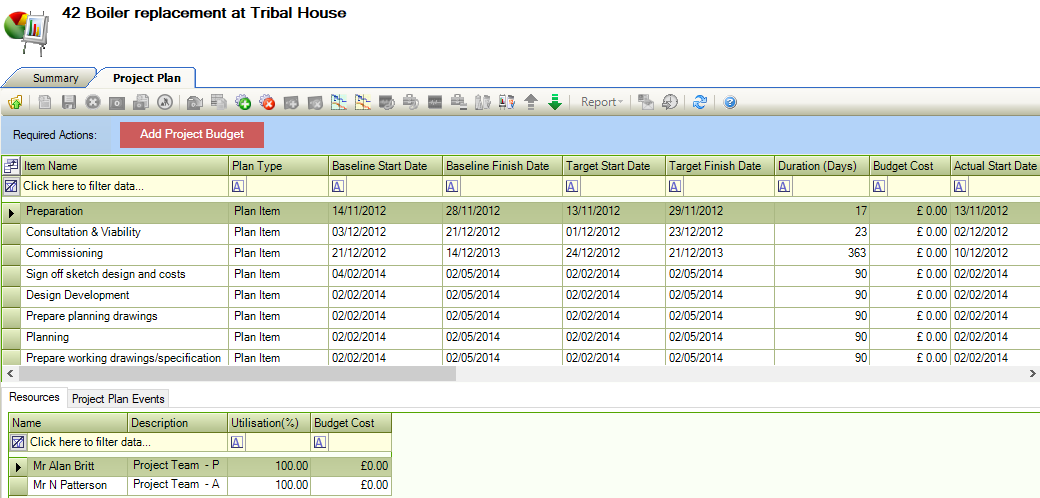
It can be accessed by clicking the Project Plan option in the Associated Items panel of a project record.

The Project Plan may already be generated depending on the Project Type selected and the Project Template linked to it. This can be set up using Project Templates Reference Data and linking them to Project Type Reference Data (accessed by navigating to Maintenance > Projects > Projects).
The checklist items are in italics and the plan items are in regular text.
To add or edit a Plan Item:
Click the Add Row button on the Project Plan ribbon.
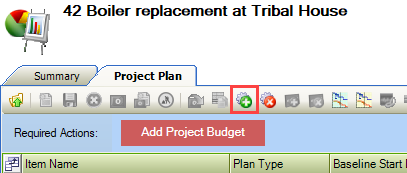
Alternatively, double-click an existing record with a Plan Type of 'Plan Item'.
The Edit Plan Item window is displayed.
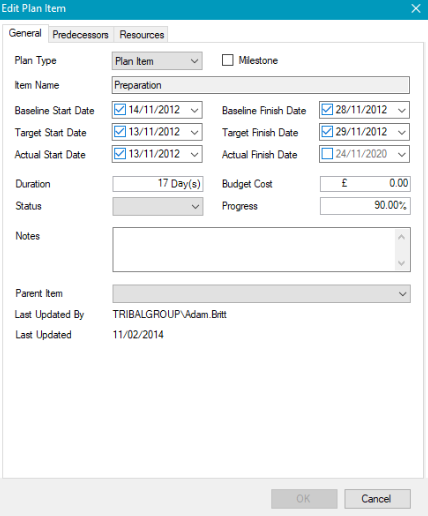
Ensure that 'Plan Item' is selected from the Plan Type drop-down list.
Enter or edit the remaining details on the General tab.
The remaining fields on the Edit Plan Item window are described in the following table.
This Field… | Allows Users To Do… |
|---|---|
Milestone | Whether the item is a milestone. |
Item Name | The name of the item. This field is mandatory. |
Baseline Start Date | The baseline start date of the item. |
Baseline Finish Date | The baseline end date of the item. |
Target Start Date | The target start date of the item. |
Target Finish Date | The target end date of the item. |
Actual Start Date | The actual start date of the item. |
Actual Finish Date | The actual end date of the item. |
Duration | The duration of the item. Editing this field updates the Baseline |
Finish Date, | Target Finish Date and Actual Finish Date fields. |
Budget Cost | The budget cost of the item. |
Status | The status of the item. These can be defined in Project Plan Item Status Reference Data (accessed by navigating to Maintenance > Projects > Projects). |
Progress | The progress of the item as a percentage. |
Notes | Any notes on the plan item. |
Parent Item | The parent item. Ellipses are prefixed to the item name on the Project Plan screen to denote its level. 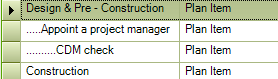 |
Last Updated By | The user who last updated the item record. |
Last Updated | The time and date that the item record was last updated. |
Add or edit any predecessors on the Predecessors tab.
Refer to Managing Plan or Checklist Predecessors for further information.
Click OK.
To add or edit a checklist item:
Click the Add Row button on the Project Plan ribbon.
Alternatively, double-click an existing record with a Plan Type of 'Checklist Item'.
The New Plan Item window is displayed.
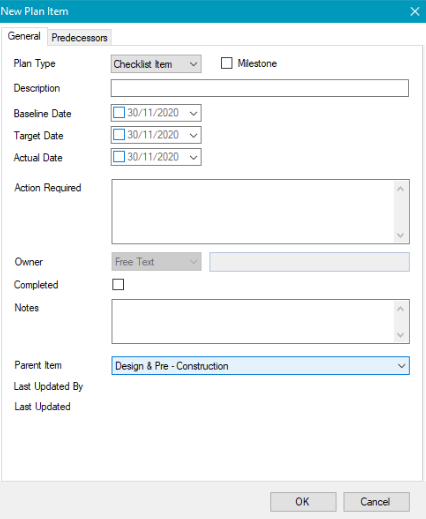
Ensure that 'Checklist Item' is selected from the Plan Type drop-down list.
Enter or edit the remaining details on the General tab.
The remaining fields on the New Plan Item window are described in the following table:
This Field… | Allows Users To Do… |
|---|---|
Milestone | Whether the item is a milestone. |
Description | A description of the item. This field is mandatory. |
Baseline Start Date | The baseline start date of the item. |
Target Start Date | The target start date of the item. |
Actual Start Date | The actual start date of the item. |
Action Required | The duration of the item. Editing this field updates the Baseline Finish Date, Target Finish Date, and Actual Finish Date fields. |
Owner | The person who is responsible for the checklist item.
|
Completed | Whether the item is completed. |
Notes | Any notes on the plan item? |
Parent Item | The parent item. Ellipses are prefixed to the item name on the Project Plan screen to denote its level.  |
Last Updated By | The user who last updated the item record. |
Last Updated | The time and date that the item record was last updated. |
Add or edit any predecessors on the Predecessors tab.
Refer to Managing Plan or Checklist Item Predecessors for further information.
Click OK.
Use the Predecessors tab to define items that are required to be carried out before the current item.
A plan item must first be saved before you can add predecessors.
To add a predecessor:
Open an existing plan item record. Refer to Adding or Editing a Plan Item or Adding or Editing a Checklist Item for further information.
Click the Add button on the Predecessors tab.

The Predecessor Link window is displayed.
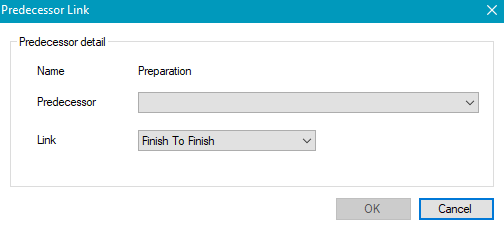
Select the predecessor item from the Predecessor drop-down list.
Select the link type from the Link drop-down.
You can select from the following:
Finish To Finish - the predecessor must end before the successor ends
Finish To Start - the predecessor must end before the successor starts
Start To Finish - the predecessor must start before the successor ends
Start To Start - the predecessor must start before the successor starts
Click OK.
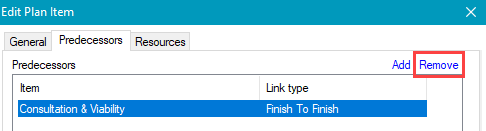
To remove a predecessor, select the relevant predecessor and then click the Remove button.
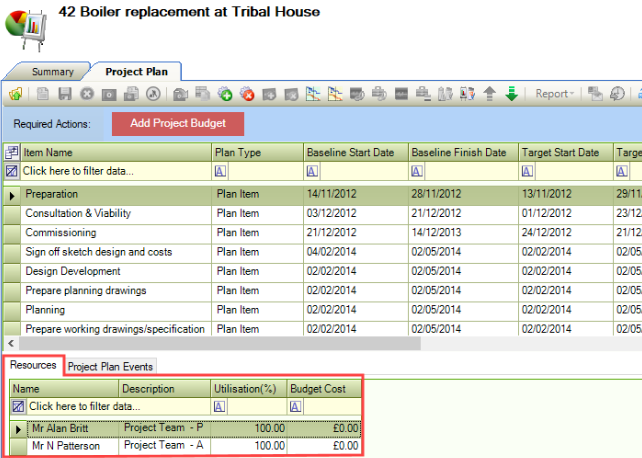
Use the Resources tab to assign contacts (as defined in the Project Directory) to the plan item.
This tab is not available for checklist items.
Open an existing plan item record. Refer to Adding or Editing a Plan Item or Adding or Editing a Checklist Item for further information.
Click the Resources tab.

Click the Select check box adjacent to the relevant records.
Enter the Utilisation percentage (that is: is the amount of allocated time the person can utilise for the assigned project plan item) and Budget Cost (that is: the cost of that person’s time against the project plan item) for that contact.
Click OK.
Resources can also be viewed on the Project Plan page by selecting a record.
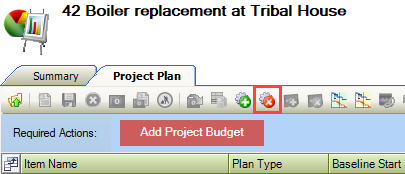
You can only remove plan items at the lowest level in the hierarchy (that is: you cannot remove items which have child items beneath them unless you remove the child items first).
Select the relevant record to remove a plan or checklist item and then click the Delete Row button.
Select a record and then click the Move Up and Move Down buttons to change the order of the project plan items.
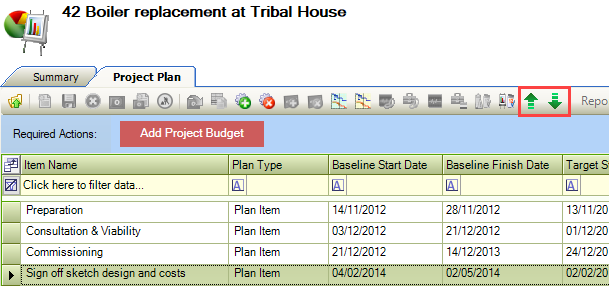
You can only move plan items up and down the hierarchy, including, within a child hierarchy. You cannot move up and down child items outside the parent plan item.
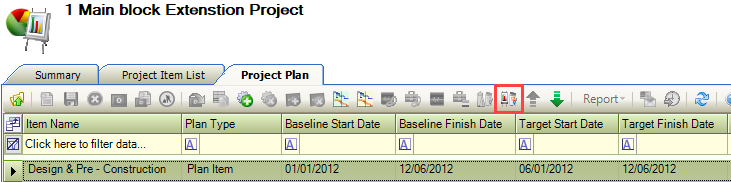
To add or edit a project plan event:
Click the Add Project Plan Event button on the Project Plan ribbon menu.
Alternatively, double-click an existing event record in the Project Plan Events tab on the Project Plan screen.
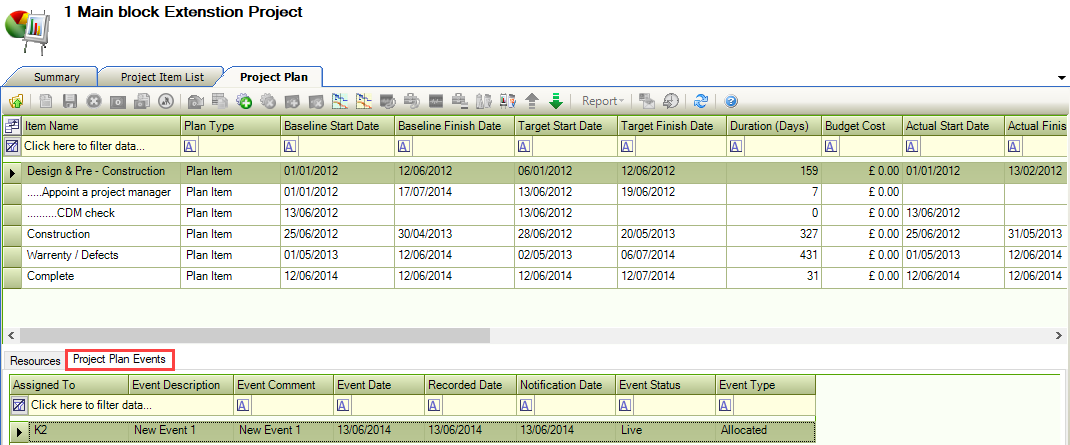
The Event window is displayed.
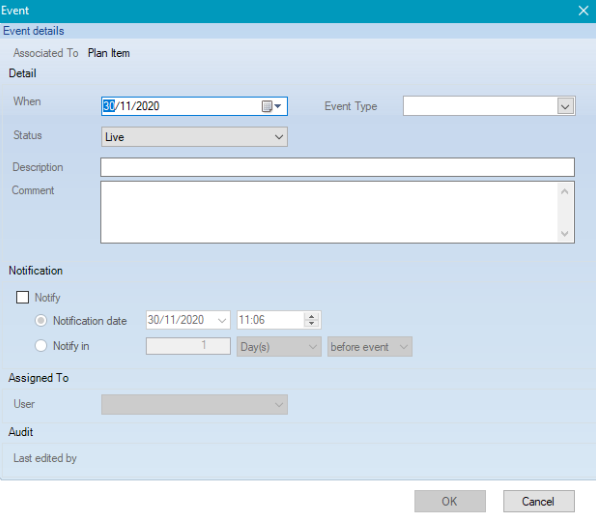
Enter or edit the relevant details.
The fields on the Event window are described in the following table:
This Field… | Allows Users To Do… |
|---|---|
Associated To | The item that the event is linked to. |
When | The date of the event. |
Event Type | The type of event. These can be defined in Project Plan Event Type Reference Data (accessed by navigating to Maintenance > Projects > Projects). |
Status | The event status (for example Live). |
Description | A description of the event. |
Comment | Further information on the event. |
Notify | Whether to create a notification message. If selected, do one of the following:
|
User | The user to assign the event to. |
Last edited by | The user who last updated the event details. |
Click OK.
The Project Plan Event has been added.

Click on the Notifications panel.
Refresh the screen.
The following notification should be displayed.
