The Documents panel allows you to attach images and documents against entities (for example: buildings, floors, rooms, and so on).
It can be accessed by navigating to View > Panels > Documents.
Use the Documents panel to:
Change the View
To change the view, do one of the following:
-
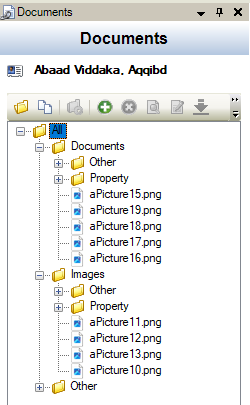
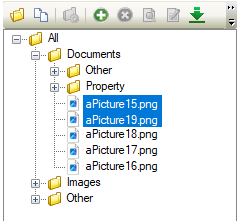
Click the Folder View button to display a tree structure of the documents
-
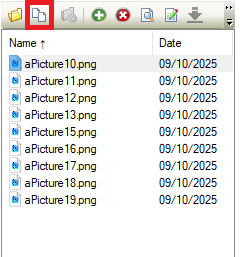
Click the Document View button to display all the documents in a list.
-
On a Business Unit, the Show All Documents button displays. This returns results of all documents against locations linked to the Business Unit in the Document View format.
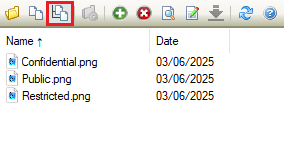
The Document View and Show All Documents can be sorted by Name or Date.
Manage Folders
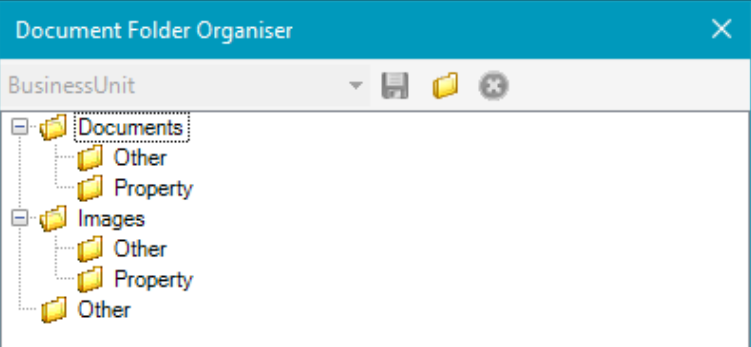
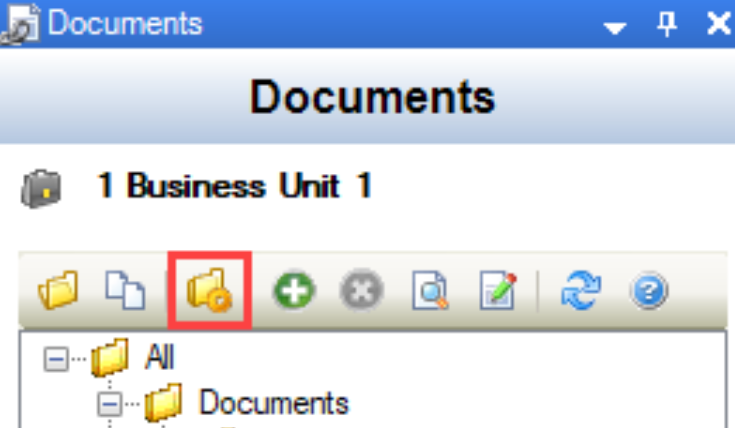
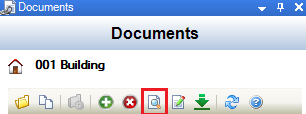
You can manage the folder structure of the selected entity using the Document Folder Organiser window.
It can be accessed by clicking the Show Document Organizer button.
Use the Document Folder Organiser window to do the following:
-
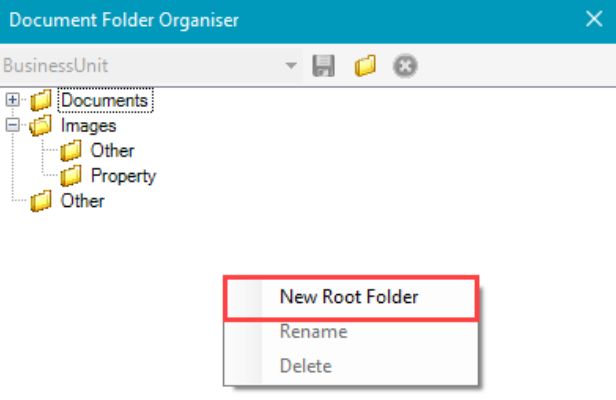
Add a root folder by right-clicking (not on a folder) and selecting New Root Folder from the drop-down menu.
-
Add a child folder, or rename or delete a folder by right-clicking on an existing folder and selecting from the drop-down menu.
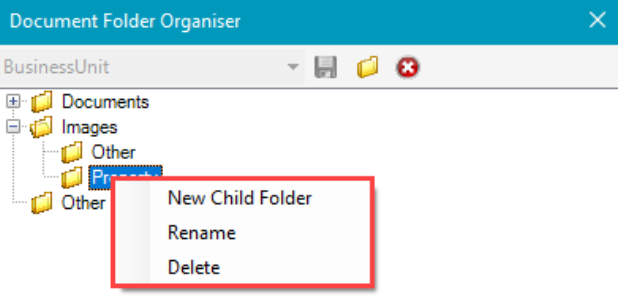
You cannot delete a folder that contains documents.
Add or Edit a Document
To add a document:
-
Click the Add button.

You can also click and drag a file or multiple files (for example: from Windows Explorer or email attachments) into the Documents panel.
If a file is placed into the wrong folder, you can drag and drop existing documents from one folder to another in Folder View.
Alternatively, select an existing file and then click the Edit button.
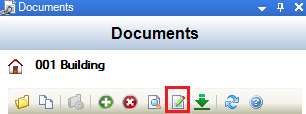
The Edit Document Link window is displayed.

-
Enter or edit the details as required.
Some fields will be populated automatically if a new file was dragged and dropped into the Documents panel.
The fields on the Edit Document Link window are described in the following table:
|
This field… |
Holds this information... |
|---|---|
|
Name |
The file name. |
|
Target Path |
The local location of the file. Use the Browse File or Browse Folder button to locate the file. |
|
DB Path |
The database location of the file. |
|
Link Only |
Whether to upload the document to the database. Select this check box if you do not want to upload the file to the database. |
|
Protection Level |
The protection level of the file (for example: public). |
|
Is Default |
Whether this is the default file. |
|
Type |
The type of file. For example:- file extension .msg = Email. This cannot be modified. |
|
Size |
The size of the file. |
|
Date |
The date that the file was uploaded. |
-
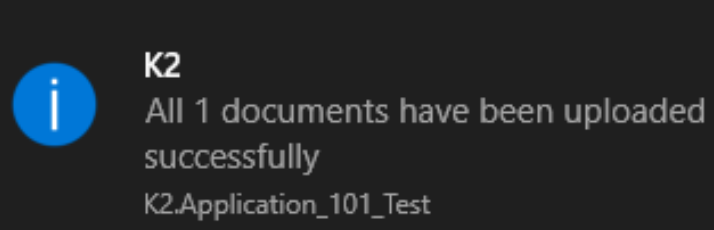
Click OK.
A confirmation notification is displayed.
Remove a Document
To remove a document:
-
Select the relevant document or image, and then click the Delete button.
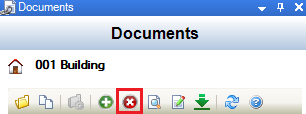
A confirmation message is displayed.
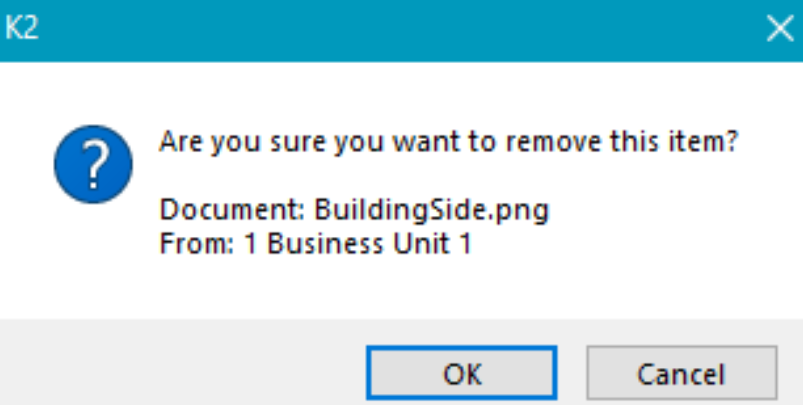
-
Click OK.
Open a Document
-
Select the relevant document or image to open in its default program.
-
Click on Open
Alternatively, double-click a file to open it.
Download a Document
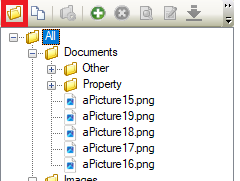
-
Select the relevant document or documents by highlighting it while in Folder view.
Only embedded documents can be downloaded. Link only documents cannot be selected for download.
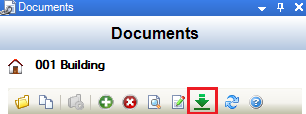
-
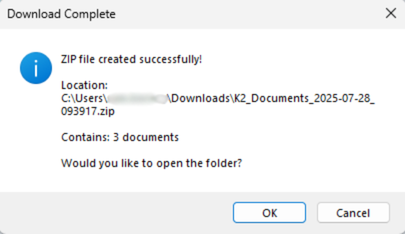
Click on the Download button.
-
This will prompt a directory to be chosen. By default, this will download the files to the Downloads folder and give the name of K2_Documents_YYYY-MM-DD-HHMMSS.zip.