Using the Maintenance Module
You can use the Maintenance module to view your work list and progress jobs assigned to you.
Use the Job Assignment Management module (accessed by navigating to Maintenance > Job Assignment Management) to manage jobs assigned to a user.
You can capture an image for any job that has been started. Once the image is captured it is uploaded to K2, associated with the relevant job, and stored as a document.
You must allow K2 Mobile to access your mobile device's Camera and Storage applications to capture an image.
To capture an image:
Open the relevant job.
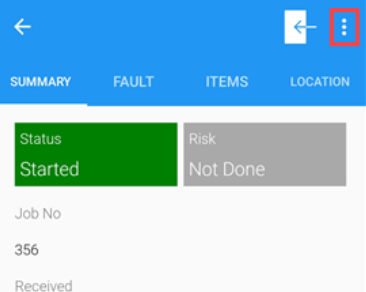
Tap the ellipsis button at the top of the K2 Mobile screen.
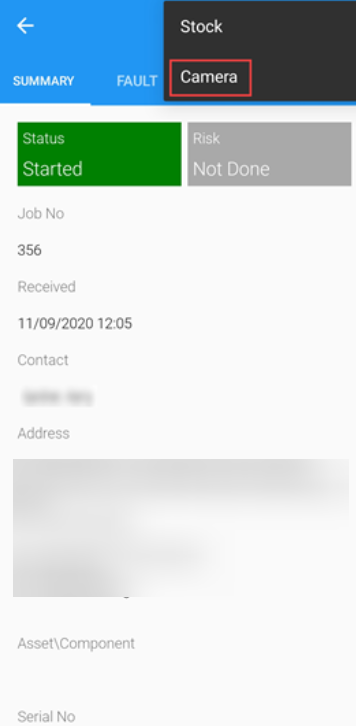
Tap the Camera option.
Capture the image and then tap OK.
Edit or annotate the image as required.
Tap the Back button to save and associate the image with the job.
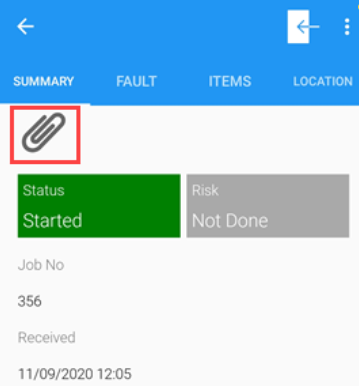
Tap the Document button to view attachments.
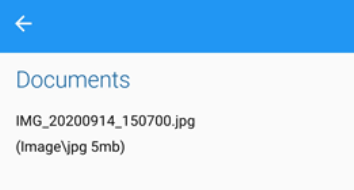
The Documents screen is displayed.
You can only start a new job if there are no other jobs in progress.
To start a new job from the Work List:
Tap the Maintenance tile on the K2 Mobile screen.
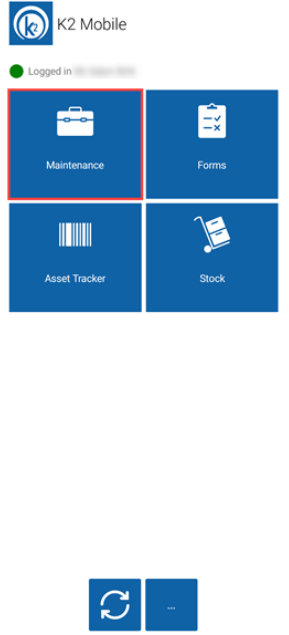
The Maintenance screen is displayed.
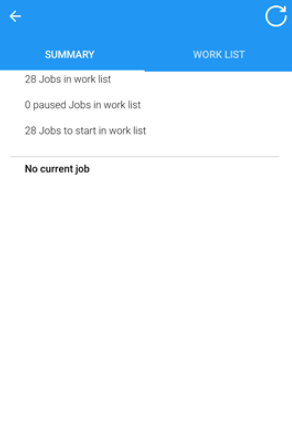
Tap the Work List tab, which lists your assigned jobs.
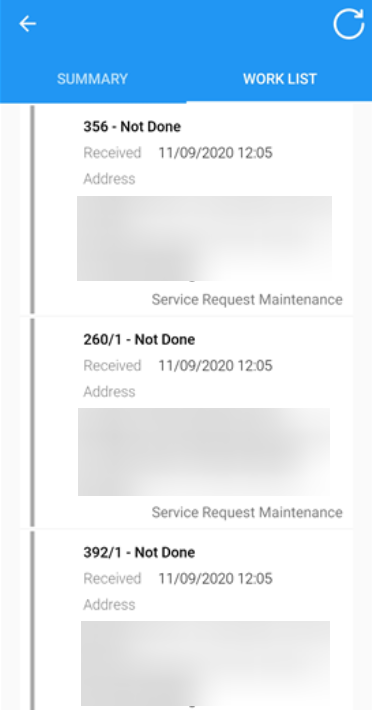
Select the relevant job and then tap the Start button.
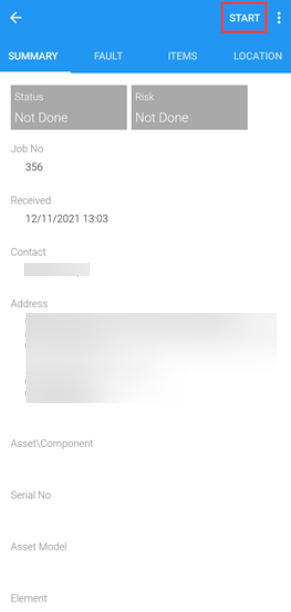
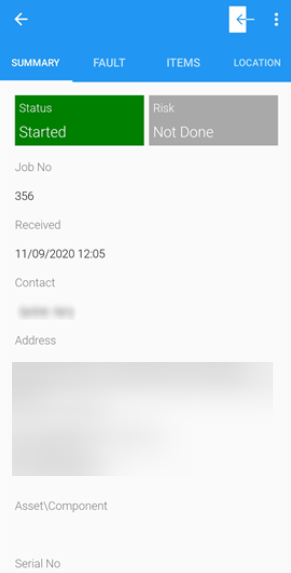
Check the job is started and can be viewed on the Summary tab.
To pause a job:
Open the relevant job.

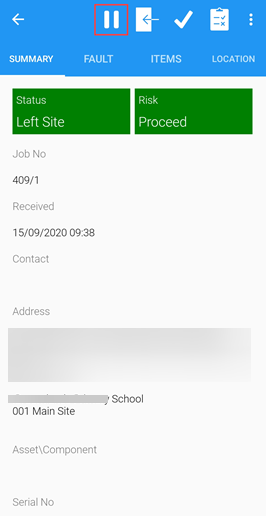
Tap Pause to pause a job.
The Pausing Job screen is displayed.
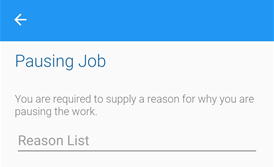
Tap Reason List to display a list of completion options.
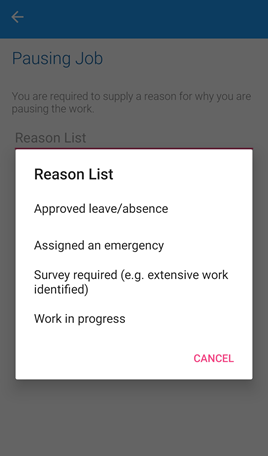
These can be defined in Status Reason Reference Data (accessed by navigating to Maintenance > Job).
Select the relevant reason.
If you select a 'Refer back to Helpdesk' or 'Refer back to Supervisor' reason, the job is removed from K2 Mobile and reassigned to K2.
Tap Save.
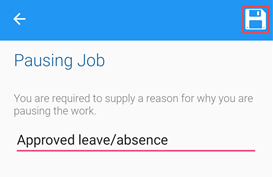
To resume a paused job:
Open the relevant job.
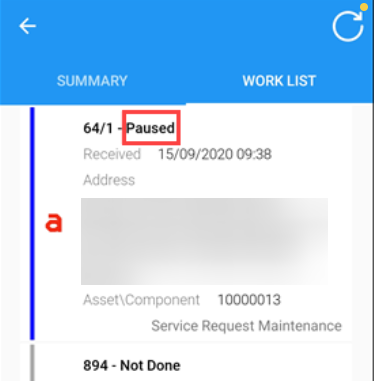
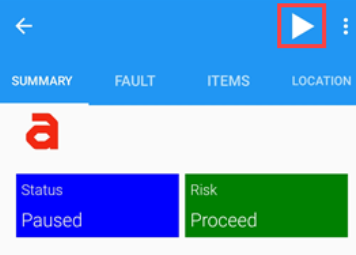
Tap Start to resume the job.
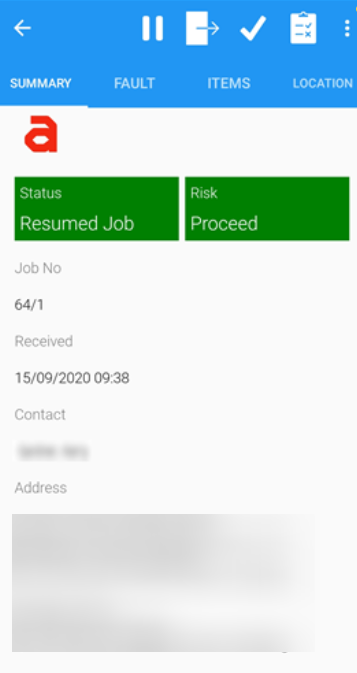
The job is resumed.
To progress a job:
Open the relevant Job.

Alternatively, select and hold the relevant job from the Work List tab and tap the Start button.
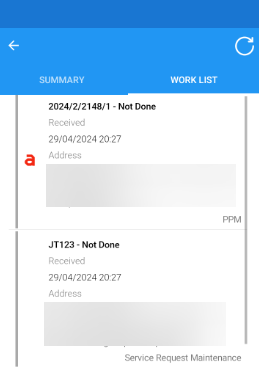
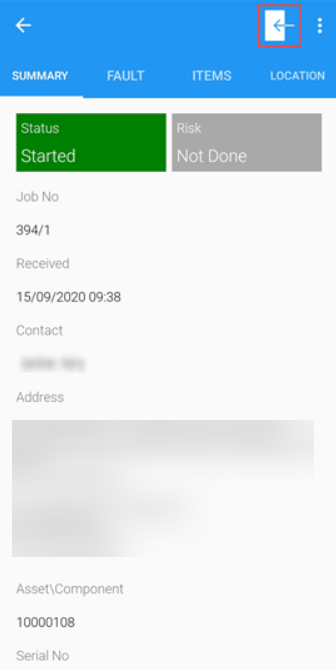
The job record is displayed.
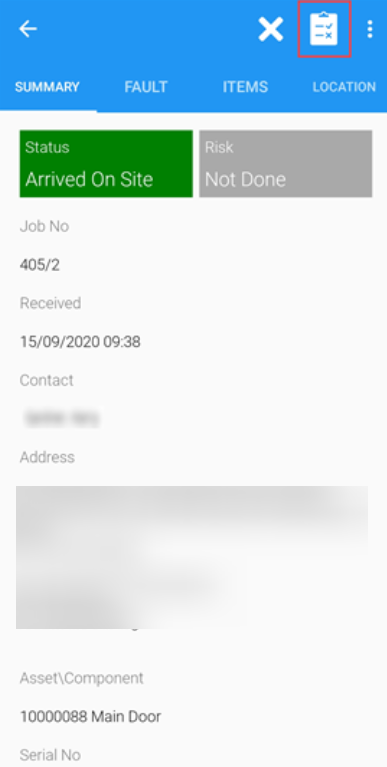
Tap the Arrive on Site button at the top of the K2 Mobile screen.
Tap the Assessment button to start the assessment.
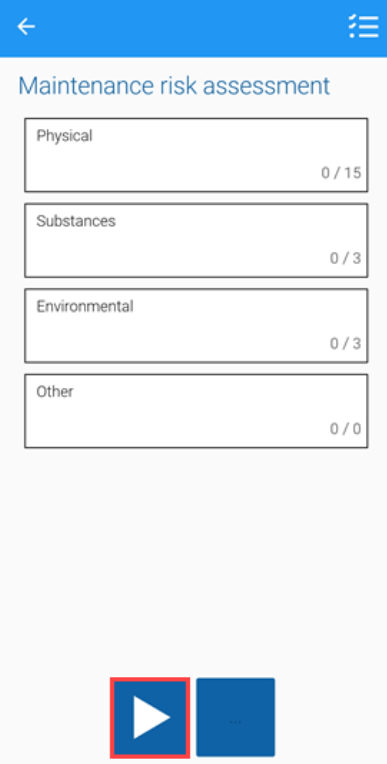
The Maintenance risk assessment screen is displayed.
Tap the Next button.
The first assessment question is displayed, with a progress bar to indicate your position within the assessment process.
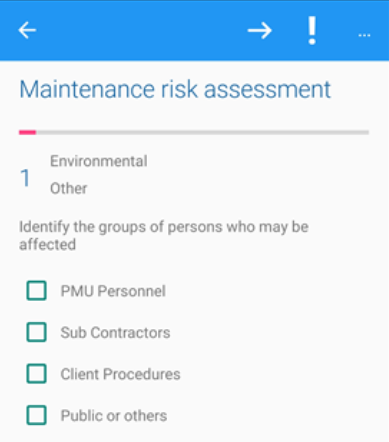
Answer each question in turn.
Some questions display a risk matrix. Tap the relevant section of the matrix to record the level of risk.
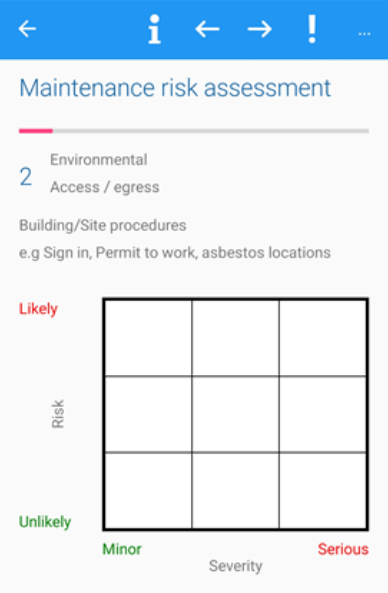
Alternatively, questions can be marked as not applicable.
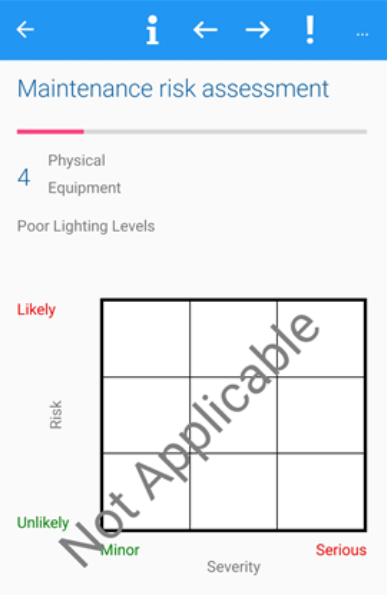
The buttons displayed on the Various Questions Screens are described in the following table:
Button & Button Name… | Does this.... |
|---|---|
 Back | Return to the first maintenance risk assessment page. |
 Information | Displays the Additional information screen containing more information about the question. |
 Previous | Reloads the previous question. |
 Next | Displays the next question. |
 Unanswered Questions | Skips to the next unanswered question. |
 Ellipses | Marks the question as not applicable.
|
On completion, the confirmation window is displayed. Tap Continue.
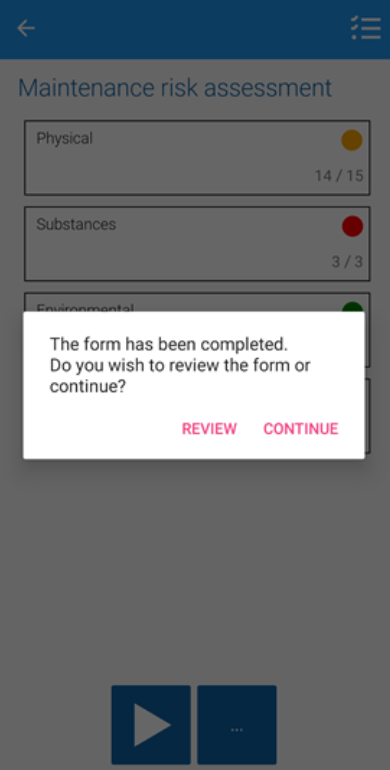
The Summary screen is displayed.
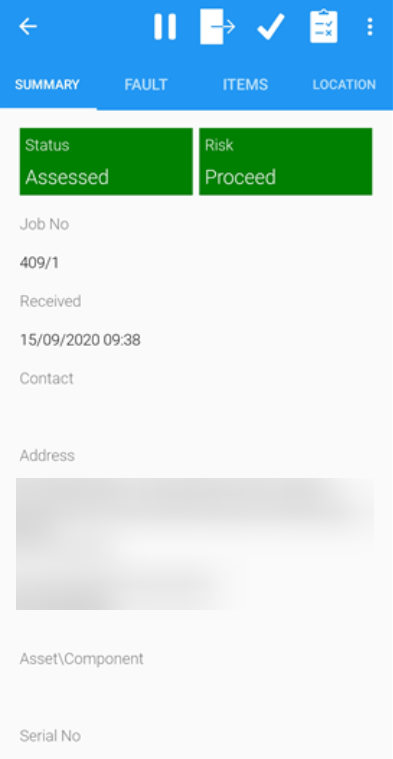
The result of the completed assessment, based on the questions answered is displayed in the job risk panel:
Pass Assessment - when an assessment is passed the job risk panel displays in green, if an assessment passes with warnings the job risk panel displays display in orange
Fail Assessment - when an assessment is failed the job risk panel displays in red and the Job is closed
The buttons displayed following a Completed Assessment are described in the following table:
Button & Button Name… | Does this.... |
|---|---|
 Back | Return to the Maintenance screen. |
 Pause | Pauses the job. |
 Leave Site | Prevents the Job being paused or completed. Enables the Return to Site button. |
 Return to Site | Resumes the job. |
 Complete or OK | Marks the job as complete. The Complete Job window is displayed. Tap Partially Complete to indicate that a job requires further work. Or Saves feedback added to a completed job. |
 Assessment | Displays the assessment. |
 Ellipses | Displays the Stock Control and Camera options. |
 Feedback | Displays the Feedback screen. |
 Save | Saves the job. |
Progress the job, using Pause, Leave Site, and Return to Site statuses, as appropriate.
Tap the Complete button to complete the job.
The Complete Job screen is displayed. Tap Partially Complete to indicate that a job requires further work.
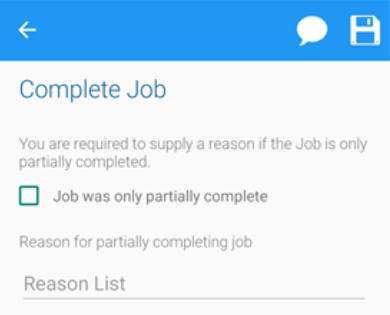
Tap Reason List to display a list of completion options.
The Reason List window is displayed.
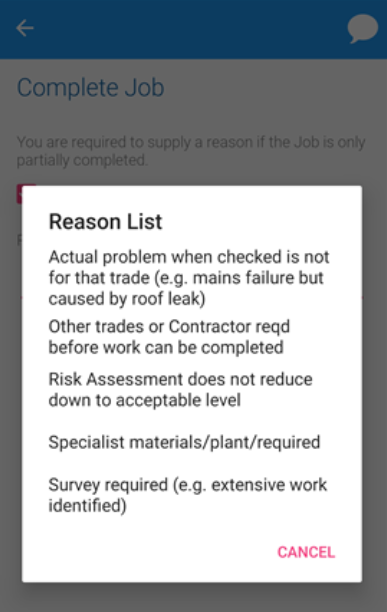
These can be defined in Status Reason Reference Data (accessed by navigating to Maintenance > Job).
Select the relevant reason.
Tap Feedback to record comments.
The Feedback screen is displayed.
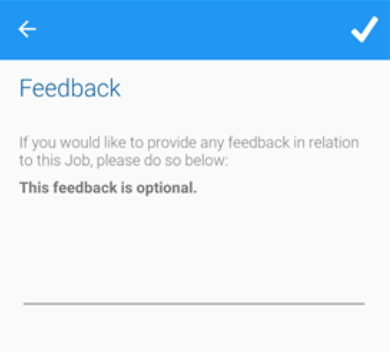
Tap the OK button to record feedback.
Tap Save to complete the job.
You can add a signature field to the Complete Job window. You can use Mobile Options (accessed by navigating to Tools > System Options > Mobile Options) to include a signature field on the Complete Job window. Refer to Mobile Options for further information.
To reject a job:
Open the relevant job.
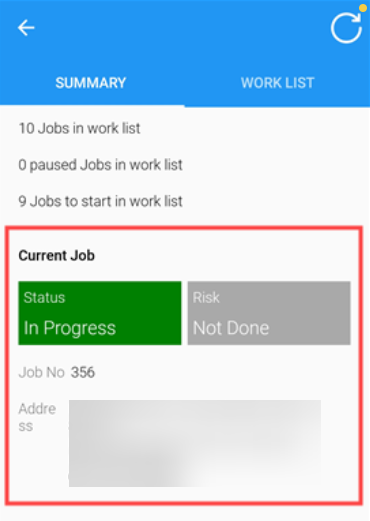
Alternatively, select and hold the relevant job from the Work List tab and then tap the Start button.
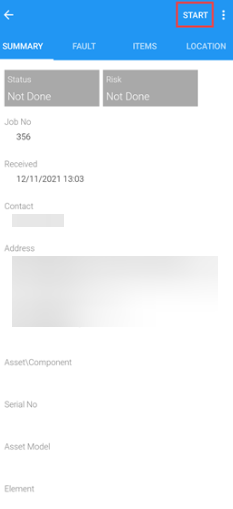
The job is displayed.
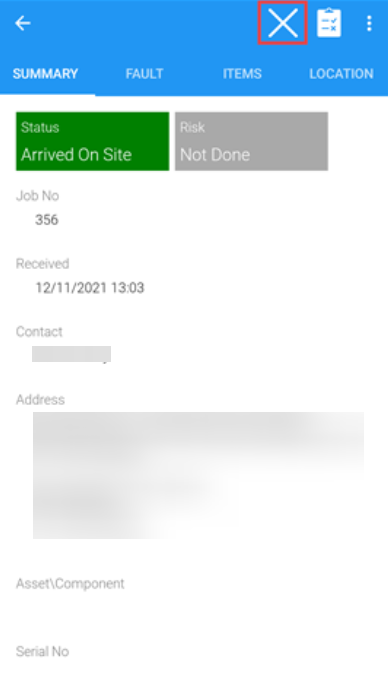
Tap the Arrive on Site button at the top of the K2 Mobile screen.

Tap the Reject button to reject the job.
The Reject the Job screen is displayed.
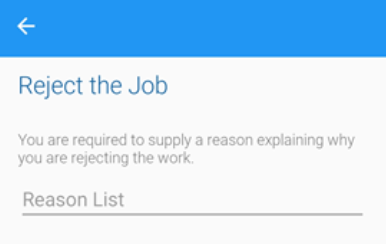
Tap Reason List to view a list of reasons.
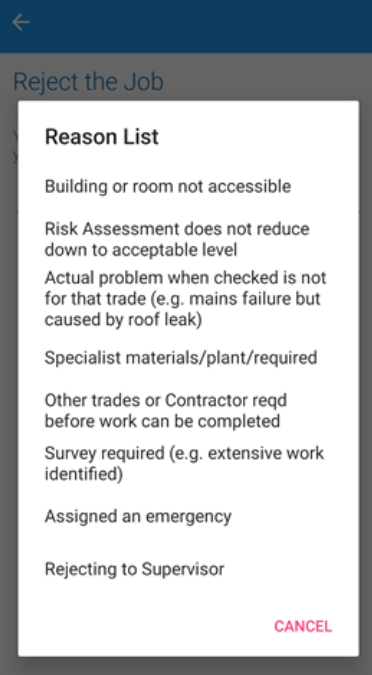
These can be defined in Status Reason Reference data (accessed by navigating to Maintenance > Job).
Select the reason for rejecting the job from the option list.
The Reject the Job screen is displayed.
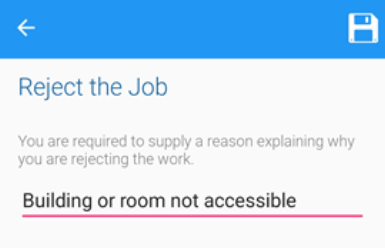
Tap Save.
The Confirmation of rejecting job window is displayed.
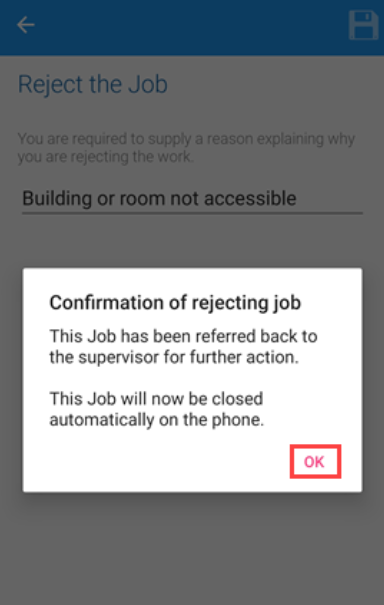
Tap OK.
The rejected job is removed from the work list.
You can request stock for any job that has been started.
To request stock:
Open the relevant job.
Tap the ellipsis button at the top of the K2 Mobile screen.
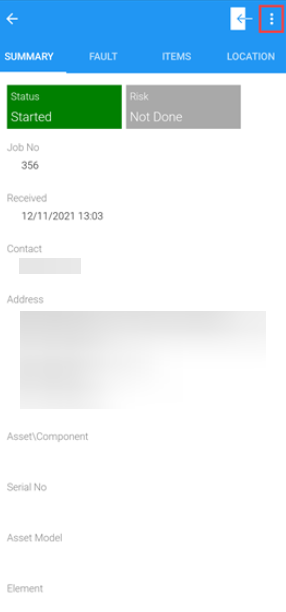
Tap the Stock option.
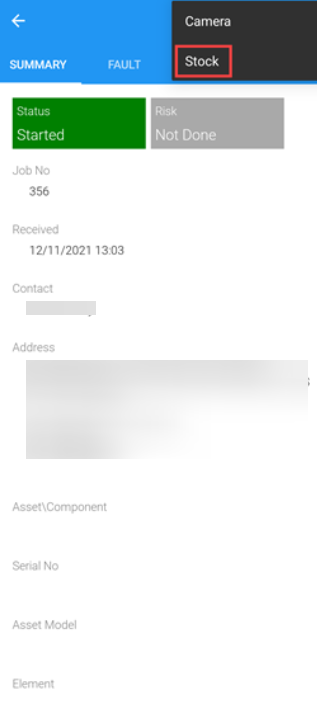
The Stock Search screen is displayed.
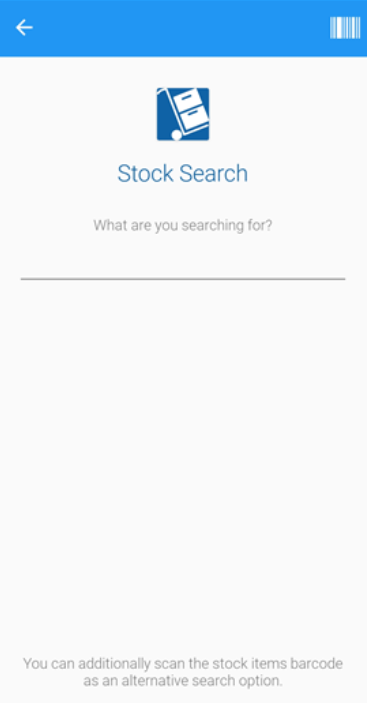
Refer to Using Stock Control for further information about the Stock Control module.
Enter the name of the stock item or a relevant stock code. Alternatively, use the barcode scanner.
Tap the Search button.
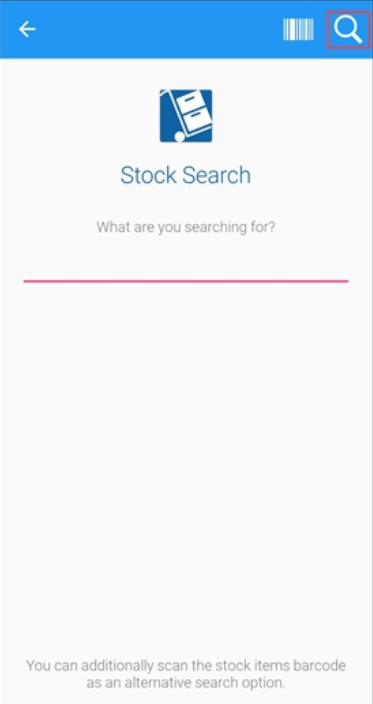
The Stock Code Search Results screen is displayed if there are multiple stock items with the same details. If the search criteria entered matches a single stock item, the record is opened.

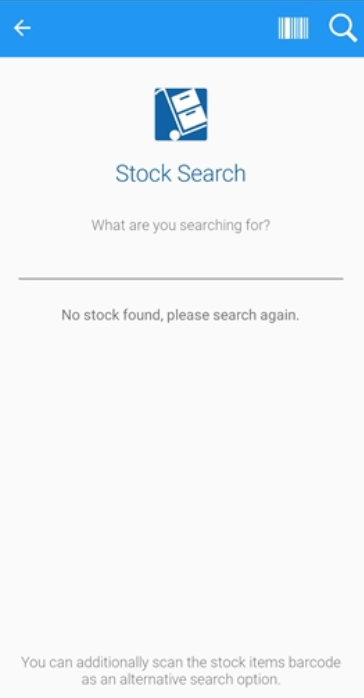
If there are no matches, a message is displayed.
Tap the relevant item.
The Summary tab is displayed.
Enter the quantity of stock required in the Request Quantity field. You can add further information to the request in the More Detail field.
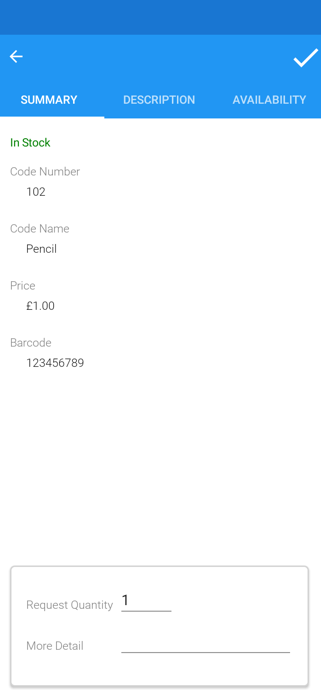
Tap the Confirm button to order stock.
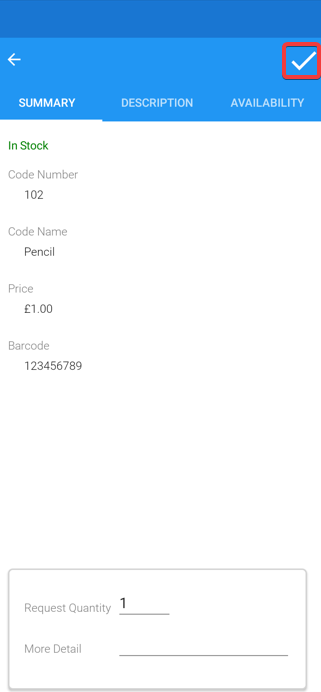
A confirmation message is displayed.
Tap Ok.
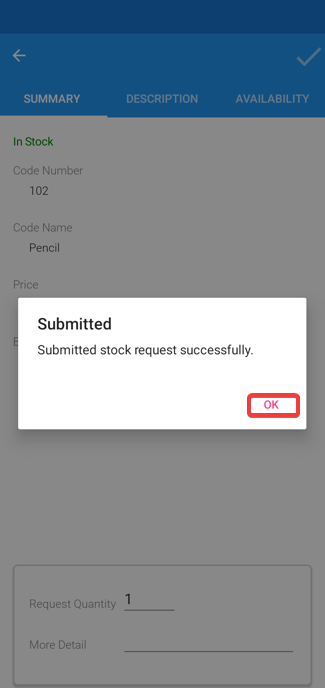
The stock request is added to the job and ready for approval on the Stock Request screen.
Related Topics
Click the links below to navigate to the following related topics:
