Managing Jobs
Use K2 Portal to:
To open a job record:
Click the Jobs button in the left-hand panel.
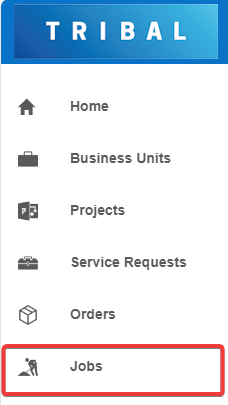
The Jobs screen is displayed.

Locate and click the relevant job. If required, use the sort and filter options in the top right-hand corner of the screen to sort or narrow the results.
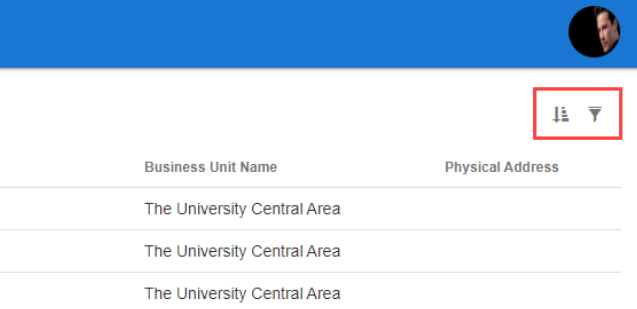
The job details screen is displayed.
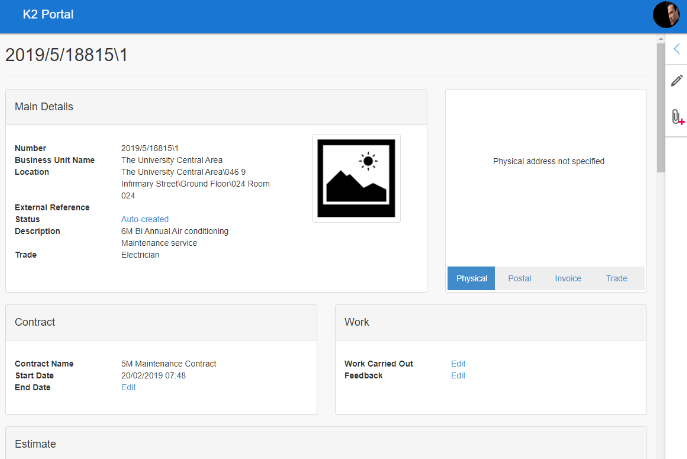
The fields on the Job Details screen are described in the following table:
This field | Holds this information... |
|---|---|
Number | The job number. |
Business Unit Name | The name of the business unit to which the job relates. |
Location | The location of the job. |
External Reference | An external reference from another non-K2 system. |
Status | The status of the job. This field is editable. |
Description | A description of the job. |
Trade | The trade associated with the job (for example: plumbing). |
Physical | The physical address of the job. |
Postal | The postal address of the job. |
Invoice | The invoice address of the job. |
Trade | The trade address of the job. |
Contract Name | The name of the contract that the job is linked to. |
Start Date | The start date of the contract. |
End Date | The end date of the contract. |
Work Carried Out | The work that is to be carried out as part of the job. |
Feedback | Your feedback on the job. This field is editable. |
Material Estimate | The estimated material cost. |
Labour Estimate | The estimated labour cost. |
Plant Estimate | The estimated plant cost. |
Total | The total cost. This is calculated based on the Material Estimate, Labour Estimate and Plant Estimate fields. |
You can only edit the following fields in a job record:
Status
End Date
Work Carried Out
Feedback
To edit any of these fields, click the blue link.
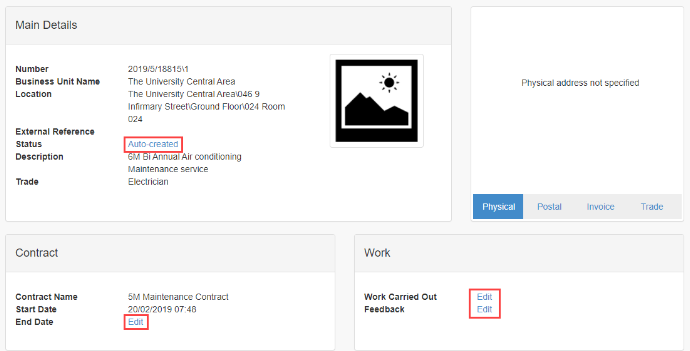
The Job Editor is displayed. This window is displayed regardless of which link is clicked.
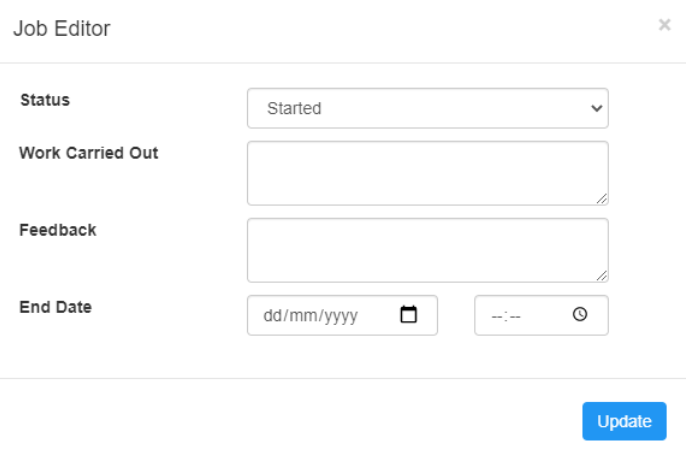
Enter or edit the relevant details and then click the Update button.
Jobs can also be updated by selecting Edit in the Associated Items panel on the right-hand side of the screen.
Use the Notebook Entries panel to add notes or reminders by entering text and clicking the Add button.
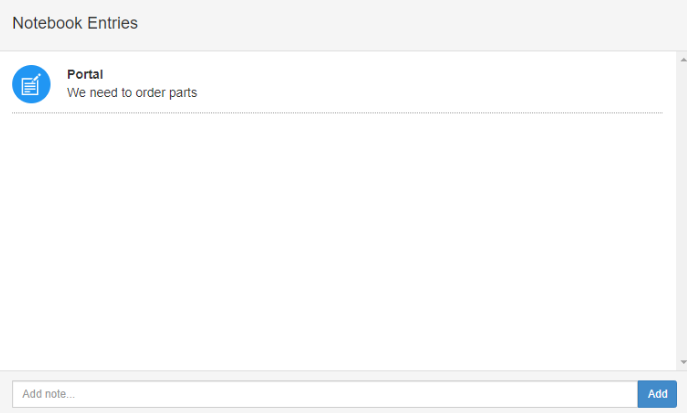
You can also view existing notebook entries (unless they are archived).
The Documents panel lists all documents attached to the record.
The document protection level set against their user record limits the user's view of documents. There are three levels – Public, Restricted and Confidential. If a user is set to 'Restricted', they cannot view confidential documents.
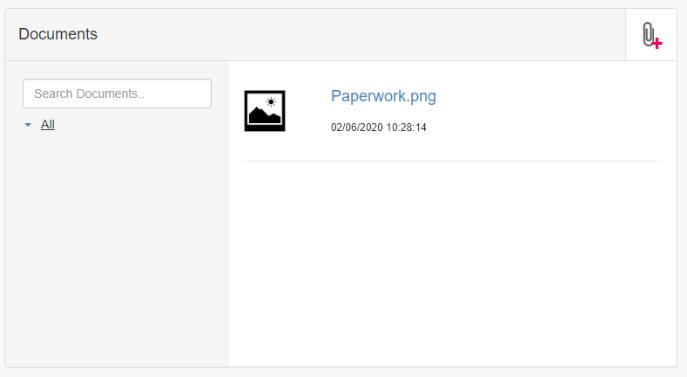
Use the panel to do the following:
Click the Add Document button to upload a new document.

Use the Search Documents field to locate an existing document.

Click a document file name link to open the file.

Refer to Managing Asbestos in K2 Portal for further information.
To view any restrictions or warnings, do one of the following:
Click the Restrictions/Warnings button at the bottom of the record.
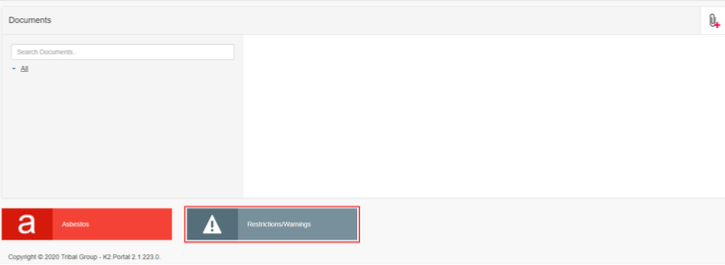
Click the Restrictions/Warnings button in the right-hand panel.
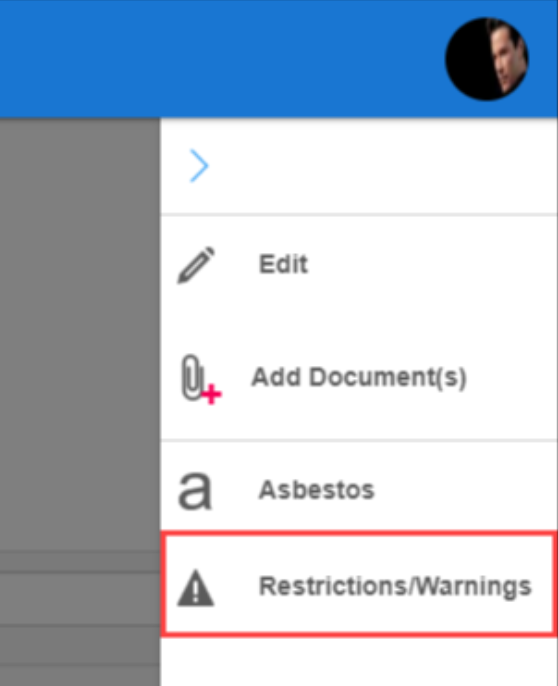
The Restrictions and Warnings grid is displayed.

The fields on the Restrictions and Warnings screen are described in the following table:
This field… | Holds this information... |
|---|---|
Category | The Restriction and Warning category. These can be defined in Restriction And Warning Category Reference Data (accessed by navigating to Functions > Core > Reference Data > Restrictions and Warnings in K2). |
Comment | Any comments regarding the restriction or warning? |
DBS Required | Whether a DBS (Disclosure and Barring Service) check is required. |
DBS Level | The level of DBS check required. |
Requirement Description | The requirements of the restriction or warning. |
Requirement End Date | The date that the requirement ends. |
