
Adding or Editing an Asbestos Survey
Asbestos surveys are used to identify areas that may be affected by asbestos and to assist in the control and management of the substance. Surveys not only list the locations surveyed, but you can also list the type of survey performed, comments about the survey, and details of the surveyor.
The Asbestos Survey allows you to add a new record or edit an existing one.
To add a new request:
Navigate to Health and Safety > Asbestos > New Asbestos Survey.
The Asbestos Survey Editor tab is displayed.
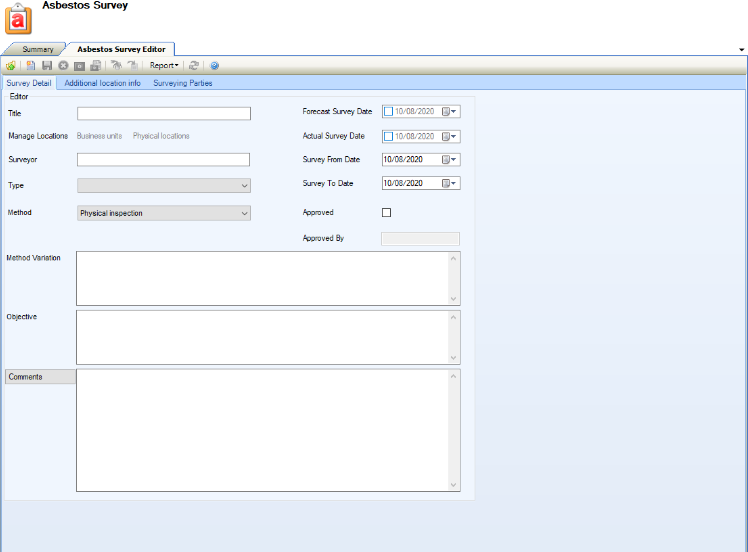
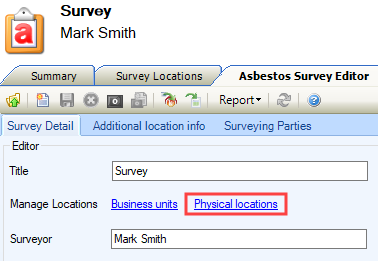
Select the Survey Details tab. Enter details of the request.
The fields on the Survey Details tab are described in the following table:
This field… | Holds this information... |
|---|---|
Title | The title of the survey. This field is mandatory. |
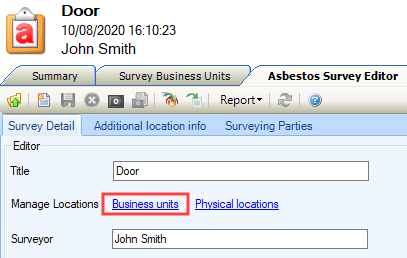
Manage Locations | The relevant locations. Business units and Physical locations fields are enabled when the asbestos survey is saved. |
Surveyor | The surveyor assigned to the task. This field is mandatory. |
Type | The type of inspection.
These can be defined in Survey Type Reference Data (accessed by navigating to Health and Safety > Asbestos > Asbestos). |
Method | The method of inspection. Select from the drop-down list. These can be defined in Survey Method Reference Data (accessed by navigating to Health and Safety > Asbestos > Asbestos). |
Method Variation | The description of any relevant variations to the survey method. |
Objective | The objective of the survey. |
Comments | Relevant comments about the survey. |
Forecast Survey Date | The estimated date of the survey. |
Actual Survey Date | The date that the survey was performed. |
Survey From Date | The date that the survey began. |
Survey To Date | The date that the survey finished. |
Approved | Whether the survey is approved. |
Approved By | The identity of the survey approver. |
Select the Additional Location info tab. Enter details of the request.
The Additional Location info tab is displayed where you can manage the locations where the survey has been carried out, which will become enabled once the form has been saved.
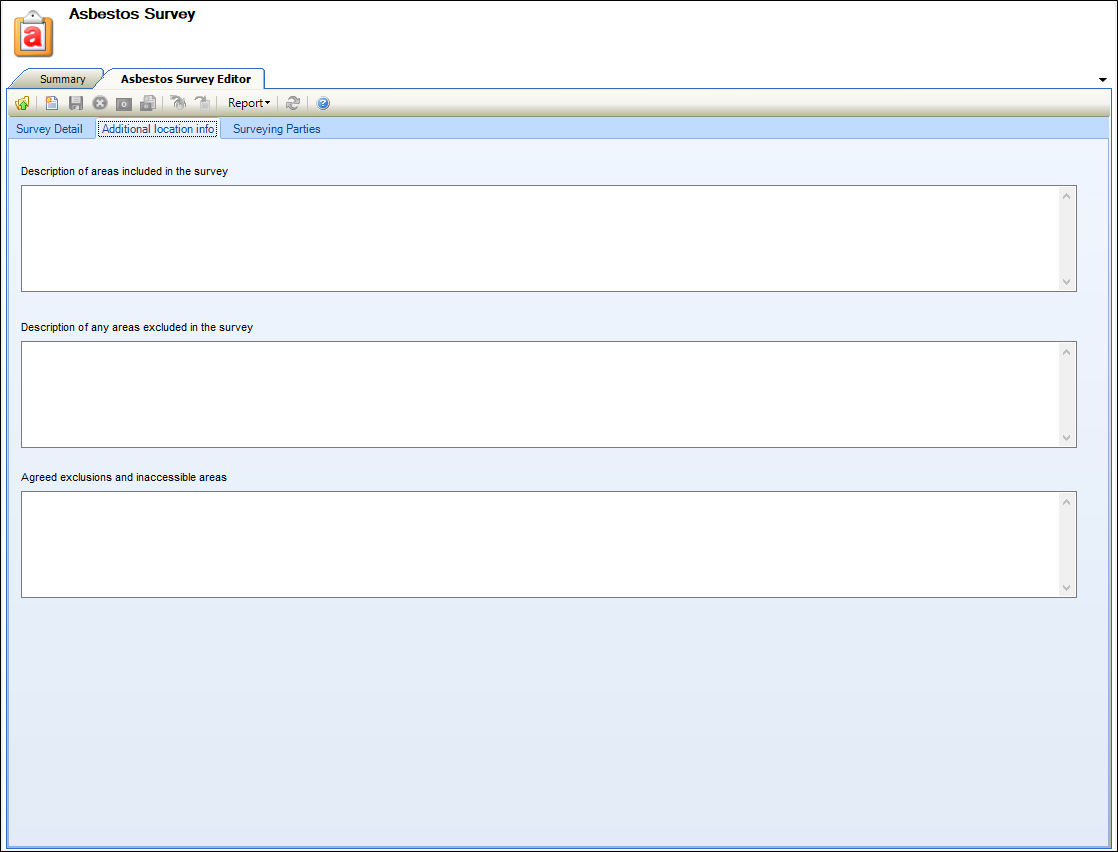
The fields on the Additional Location Info tab are described in the following table:
This field… | Holds this information... |
|---|---|
Description of areas included in the survey | The description of the areas that are included in the survey. |
Description of any areas excluded in the survey | The description of the areas that are excluded from the survey. |
Agreed exclusions and inaccessible areas | The agreed exclusions and areas that are inaccessible the survey. |
Select the Surveying Parties tab. Enter details of the request.
The Surveying Parties tab is displayed where you can select the survey commissioner and surveyor.
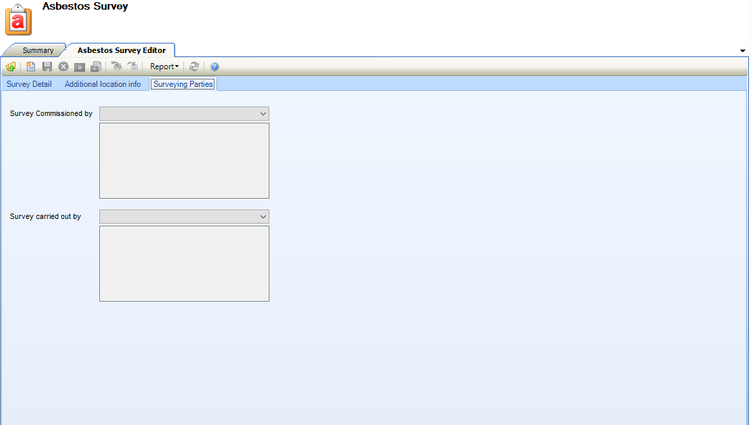
The fields on the Surveying Parties tab are described in the following table:
This field… | Holds this information... |
|---|---|
Survey Commissioned by | The identity of the survey requester. Select from the drop-down list. These can be defined in Surveying Commissioners Reference Data (accessed by navigating to Health and Safety > Asbestos > Asbestos). |
Survey carried out by | The identity of the surveyor. Select from the drop-down list. These can be defined in Surveying Agencies Reference Data (accessed by navigating to Health and Safety > Asbestos > Asbestos). |
Click Save.
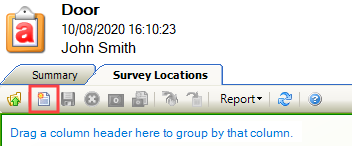
The Survey Locations tab is displayed.

Click the New button to add a survey location.
The Select location window is displayed.
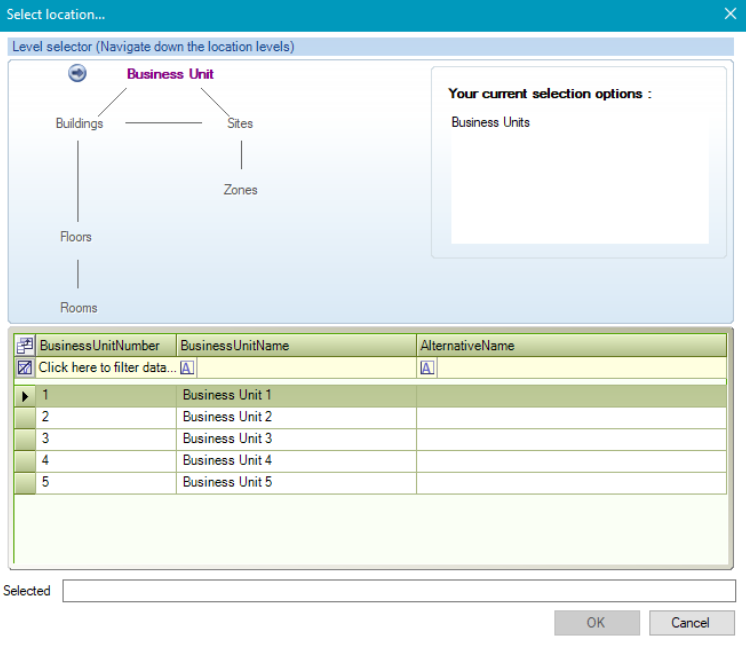
Use the level selector to select the relevant room, floor, zone, building, site, or business unit.
The selected locations and child locations are listed in the Survey Locations grid.
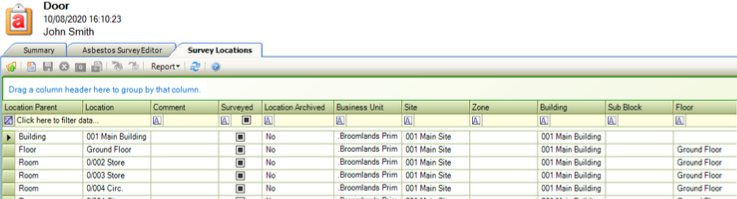
The Surveyed column displays the survey status. A black/blue box indicates that the location has not been surveyed, a tick indicates that the location has been surveyed.
Click the relevant row to change the survey status.

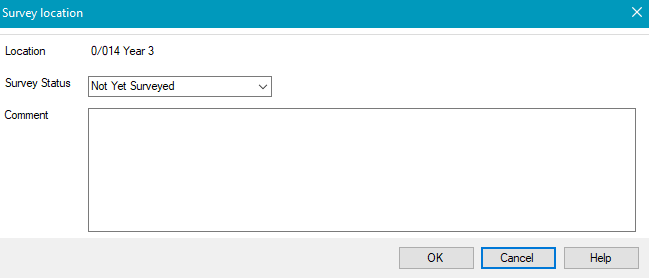
The Survey Location window is displayed.
The fields on the Survey Location window are described in the following table:
This field… | Holds this information... |
|---|---|
Location | The relevant location. |
Survey Status | The survey status. |
Comment | The description of the survey location. |
Click OK
When you create a new Asbestos Survey, the following buttons are added to the Tasks panel:
To edit an Asbestos Survey:
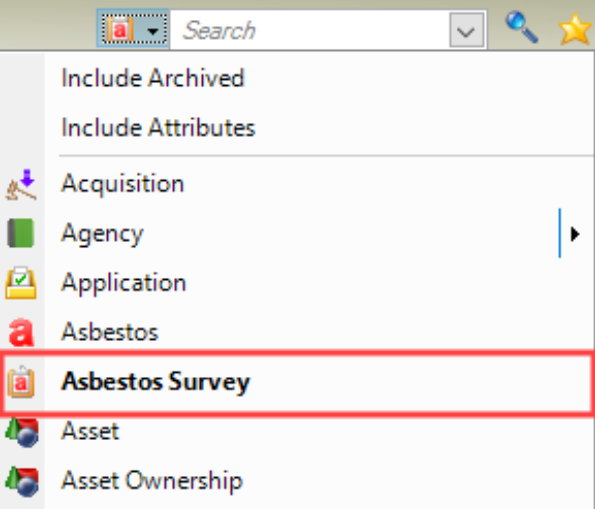
Select Asbestos Survey from the drop-down list adjacent to the search bar.
Enter the search text and the request number. click the Search button.

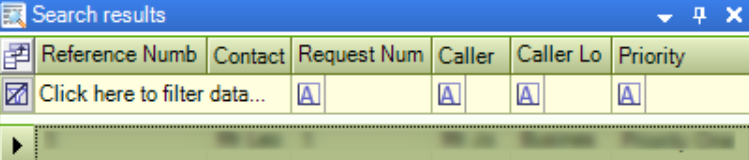
Results are displayed in the Search Results Panel. Double-click the relevant record to open it.
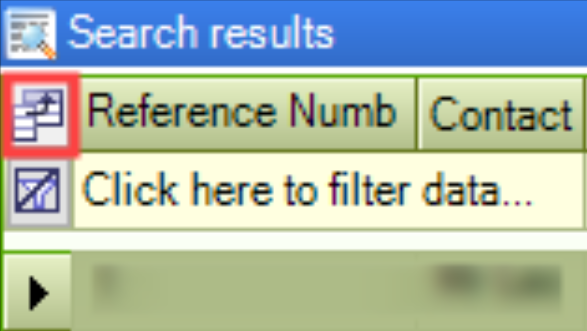
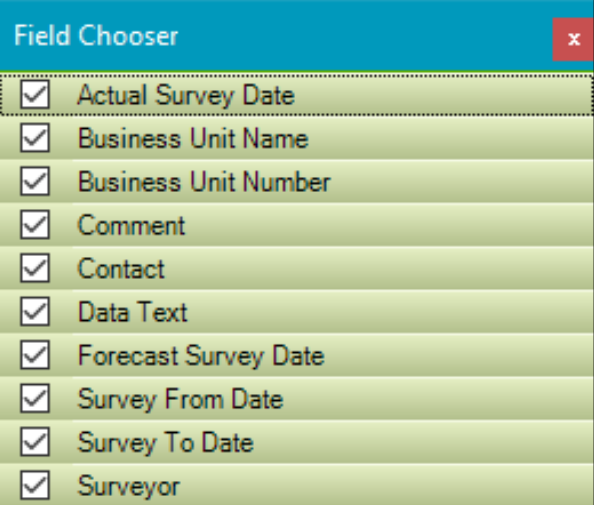
If you want to adjust the number of fields displayed:
Click the Field button to open the Field Chooser window.
Select or de-select the fields as appropriate
Select Click to edit details to open the request.
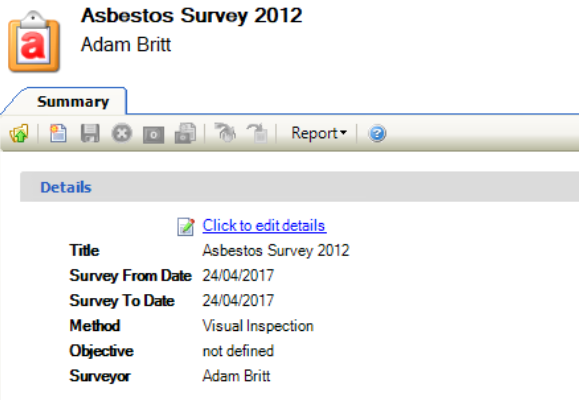
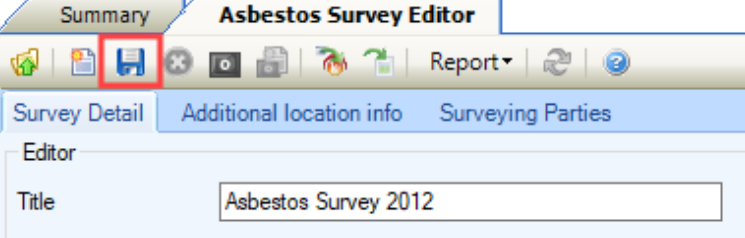
The Asbestos Survey Editor tab is displayed.
Update the relevant details.

Click Save.
To manage asbestos survey locations:
Open the relevant asbestos survey record.
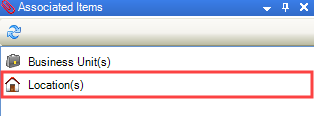
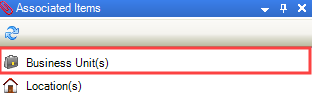
Click the Location(s) option in the Associated Items panel.
Alternatively, click the Physical Locations link in the Manage Locations field in the Asbestos Survey Editor.
The Survey Locations screen is displayed.

Click the New button to add a survey location.
The Select location window is displayed.
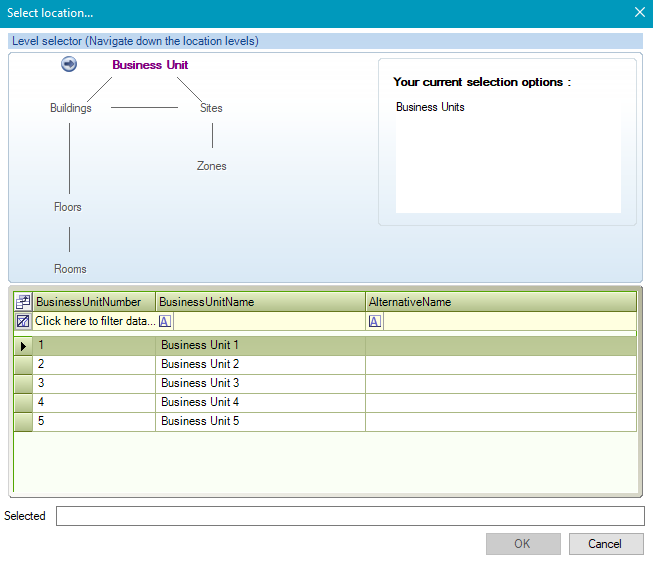
Use the level selector to select the relevant room, floor, zone, building, site or business unit. Click OK.
The selected locations and child locations are listed in the Survey Locations grid.
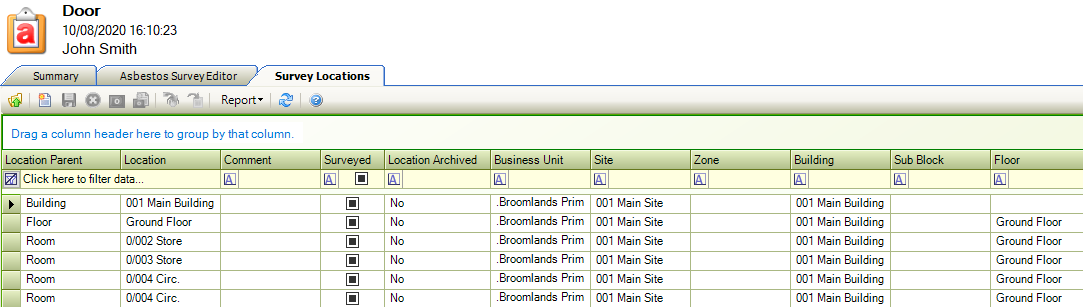
The Surveyed column displays the survey status. A black/blue box indicates that the location has not been surveyed, a tick indicates that the location has been surveyed.
Click the relevant row to change the survey status.
The Survey Location window is displayed.
The fields on the Survey Location window are described in the following table:
This field… | Holds this information... |
|---|---|
Location | The relevant location. |
Survey Status | The survey status. |
Comment | The description of the survey location. |
Click Ok.
To manage asbestos survey business units:
Open the relevant asbestos survey record.
Click the Business Unit(s) option in the Associated Items panel.
Alternatively, click the Business Units link in the Manage Locations field in the Asbestos Survey Editor.
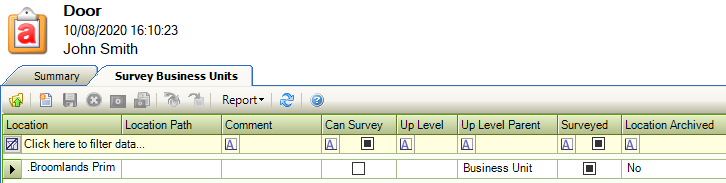
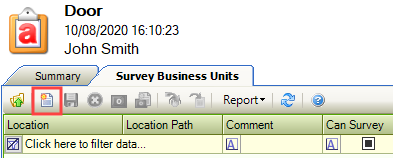
The Survey Business Units screen is displayed.
Click the New button to add a survey business unit.
The Select business unit window is displayed.
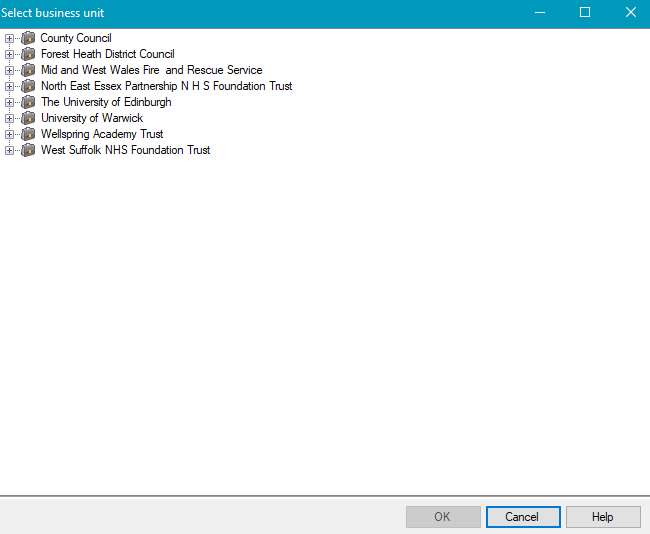
Use the level selector to select the relevant business unit.
Click OK.
The selected locations and child locations are listed in the Survey Business Units grid.
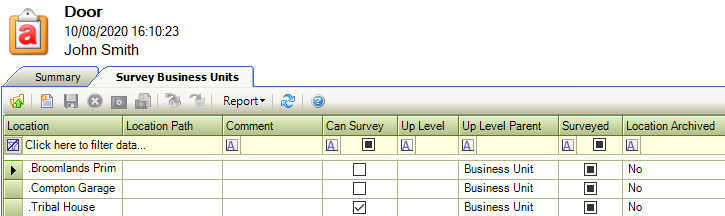
The Surveyed column displays the survey status. A black/blue box indicates that the location has not been surveyed, a tick indicates that the location has been surveyed.
Click the relevant row to change the survey status.
The Survey Location window is displayed.
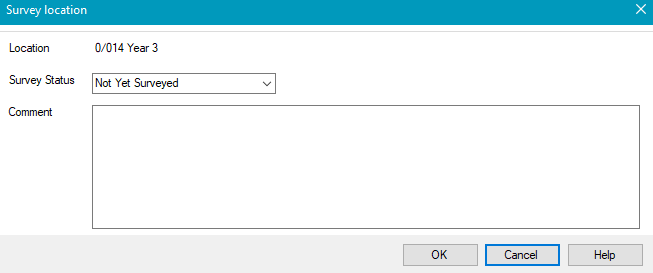
The fields on the Survey Location window are described in the following table:
This field… | Holds this information... |
|---|---|
Location | The relevant location. |
Survey Status | The survey status. |
Comment | The description of the survey location. |
Click Ok.