Asbestos
Asbestos refers to six fibrous mineral types (Actinolite, Amosite, Anthophyllite, Chrysotile, Crocidolite and Tremolite) widely used in building and manufacturing until their ban in the United Kingdom in 1985.
The Asbestos module enables you to assess, identify and manage sources of asbestos-containing materials (ACM).
An Asbestos Component is a piece of building fabric which contains asbestos, and contains the location, unique reference number, physical position of the asbestos, a description, and comments. An Asbestos Component can be linked directly to components already recorded within the location of asbestos component (for example: ceilings, floors, windows and so on) and allow you to specify exactly which components in a building contain asbestos.
A risk score is created and comprises of a Material Risk which assesses the stability of the asbestos, and Priority Risk, which amongst other things assesses the risk of human contact with this material. You can also record additional details about asbestos samples taken (for example: the condition of the sample).
Asbestos Component can be created or edited within the Surveyor Workspace.
To add a new request:
Navigate to Health and Safety > Asbestos > New Asbestos Component.
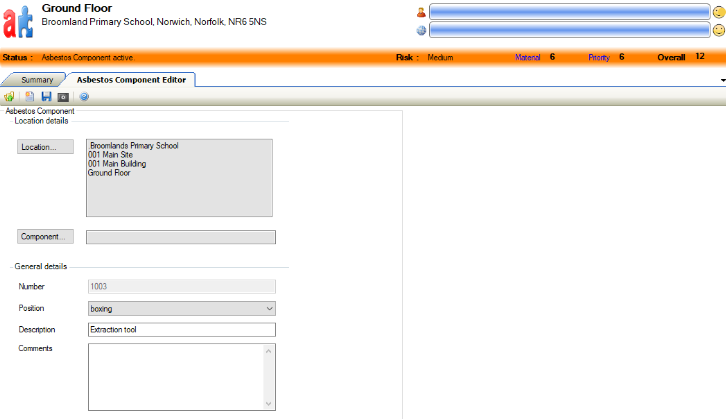
The Asbestos Component Editor tab is displayed.
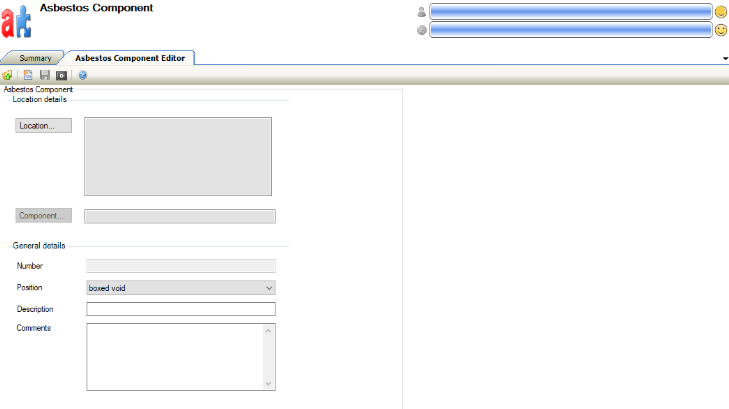
Enter details of the request.
The fields on the Asbestos Component tab are described in the following table:
This field… | Holds this information... |
|---|---|
Location | This field is mandatory. The location of the asbestos component.
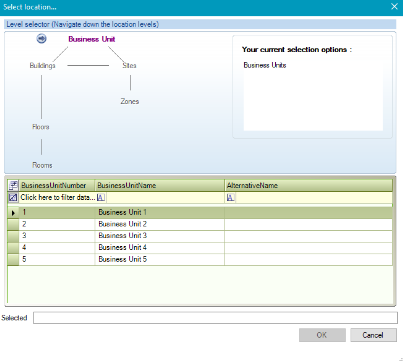 Use the level selector to select the relevant room, floor, zone, building, site or business unit. |
Component | The relevant component located at the specified location. These can be defined by adding a new component (accessed by navigating to Functions > Component > New component). |
Number | The number of components. |
Position | The position of the asbestos component. Select from the drop-down list. |
Description | The description of the asbestos component. This field is mandatory. |
Comments | The comments associated with the component. |
Click Save.
The risk associated with the component is displayed, with a colour banner indicating the severity.

The colour banner associated with a risk level can be defined in Risk Formulae Reference Data (accessed by navigating to Health and Safety > Asbestos > Asbestos).
When you create a new Asbestos Component, the following buttons are added to the Tasks panel:
Copy Asbestos Component
New Sample
New Action
New Condition
New Event
New Material risk
New Priority risk
To edit an Asbestos Component:
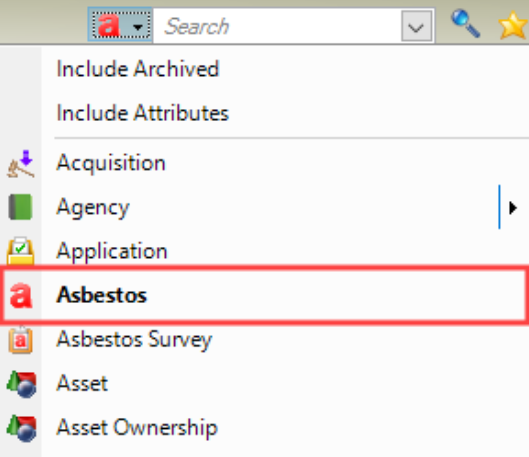
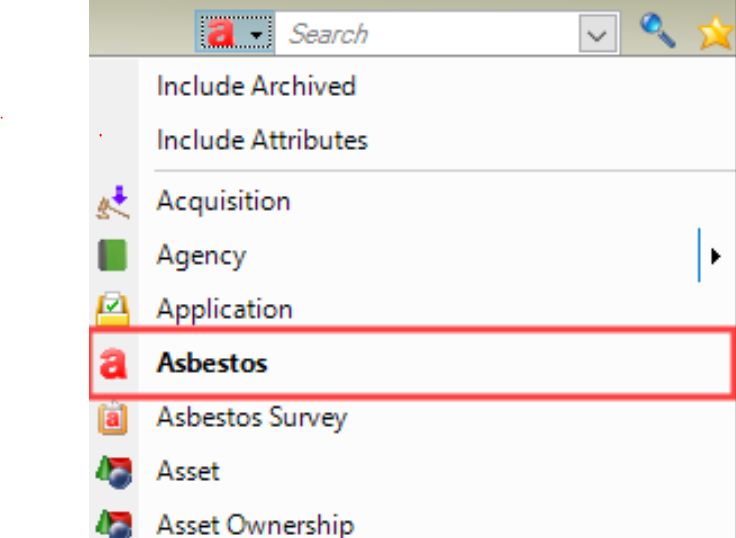
Select Asbestos from the drop-down list adjacent to the search bar.
Enter the search text and the request number.
Click the Search button.

Results are displayed in the Search Results Panel. Double-click the relevant record to open it.

If you want to adjust the number of fields displayed:
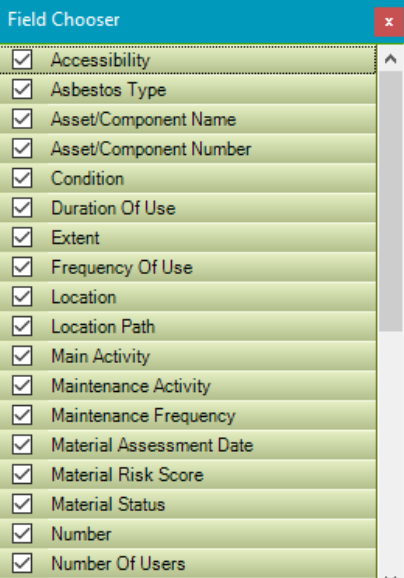
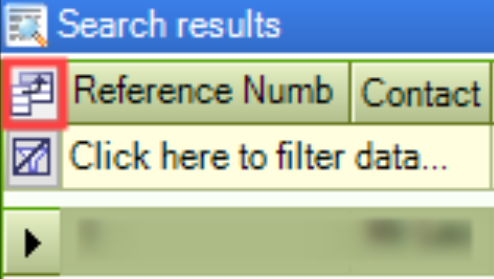
Click the Field button to open the Field Chooser window.
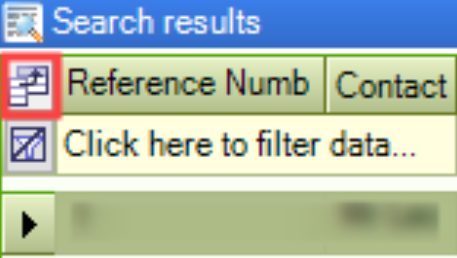
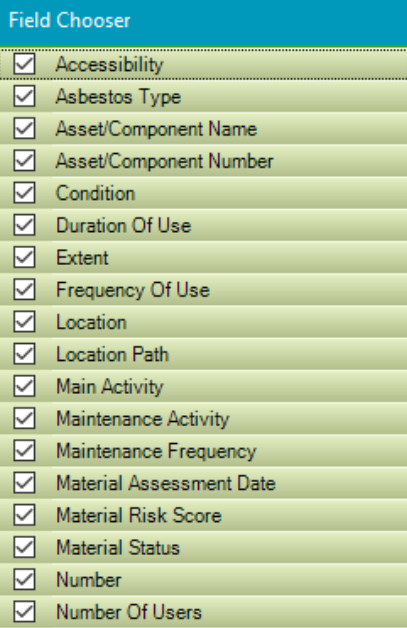
Select or de-select the fields as appropriate.
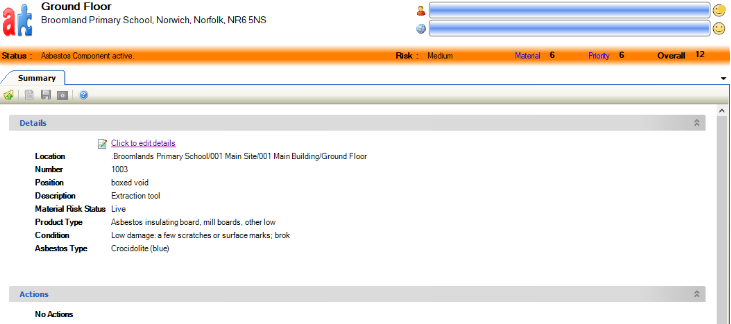
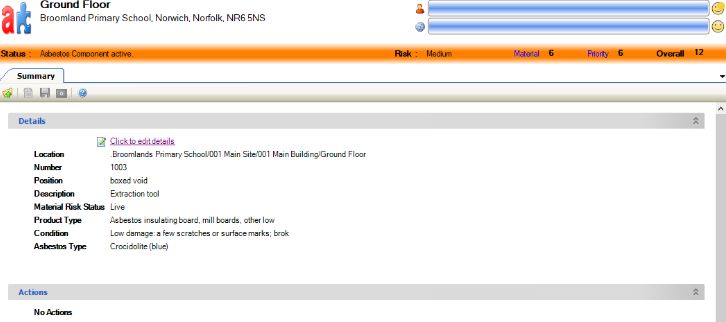
Select Click to edit details to open the request.
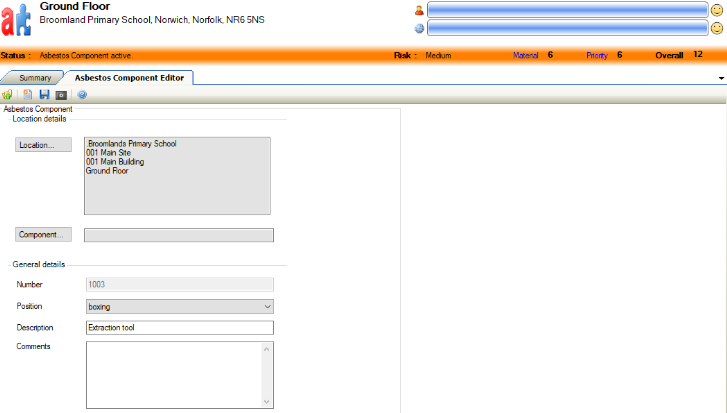
The Asbestos Component Editor tab is displayed.
Update the relevant details.
Click Save.

To archive an Asbestos Component:
Select Asbestos from the drop-down list adjacent to the search bar.
Enter the search text and the request number.
Click the Search button.

Results are displayed in the Search Results Panel. Double-click the relevant record to open it.

If you want to adjust the number of fields displayed:
Click the Field button to open the Field Chooser window.
Select or de-select the fields as appropriate.
Select Click to edit details to open the request.
The Asbestos Component Editor tab is displayed.
Click the Archive button.

The Asbestos Status window is displayed.
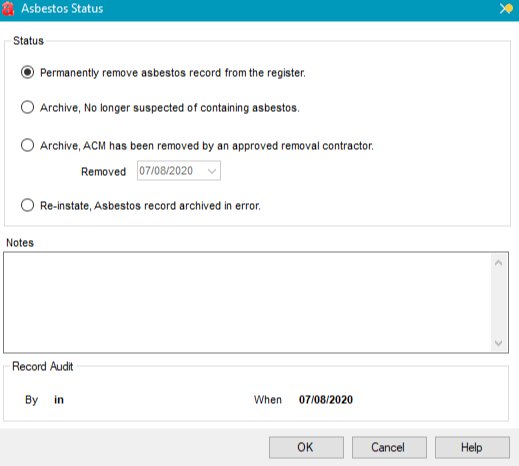
Enter the relevant details.
The fields on the Asbestos Status window are described in the following table:
This field… | Holds this information... |
|---|---|
Status | The status of the component. Choose from:
|
Notes | The description of the removal, archive or reinstatement. |
Record Audit | The identity of the survey archiver and the date archived. |
Click OK.
The risk associated with the component is updated, with the colour banner which indicates the severity, adjusted to grey.

Users with the system administrator role can re-instate archived asbestos components.
Copy Asbestos Component is added to the Tasks tab when you create a new Asbestos Component.
To copy an asbestos component:
Click the Copy Asbestos Component button in the Tasks panel.
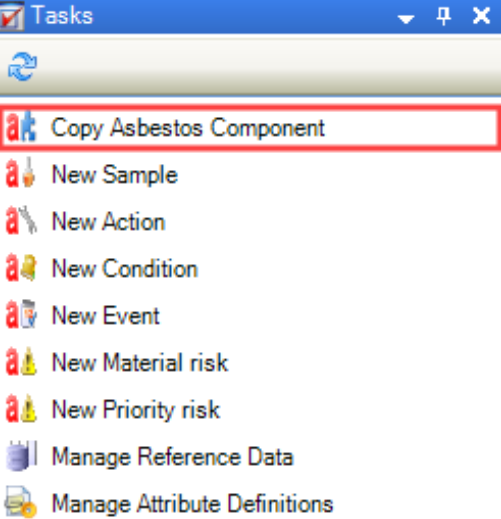
The Copy Asbestos Component window is displayed.
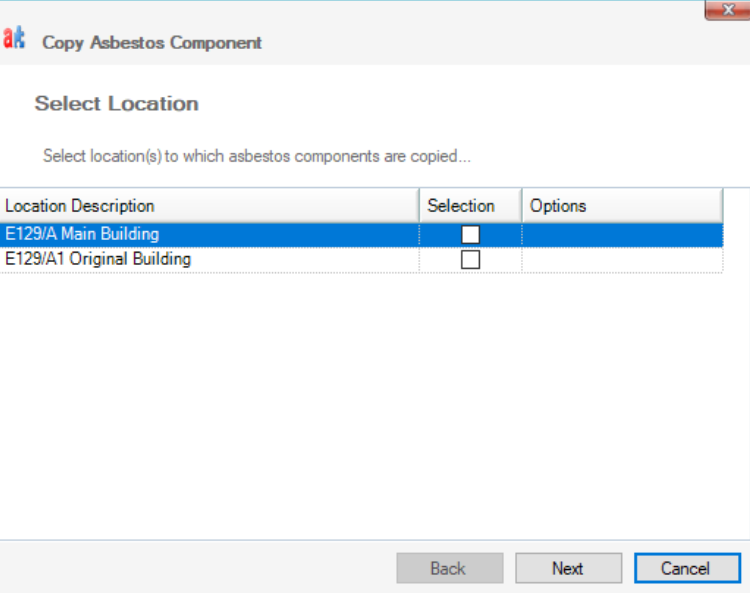
Enter details of the component to copy.
The fields on the Copy Asbestos Component window are described in the following table:
This field… | Holds this information... |
|---|---|
Location Description | The asbestos location to copy. |
Selection | Whether the location is selected. |
Options | Whether to match to the existing component. Select from the following:
|
Click Next.
The result of the copy process is displayed.
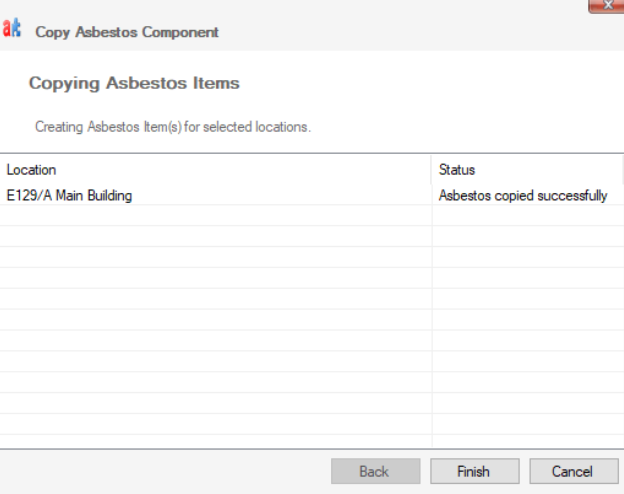
Click Finish.
The asbestos component is copied and can be searched.
A new Sample is added to the Tasks tab when you create a new Asbestos Component.
To add a sample to an Asbestos component:
Click the New Sample option in the Tasks panel.

The Sample screen is displayed.
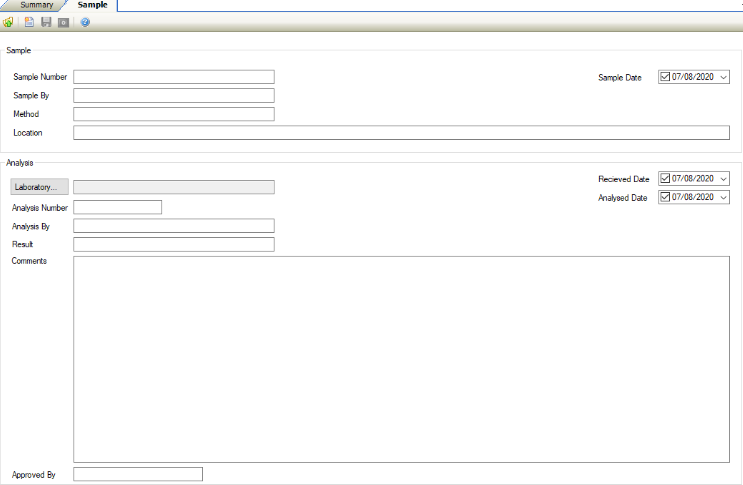
Enter or edit the relevant details.
The fields on the Sample screen are described in the following table:
This field… | Holds this information... |
|---|---|
Sample Number | The unique number that identifies the sample. This field is mandatory. |
Sample By | The individual that obtained the sample. |
Method | The method used to obtain the sample. |
Location | The location where the sample was obtained. |
Sample Date | The date the sample was obtained. |
Laboratory | The laboratory where the sample was examined. These can be defined in Laboratories Reference Data (accessed by navigating to Health and Safety > Asbestos > Asbestos). |
Analysis Number | The unique number that identifies the analysis of the sample. |
Analysis By | The individual that analysed the sample. |
Result | The result of the analysis. |
Comments | Comments about the analysis of the sample. |
Approved By | The individual that approved the analysis of the sample. |
Received Date | The date the sample was received. |
Analysed Date | The date the sample was analysed. |
Click Save.
A message is displayed where you can define whether the sample is considered the current sample entry
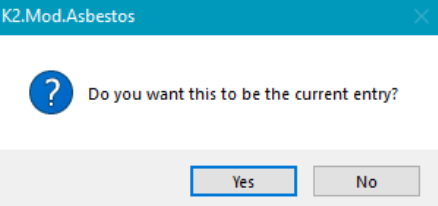
Click Yes or No.
An action enables you to schedule and perform an assessment to manage and reduce the risks from asbestos (for example: determine the location of materials that are likely to contain asbestos, or maintain a record of the location of the known location of asbestos or presumed asbestos materials, and so on).
New Action is added to the Tasks tab when you create a new Asbestos Component.
To add an action to an Asbestos component:
Click the New Action option in the Tasks panel.
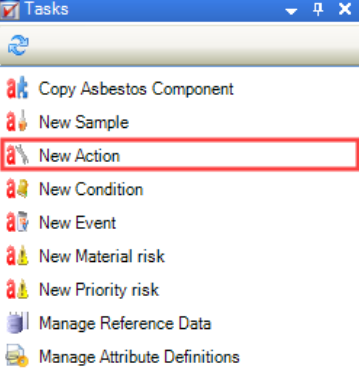
The Action Editor tab is displayed.
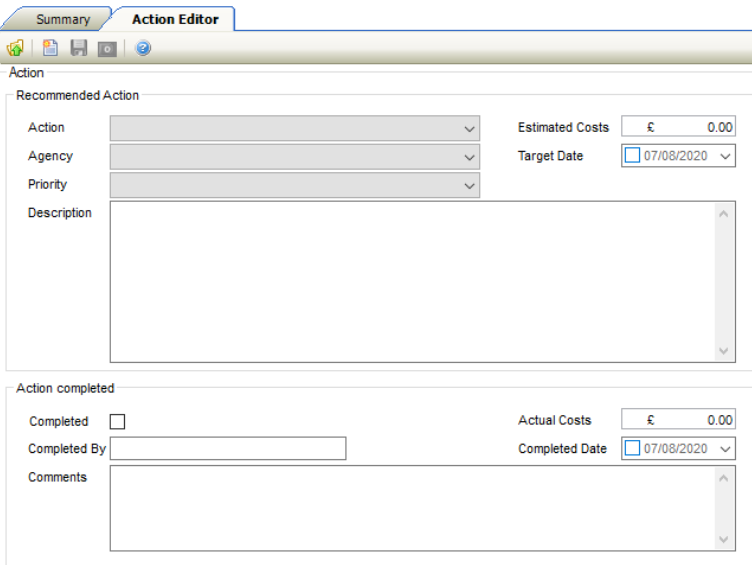
Enter details of the action.
The fields on the Action Editor tab are described in the following table:
This field… | Holds this information... |
|---|---|
Action | The action to be performed.
These can be defined in Action Type Reference Data (accessed by navigating to Health and Safety > Asbestos > Asbestos). |
Agency | The relevant agency.
These can be defined in Asbestos Agency Reference Data (accessed by navigating to Health and Safety > Asbestos > Asbestos). |
Priority | The priority of the action.
These can be defined in Priority Type Reference Data (accessed by navigating to Health and Safety > Asbestos > Asbestos). |
Description | The description of the action. |
Estimated Costs | The cost associated with action. |
Target Date | The intended date for the action to be completed. |
Completed | Whether the action is complete. |
Completed By | The identity of the individual completing the action. |
Comments | Comments associated with the completion of the action. |
Actual Costs | The total cost of completing the action. |
Completed Date | The date of completion. |
Click Save.
The Asbestos Condition Check enables you to maintain a detailed record of damage, risk of exposure, and repairs required for asbestos-containing materials (ACM).
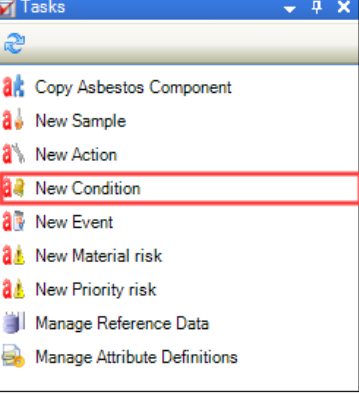
New Condition is added to the Tasks tab when you create a new Asbestos Component.
To add a condition to an asbestos component:
Click the New Condition option in the Tasks panel.
The Asbestos Condition Check window is displayed.
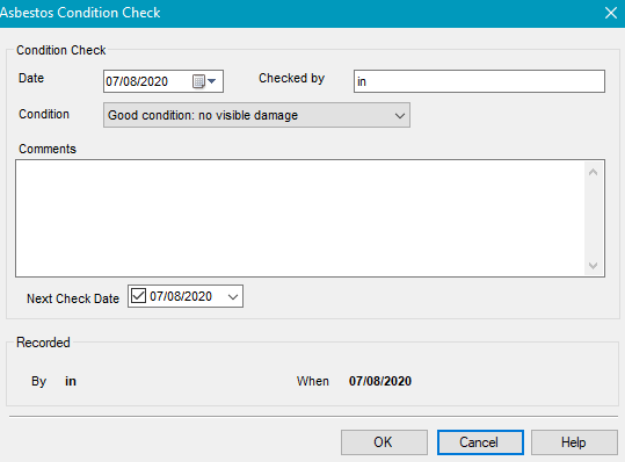
Enter details of the condition.
The fields on the Asbestos Condition Check window are described in the following table:
This field… | Holds this information... |
|---|---|
Date | The date of the condition check. |
Condition | The condition of the repair. |
Comments | Comments about the condition check. |
Next Check Date | The date of the next scheduled check. |
Checked by | The individual performing the condition check. |
Recorded | The individual performing the check and the relevant date. |
Click OK.
You can use an event to record user and system-generated events about asbestos.
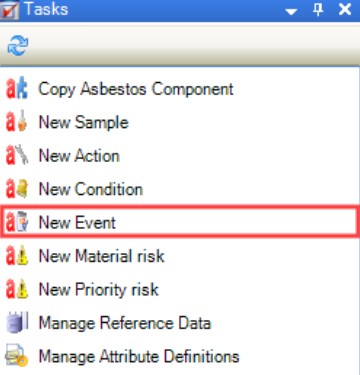
A new Event is added to the Tasks tab when you create a new Asbestos Component.
To add a condition to an asbestos component:
Click the New Event button or search for and open the relevant Asbestos component.
The Event window is displayed.

Enter details of the event.
The fields on the Event window are described in the following table:
This field… | Holds this information... |
|---|---|
Associated To | The type of record that the event is associated with. Set to Asbestos by default. This field cannot be altered. |
When | The date of the event. |
Status |
|
Description | The description of the event. |
Comment | Comments associated with the event. |
Event Type | The event type.
These can be defined in Asset Event Type Reference Data (accessed by navigating to Functions > Asset > Asset). |
Notify | Whether to distribute a notification of the event. Choose from:
Selecting a notification adds an event to the calendar (accessed by navigating to View > Calendar). |
Last edited by | The individual that last edited the record. |
Click OK.
The Events tab is displayed.

You can perform a material risk assessment to establish the relative ability of various types of asbestos-containing materials (ACM) to release fibres into the air when disturbed.
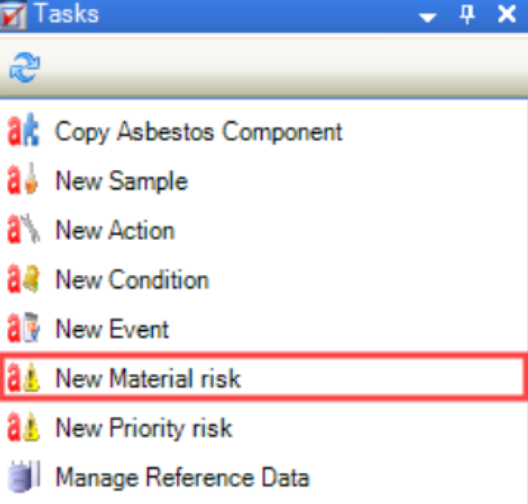
New Material risk is added to the Tasks tab when you create a new Asbestos Component.
To add a Material Risk to an asbestos component:
Click the New Material risk button or search for and open the relevant asbestos component. Alternatively, click the Material button in the Status panel.
The Material Risk Editor tab is displayed.
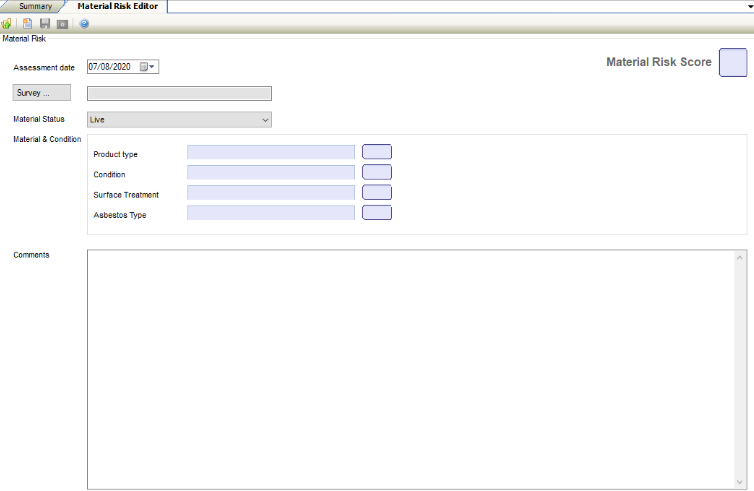
Enter details of the material risk.
The fields on the Material Risk Editor tab are described in the following table:
This field… | Holds this information... |
|---|---|
Assessment date | The date of the risk assessment. |
Survey | The associated survey. |
Material Status | The availability and access to the material. These can be defined in Material Status Reference Data (accessed by navigating to Health and Safety > Asbestos > Asbestos). |
Material & Condition | The risk information relating to:
|
Comments | Comments about the material risk record. |
Material Risk Score | The risk score. The score is calculated from the rating applied to the selected Material & Conditions. |
Click Save.
The status associated with the material risk is displayed, with a colour banner indicating the risk, material, priority, and overall status.

Priority risks involve calculating how much risk the asbestos component represents within the present environment. It regards the size of the asbestos area Size of the location in relevant units typically square metres or hectares, the room size, and the amount of people using the room.
A New Priority Risk is added to the Tasks tab when you create a new Asbestos Component.
To add a Priority Risk to an asbestos component:
Click the New Priority risk button or search for and open the relevant asbestos component. Alternatively, click the Priority button in the Status panel.
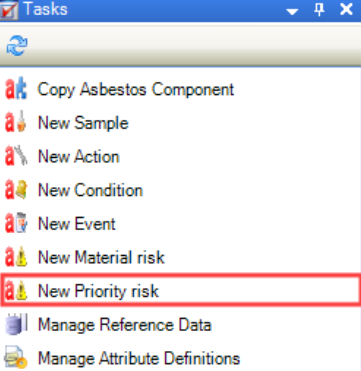
The Priority Risk Editor tab is displayed.
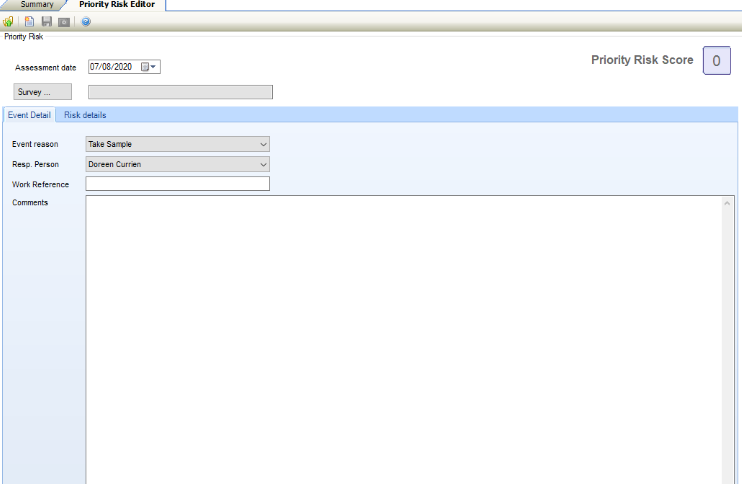
Enter details of the material risk.
The fields on the Priority Risk Editor tab are described in the following table:
This field… | Holds this information... |
|---|---|
Assessment Date | The date of the priority risk assessment. |
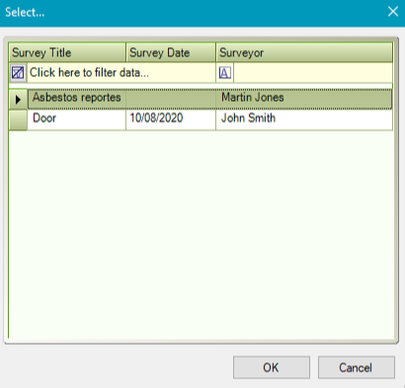
Survey | The associated survey.
 |
Priority Risk Score | The risk score. The score is calculated from the rating applied to the relevant fields in the Risk details section. |
Event reason | The purpose of the event.
These can be defined in Asbestos Events Reference Data (accessed by navigating to Health and Safety > Asbestos > Asbestos). |
Resp Person | The individual responsible for the priority risk event.
These can be defined in Responsible Person Reference Data (accessed by navigating to Functions > Core > Reference Data > Core). |
Work Reference | The reference for the risk. |
Comments | Comments about the risk. |
Select the Risk Details tab.
The Risk Details tab is displayed.
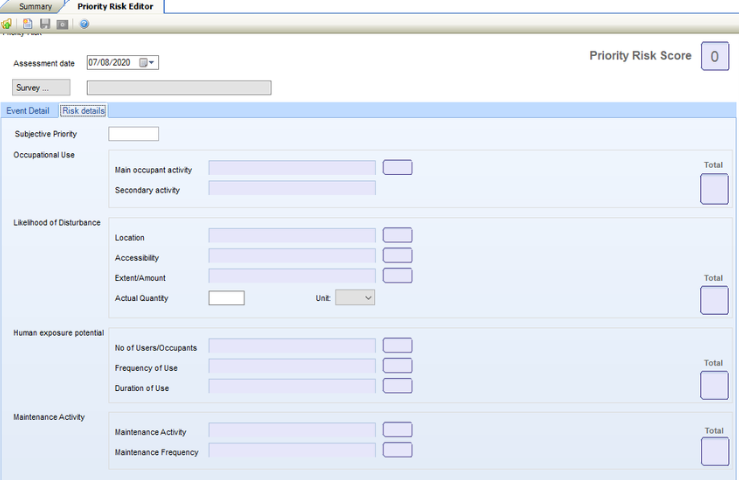
Enter details of the request.
The fields on the Risk Details tab are described in the following table:
This field… | Holds this information... |
|---|---|
Subjective Priority | The priority value of the risk. |
Occupational Use | The risk information relating to:
|
Likelihood of Disturbance | The risk information relating to:
|
Human exposure potential | The risk information relating to:
|
Maintenance Activity | The risk information relating to:
|
Click Save.
The status associated with the priority risk is displayed, with a colour banner indicating the risk, material, priority, and overall status.

Other related topic for the Asbestos module are:
