
Managing Condition Surveys
Select from the following for managing condition survey records:
To add or edit a condition survey, do one of the following:
Navigate to Maintenance > Condition > New Condition Survey
Search for an existing condition survey
Click the Create a new Condition Survey option on the Survey Home screen in the Surveyor workspace
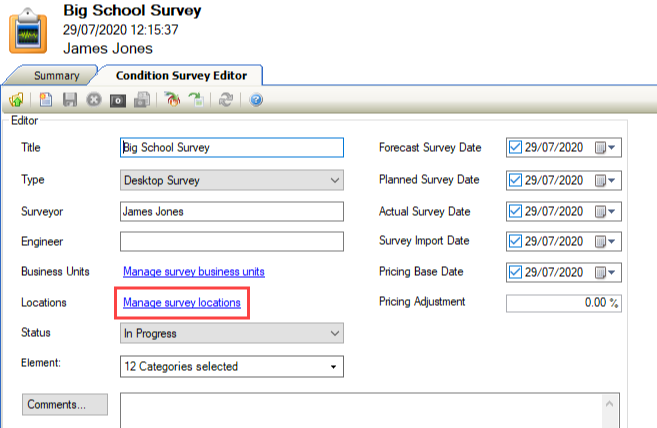
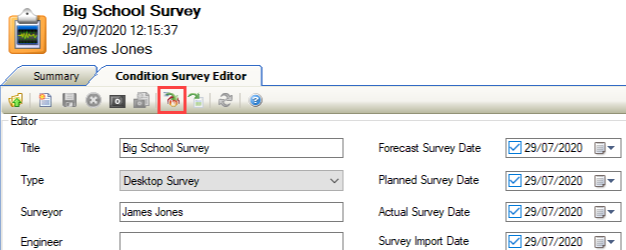
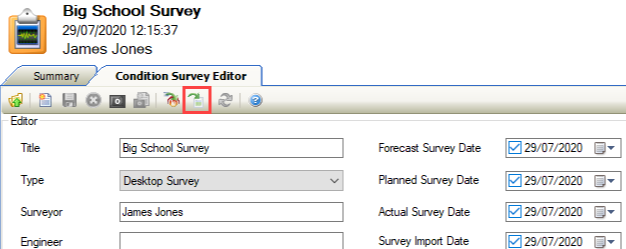
The Condition Survey Editor is displayed.
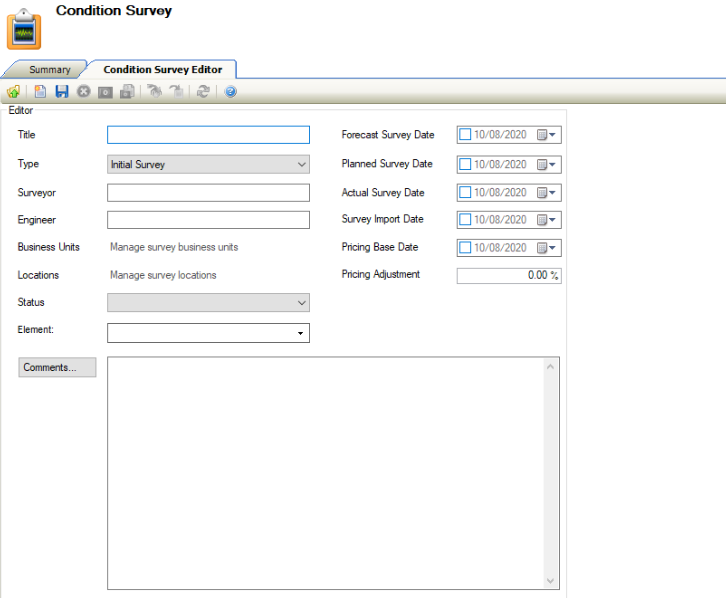
Enter or edit the relevant details.
The fields on the Condition Survey Editor are described in the following table:
This field | Holds this information... |
|---|---|
Title | A title for the condition survey. This field is mandatory. |
Type | The survey type. These can be defined in Survey Types Reference Data (accessed by navigating to Maintenance > Condition > Condition). |
Surveyor | The name of the surveyor. This field is mandatory. |
Engineer | The name of the engineer that undertook the mechanical and electrical survey. |
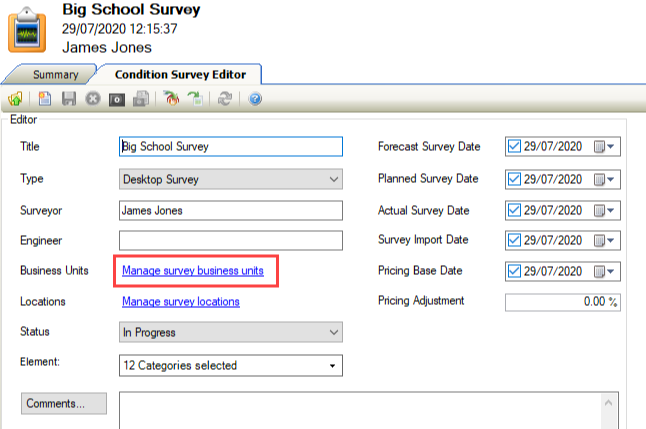
Business Units | The business unit(s) linked to the condition survey. Refer to Manage Survey Business Units for further information. |
Locations | The location(s) linked to the condition survey. Refer to Manage survey locations for further information. |
Status | The status of the survey. These can be defined in Survey Status Reference Data (accessed by navigating to Maintenance > Condition > Condition). |
Element | The element categories to be included in the survey. This field is mandatory. These can be defined in Element List Reference Data (accessed by navigating to Maintenance > Condition > Condition) |
Forecast Survey Date | The date that the survey is forecasted for. |
Planned Survey Date | The date that the survey is planned for. |
Actual Survey Date | The date that the survey was carried out. |
Survey Import Date | The date that the survey data was imported. You must input this data manually. |
Pricing Base Date | The date that the Schedule of Rates (SoR) pricing is taken from. |
Pricing Adjustment | The pricing adjustment percentage from the Schedule of Rates (SoR). |
Comments | Any comments on the condition survey? |
Click Save.
The Survey Locations screen is displayed automatically on saving for the first time. Refer to Managing Survey Locations for further information.
To manage survey business units:
Click the Manage Survey Business Units link on the Condition Survey Editor.
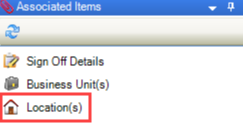
Alternatively, click the Associated Items panel's Business Unit(s) option.

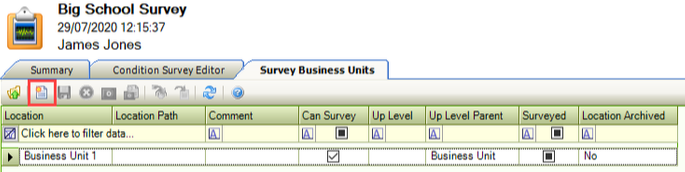
The Survey Business Units screen is displayed.

Do one of the following:
Click the New button to add a business unit.
Select a record and then click the Delete button to remove the business unit.
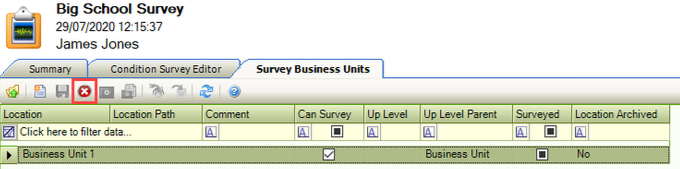
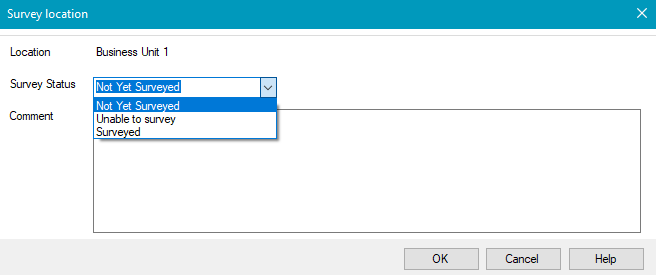
Double-click a record to display the Survey location window, where you can specify the survey status and record any comments.
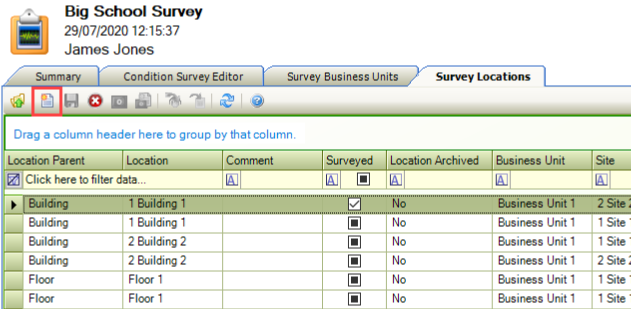
To manage survey locations:
Click the Manage Survey Locations link on the Condition Survey Editor.
Alternatively, click the Location(s) option in the Associated Items panel.
The Survey Locations screen is displayed.
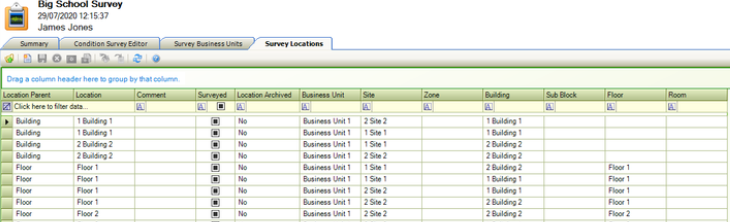
Do one of the following:
Click the New button to add a location.
Select a record and then click the Delete button to remove the location.
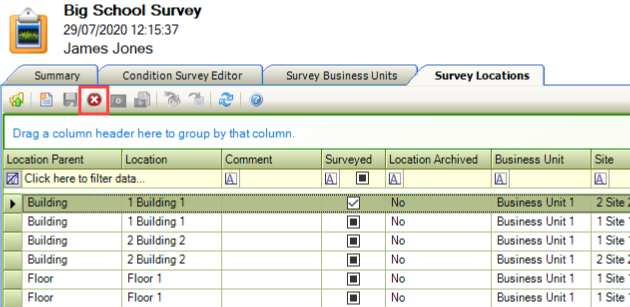
Double-click a record to display the Survey location window, where you can specify the survey status and record any comments.
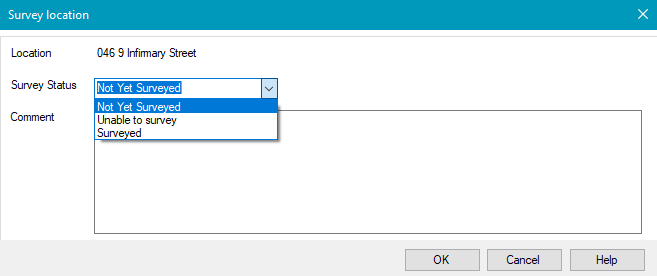
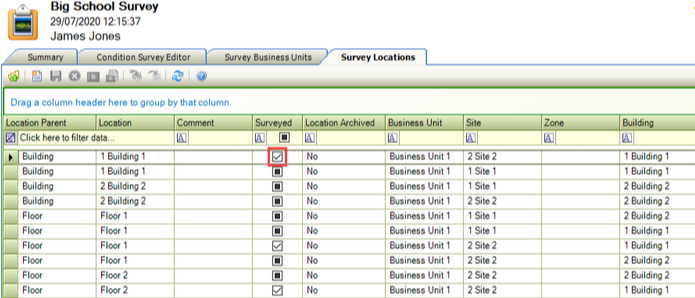
After clicking OK, any locations marked as 'Surveyed' will have a black check box selected and any marked as 'Unable to survey' will have a blank check box in the Surveyed column.
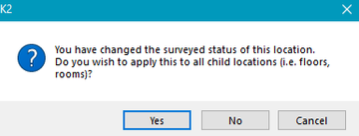
If a location has child items, a window is displayed asking if you want the survey status to cascade to those child items.
You can re-import condition data after editing an exported spreadsheet.
To import condition data:
Click the Import button.
The Import Condition data window is displayed.
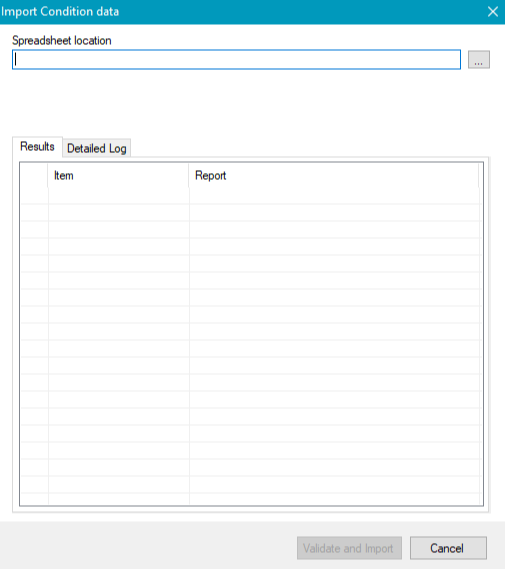
Click the ... button adjacent to the Spreadsheet location field.

The Open window is displayed.

Navigate to and select the relevant file, and then click Open.
Click the Validate and Import button to run the process.
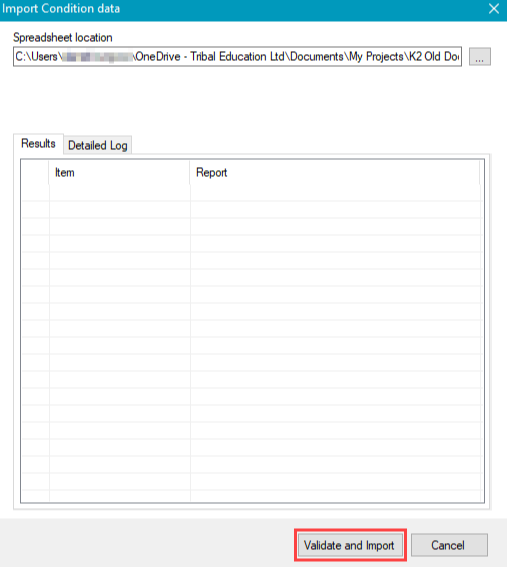
Use the Results and Detailed Log tabs to view information about the process.
You must create a Condition Survey Template before exporting condition data.
To export condition data:
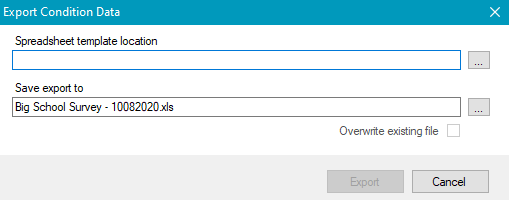
Click the Export button.
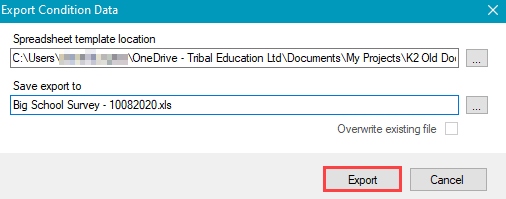
The Export Condition Data window is displayed.
Click the ... button adjacent to the Spreadsheet Template Location field.
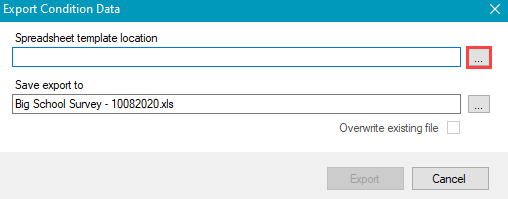
The Open window is displayed.
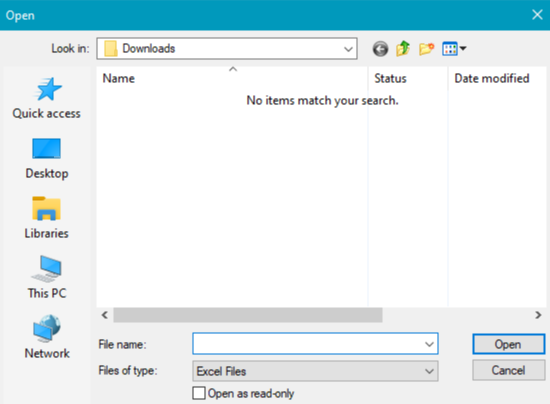
Navigate to and select the relevant files, and then click Open.
Click the ... button adjacent to the Save Export To field.
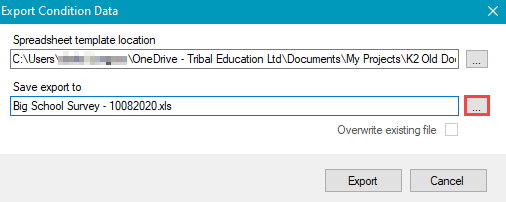
The Open window is displayed.
Navigate to the relevant location, enter a name for the file, and then click Save.
Click the Export button to run the export.
A condition survey can be signed off, which allows a Quality Assurance Audit of the survey to be logged.
A survey can only be signed off once.
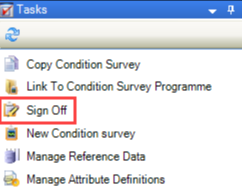
To sign off a condition survey:
Click the Sign Off option in the Tasks panel.
Alternatively, click the Sign Off Details option in the Associated Items panel.
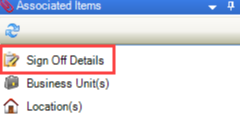
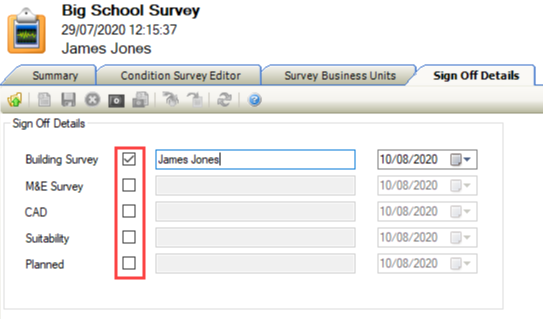
The Sign Off Details screen is displayed.
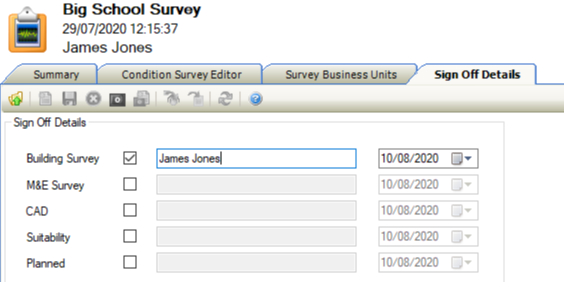
If an aspect of the condition survey has been signed off, select the relevant check box.
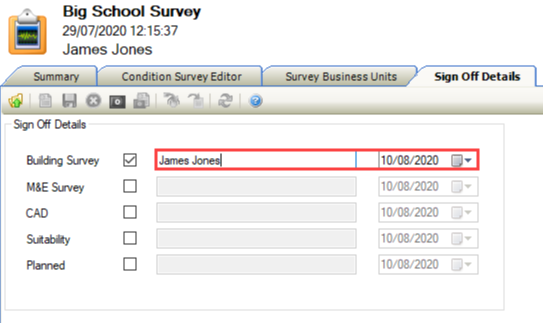
Enter the name of the person who signed off the aspect of the survey and select the date it was signed off.
Click Save.