Consent
A consent record is created when formal approval is required to carry out an action, for example:
Building consent
Land use consent
Liquor licensing
Resource consent
Service delivery (that is: approval to deliver services from a premises)
Trade waste discharge approval
A consent record can link to physical locations, assets, trees, orders and leases.
Select from the following for information on managing consent records:
To add or edit a consent record:
Navigate to Estates > Consent > New Consent.
Alternatively, open the relevant physical location, asset, tree, or lease record and then do one of the following:
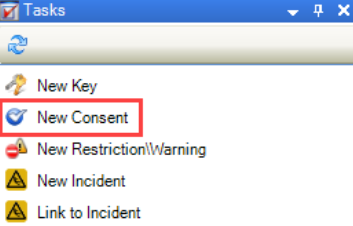
Click the New Consent option in the Tasks panel.
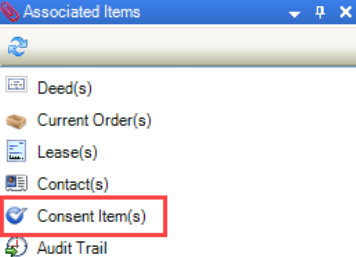
Click the Consent Item(s) option in the Associated Items panel, then double-click an existing record to open it.
The Consent Editor is displayed.
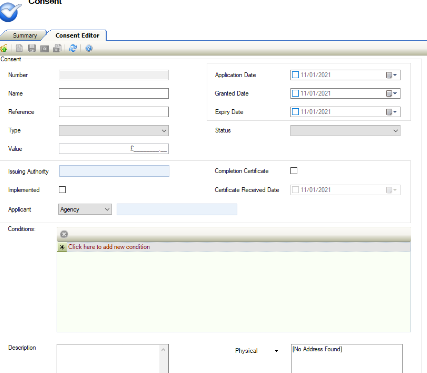
Enter or edit the relevant details.
The fields on the Consent Editor are described in the following table:
This field… | Holds this information... |
|---|---|
Number | The consent record number. This is populated automatically if the Consent Record Auto Unique Number system setting (accessed by navigating to Tools > System Options and then clicking the System Options button) is set to 'True'. |
Name | The name of the consent record. This field is mandatory. |
Reference | A reference number associated with the consent record. This is typically provided by the issuing authority. |
Type | The type of consent. This field is mandatory. These can be defined in Consent Type Reference Data (accessed by navigating to Estates > Consent > Consent). |
Value | The value of the work that the consent relates to. |
Application Date | The date when the consent was applied for. |
Granted Date | The date that the issuing authority granted the consent. |
Expiry Date | The date that the consent expires. |
Status | The status of the consent. This field is mandatory. These can be defined in Consent Status Reference Data (accessed by navigating to Estates > Consent > Consent). |
Issuing Authority | The name of the agency that granted the consent. Refer to Adding or Editing an Agency for further information on adding an agency. |
Implemented | Whether the consent has been implemented. |
Applicant | The agency, contact, or department that applied for the consent. Their record must already exist in the system in order to be added. Refer to the following for further information: |
Completion Certificate | Whether a completion certificate has been provided by the issuing authority. |
Certificate Received Date | The date the completion certificate was received. |
Conditions | Any conditions associated with the consent. |
Description | Any further details on the consent. |
Physical/Postal <Address Field> | The address of where the consent relates to. |
Click Save
To add or edit an event:
Search for and open the relevant consent record.
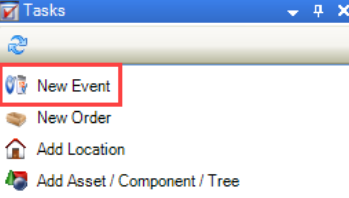
Select the New Event option in the Tasks panel.
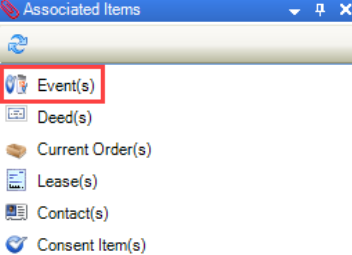
Alternatively, select the Event(s) option from the Associated Items panel and double-click an existing record.
The Event window is displayed.
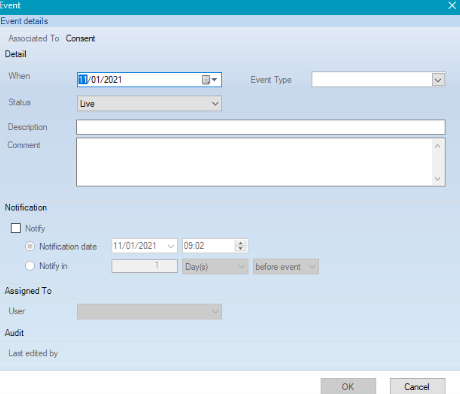
Enter or edit the relevant details.
The fields on the Event window are described in the following table:
This field… | Holds this information... |
|---|---|
Associated To | The consent record that the event is linked to. |
When | The date of the event. |
Event Type | The type of event. This field is mandatory. These can be defined in Consent Event Type Reference Data (accessed by navigating to Estates > Consent > Consent). |
Status | The event status (for example: Live). |
Description | A description of the event. |
Comment | Further information on the event. |
Notify | Whether to create a notification message. If selected, do one of the following:
|
Last edited by | The user who last updated the event details. |
Click OK.
The Events screen is displayed with the new event added.
To add a location to a consent record:
Search for and open the relevant consent record.
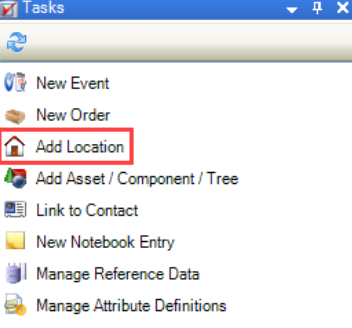
Click the Add Location option in the Tasks panel.
The Select location window is displayed.
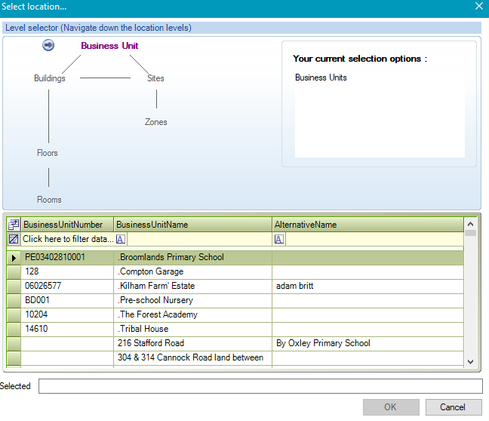
Select the relevant location and then click OK.
The Consent Item List is displayed and the location record is included.
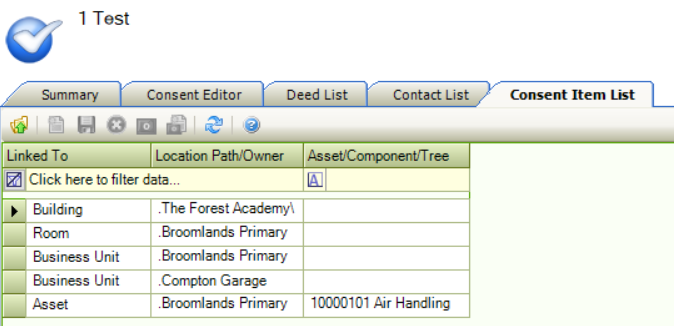
You can delete a record by selecting it and clicking the Delete button.
To add an asset, component, or tree to a consent record:
Search for and open the relevant consent record.
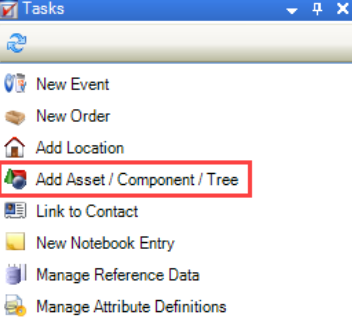
Click the Add Asset/Component/Tree option in the Tasks panel.
The Asset Selector window is displayed.
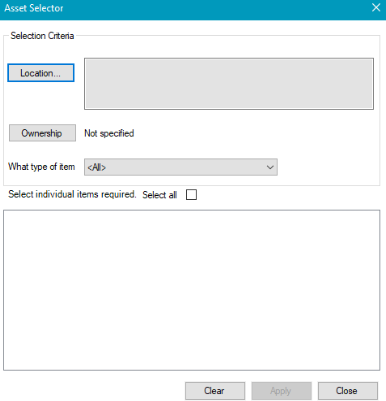
Enter the relevant details. All fields are optional, but at least one must be populated to display any results.
The fields on the Asset Selector window are described in the following table:
This field… | Holds this information... |
|---|---|
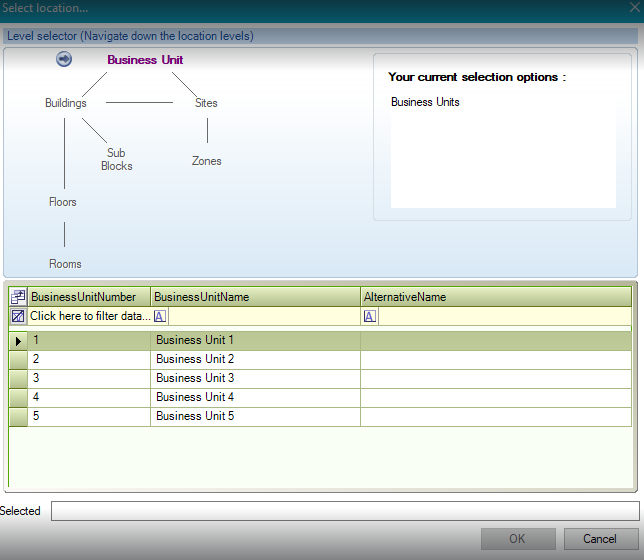
Location | The location of the asset, component or tree.
 |
Ownership | The owner of the asset, component or tree.
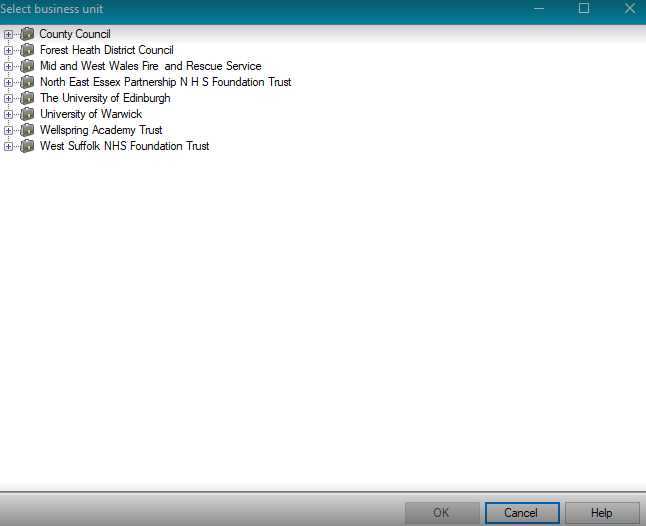 |
What type of item | Whether the item is an asset, component or tree. On selecting an option, filter fields are displayed, which allow you to find the relevant item more easily. |
Select the relevant check box(es) and then click OK.
The Consent Item List is displayed and the asset, component, or tree record is included.
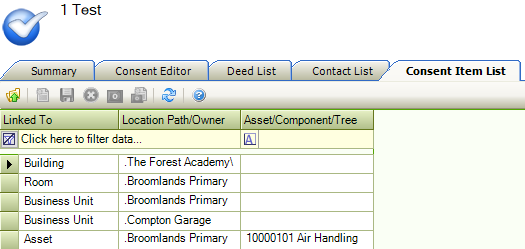
You can delete a record by selecting it and clicking the Delete button.
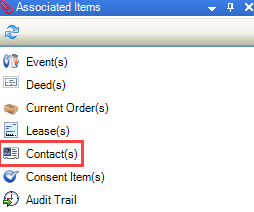
This screen can also be accessed by clicking the Contact(s) option in the Associated Items panel.
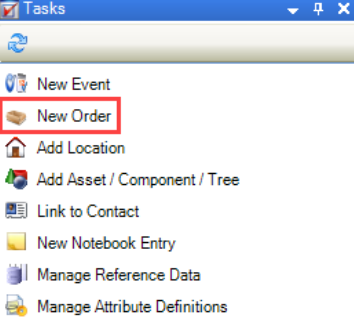
To add an order to a consent record, click the New Order option in the Tasks panel of a consent record.
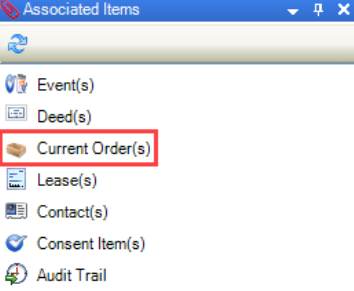
Alternatively, click the Current Order(s) option in the Associated Items panel and double-click an existing record.
Refer to Adding or Editing an Order for further information.
To link a contact to a consent record:
Search for and open the relevant consent record.
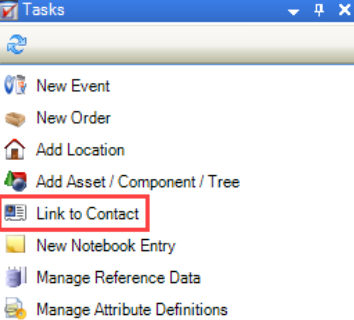
Click the Link to Contact option in the Tasks panel.
The Contact Picker window is displayed.
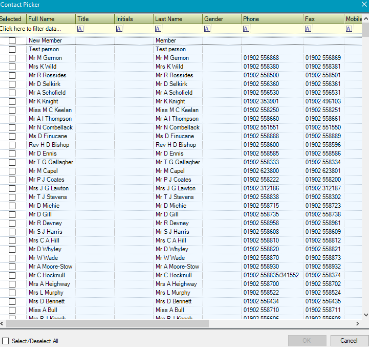
Select the relevant contact(s) and then click OK.
The Contact List is displayed, which includes all linked contacts.

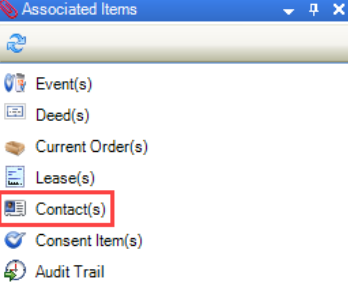
This screen can also be accessed by clicking the Contact(s) option in the Associated Items panel.
Refer to Consent Reference Data for further information.
Refer to Managing Notes for further information.
Refer to Using Attribute Manager for further information.
Related Topics
Click the links below to navigate to the following related topics:
