Managing Roles
Roles can be managed by navigating to Tools > Admin > User/Role Security.
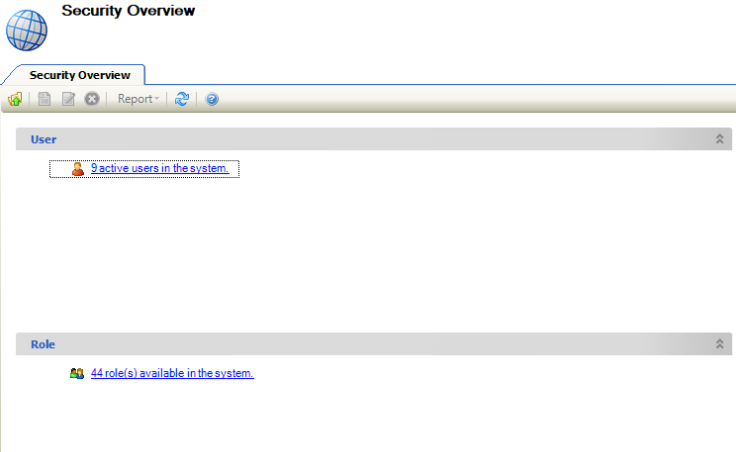
The Security Overview screen is displayed, which tells you the number of active users and roles available in the system.
To assign permissions to a permissions role:
Open the relevant permission role. Refer to View an existing role record for further information.
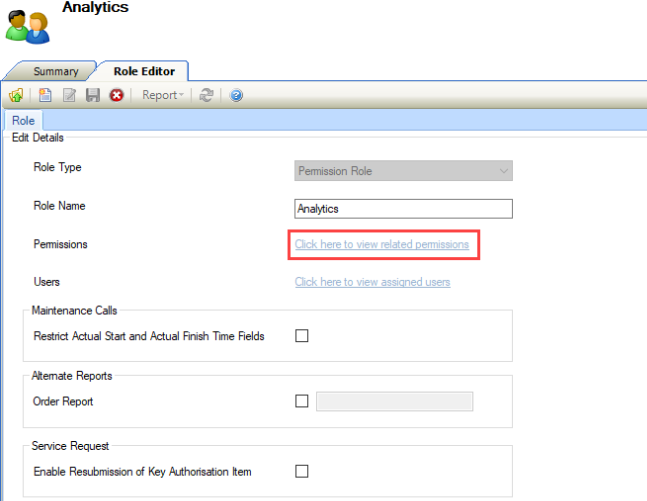
Click the Click here to view related permissions link in the Role Editor.
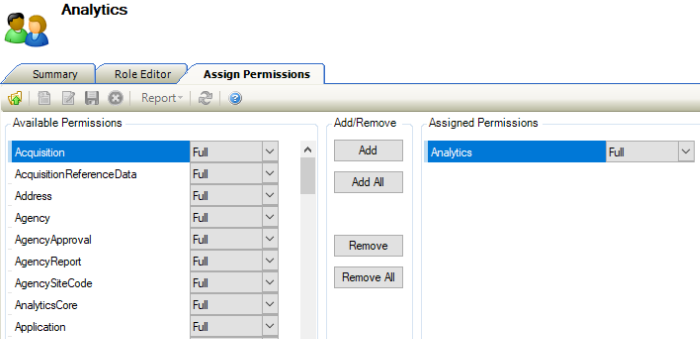
The Assign Permissions screen is displayed. The left-hand panel displays all of the permissions that can be assigned, and the right-hand panel displays the permissions that have been assigned to the role.
Refer to Permission Definitions for further information.
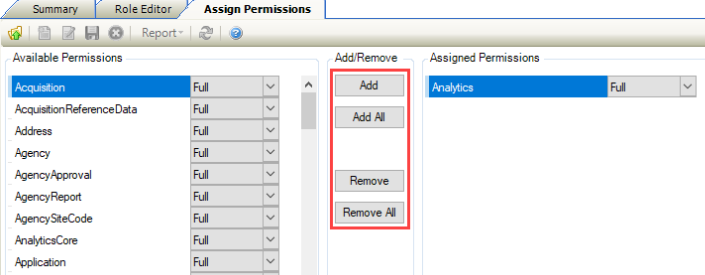
Select the permission and use the Add, Add All, Remove, and Remove All buttons to assign the permissions to the role.
You can select multiple records using Shift-click (for a series of records), Ctrl-click (for individual records), or Ctrl-A (for all records).
For each permission, select whether the permission should be full, edit only, or view only from the respective drop-down lists.
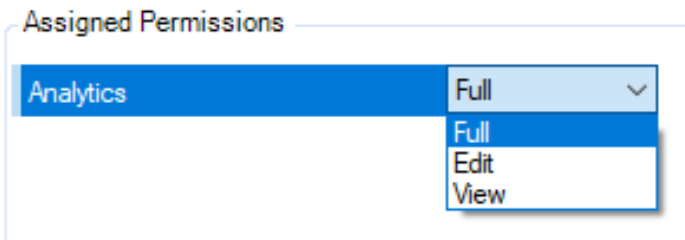
Click Save.
A user can be assigned to multiple roles, even if roles have conflicting permissions. The permission assigned to the user will be ‘higher’ permission (that is: Full overrules Edit, Edit overrules View and View overrules an unassigned permission).
To assign a role to the user:
Open the relevant role. Refer to View an Existing Role Record for further information.
Click on the Click here to view assigned users link in the Role Editor.
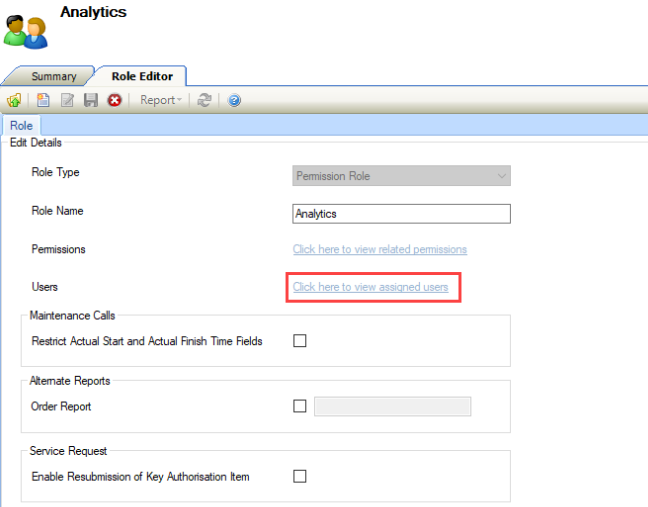
The Assign Users screen is displayed. The left-hand panel displays all of the users that can be assigned, and the right-hand panel displays the users that the role has been assigned to.

Select the user and use the Add, Add All, Remove, and Remove All buttons to assign the users to the role.

Click Save.
To add or edit a permission role:
Do one of the following:
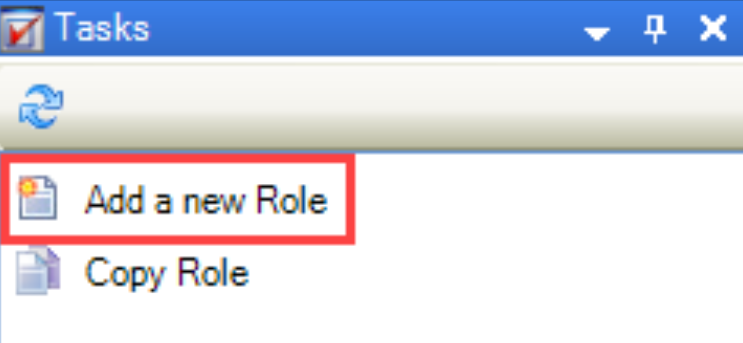
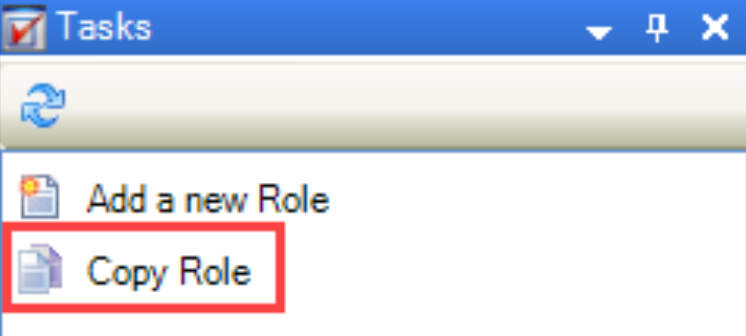
Click the Add a new Role option in the Tasks panel.
Open an existing record to edit its details
Open an existing record, and then click the Copy Role option in the Tasks panel to create a duplicate record
The Role Editor is displayed.
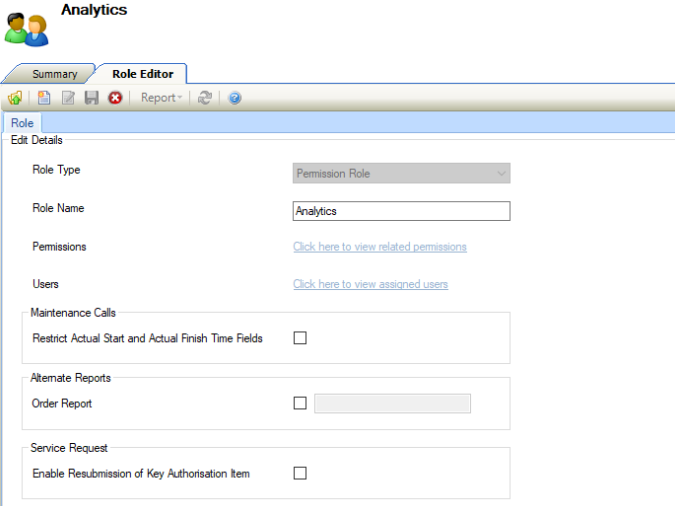
Select 'Permission Role' from the Role Type drop-down list.
This field cannot be edited on saving.
Enter the remaining details.
The remaining fields on the Role Editor are described in the following table:
This field… | Holds this information... |
|---|---|
Role Name | The name of the role. |
Permissions | The permissions that have been assigned to the role. This is only enabled after the record has been saved. Refer to Permission Definitions for further information. |
Users | The users that the role has been assigned to. This is only enabled after the record has been saved. Refer to Assign a role to a user for further information. |
Restrict Actual Start and Actual Finish Time Fields | Whether the user can edit or update the actual start time or active finish times fields of a maintenance service request. |
Order Report | Whether to allow the user to run a different order report. When this check box is selected and a report is entered, the specified order report will run rather than the system default order report. |
Enable Resubmission of Key Authorisation Item | Whether the user can access the Resubmit button in the Key Detail section of a Service Request. |
Click Save.
Click the Role(s) available in the system link.

The Role List screen is displayed.
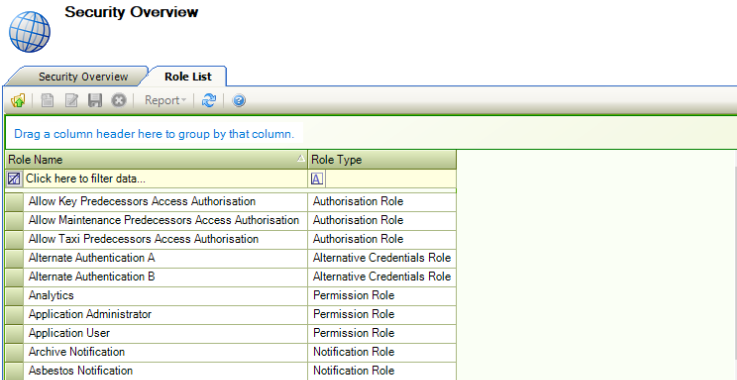
Double-click the relevant role.
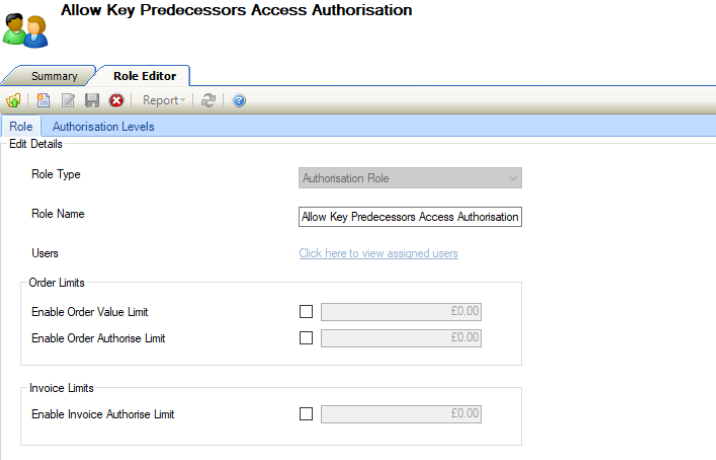
The Summary screen is displayed.

Click the Click to edit details link.
The Role Editor is displayed.
To add or edit a report role:
Do one of the following:
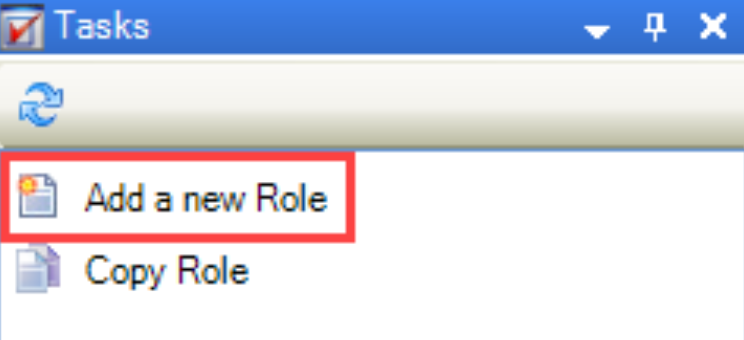
Click the Add a new Role option in the Tasks panel.
Open an existing record, to edit its details.
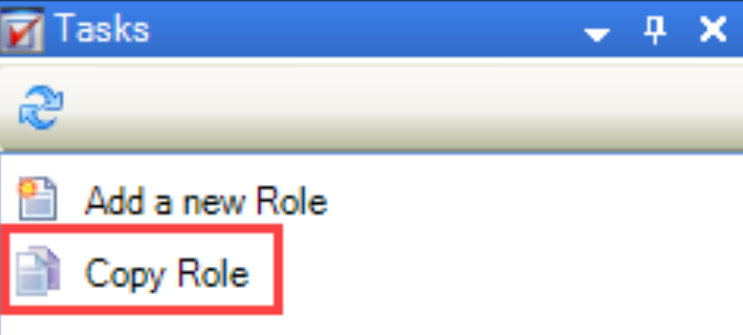
Open an existing record, and then click the Copy Role option in the Tasks panel to create a duplicate record.
The Role Editor is displayed.

Select 'Report Role' from the Role Type drop-down list.
This field cannot be edited on saving.
The remaining fields on the Role Editor are described in the following table:
This field… | Holds this information... |
|---|---|
Role Name | The name of the role. |
Users | The users that the role has been assigned to. This is only enabled after the record has been saved. Refer to Assign a role to a user for further information. |
Select from the Report Menu drop-down to display the list of report types that you can allow access to.
Select the relevant reports. Alternatively, click the Select/Deselect All check box as appropriate.
Click Save.
To add or edit a maintenance contract role:
Do one of the following:
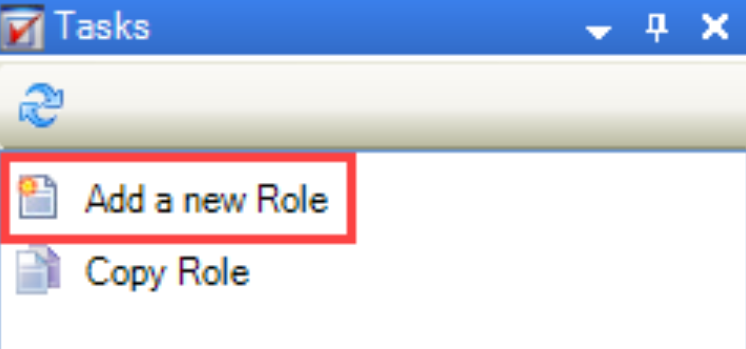
Click the Add a new Role option in the Tasks panel.
Open an existing record to edit its details.
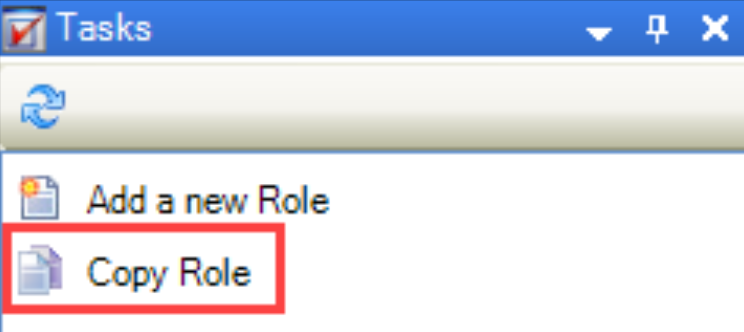
Open an existing record and then click the Copy Role option in the Tasks panel to create a duplicate record.
The Role Editor is displayed.
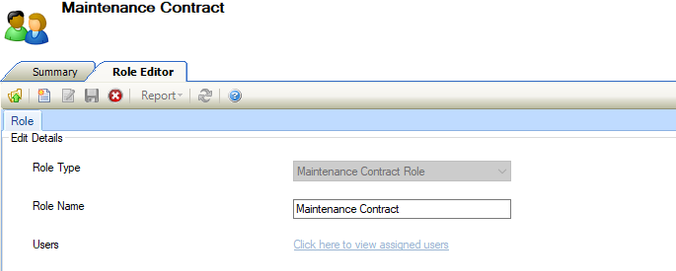
Select 'Maintenance Contract Role' from the Role Type drop-down list.
This field cannot be edited on saving.
Enter the remaining details.
The remaining fields on the Role Editor are described in the following table:
This field… | Holds this information... |
|---|---|
Role Name | The name of the role. |
Users | The users that the role has been assigned to. This is only enabled after the record has been saved. |
Click Save.
To add or edit an authorisation role:
Do one of the following:
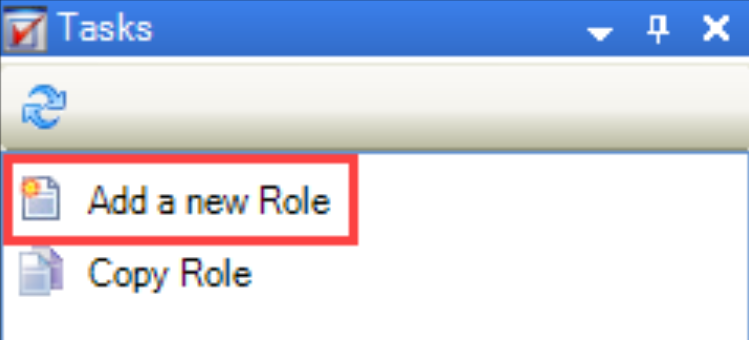
Click the Add a new Role option in the Tasks panel.
Open an existing record, to edit its details.
Open an existing record, and then click the Copy Role option in the Tasks panel to create a duplicate record.
The Role Editor is displayed.
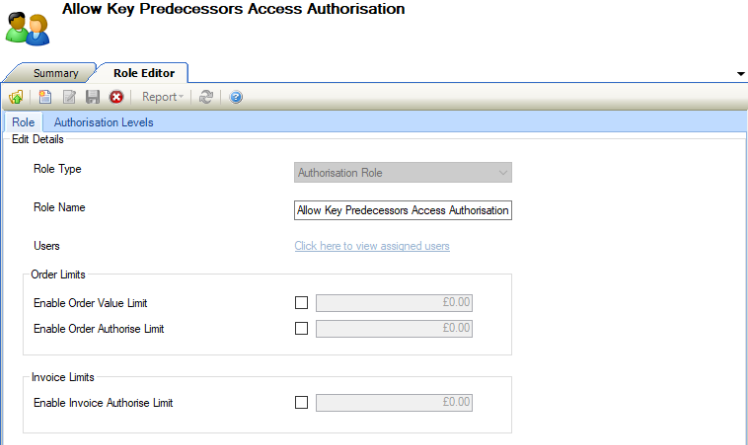
Select 'Authorisation Role' from the Role Type drop-down list.
This field cannot be edited on saving.
Enter the remaining details.
The remaining fields on the Role Editor are described in the following table:
This field… | Holds this information... |
|---|---|
Role Name | The name of the role. |
Users | The users that the role has been assigned to. This is only enabled after the record has been saved. Refer to Assign a role to a user for further information. |
Enable Order Value Limit | Whether the user is not able to exceed the value limit when raising an order. |
Enable Order Authorise Limit | Whether the user is not able to exceed the authorise limit when raising an order. |
Enable Invoice Authorise Limit | Whether the user is not able to exceed the invoice authorise limit when raising an order. |
Click the Authorisation Levels tab.
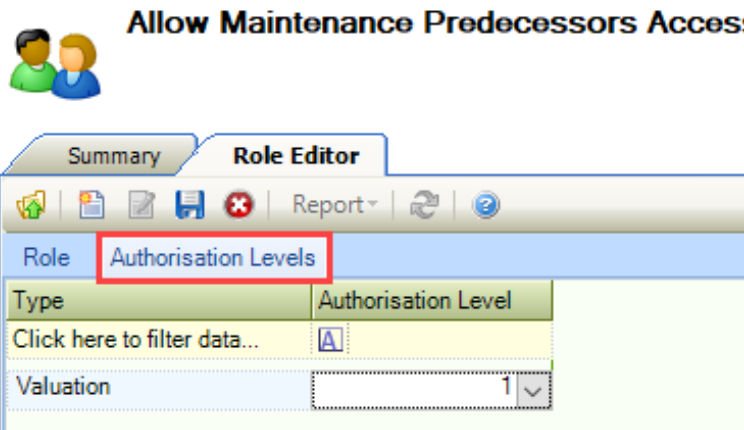
This lists all of the enabled authorisation matrix types with values defined on the Authorisation Matrix tab in Financial Options (accessed by navigating to Tools > System Options and clicking Financial Options).
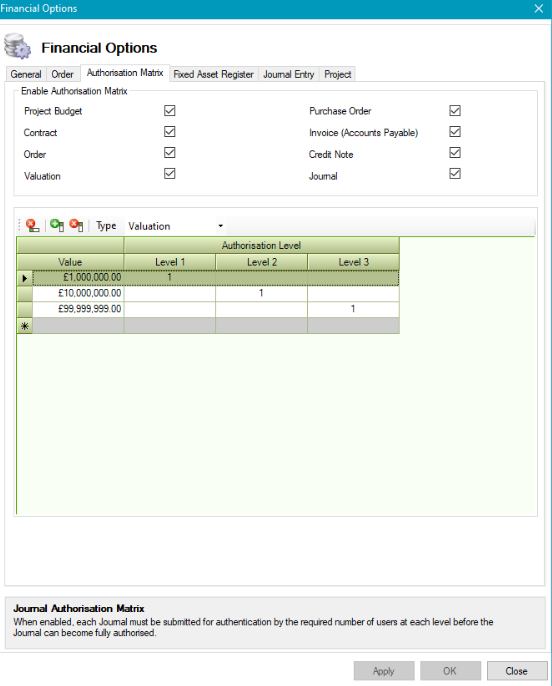
Select the authorisation levels for each type from the relevant drop-downs.
Click Save.
Related Topics
Click the links below to navigate to the following related topics:
