Financial Options
Navigating to Tools > System Options displays the Options screen.
You need a role with the User Option permission to access the screen.
To view or edit settings:
Click on Financial Options.
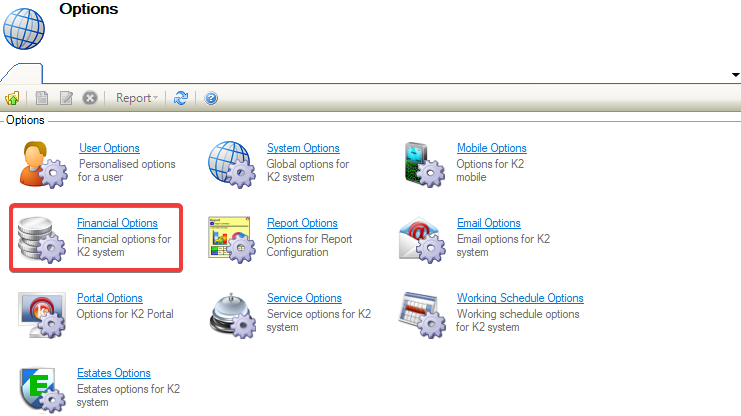
The Financial Options field is displayed and defaults to General on opening.
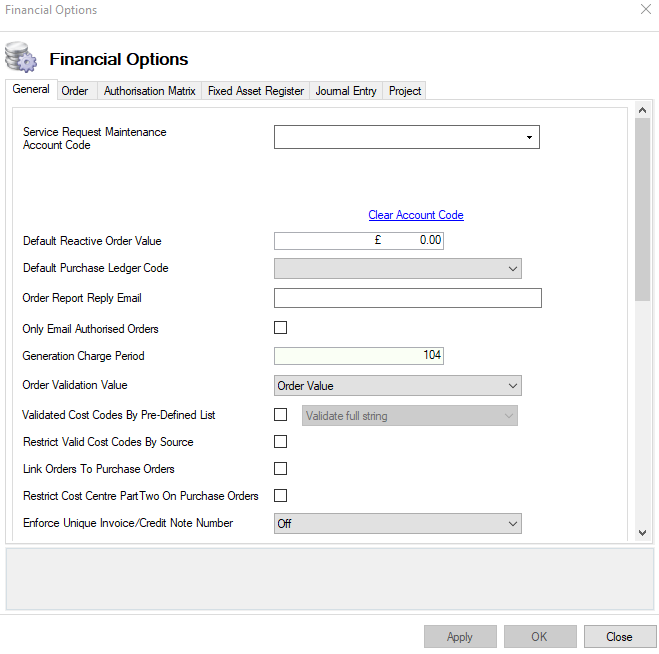
The fields on the General Tab are described in the following table:
This field… | Holds this information... |
|---|---|
Service Request Maintenance Account Code | When selected, the Account Code will display by default against a Cost Code for a Job / Order raised against a Service Request Maintenance record. 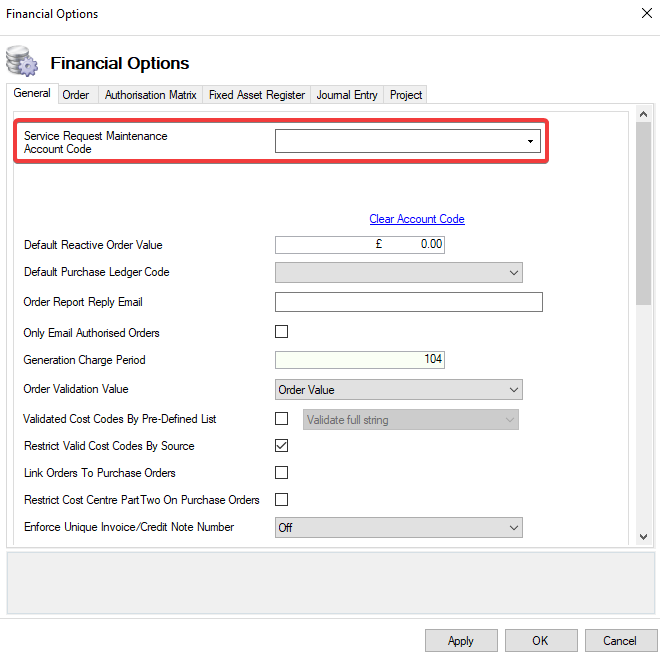 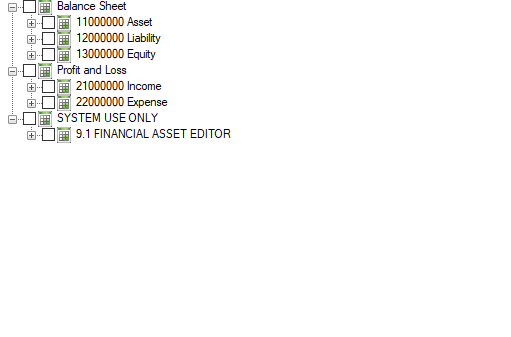 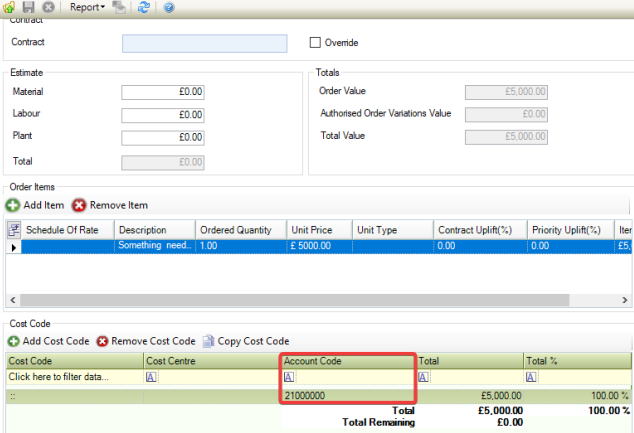 Information can be cleared from the Service Request Maintenance Account Code field by clicking on the Clear Account Code |
Clear Account Code | Clears the data from the Service Request Maintenance Account Code field. 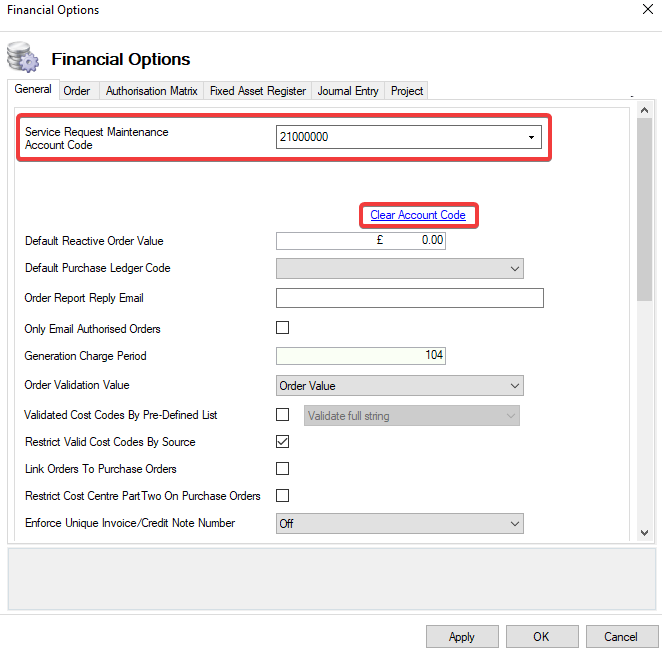 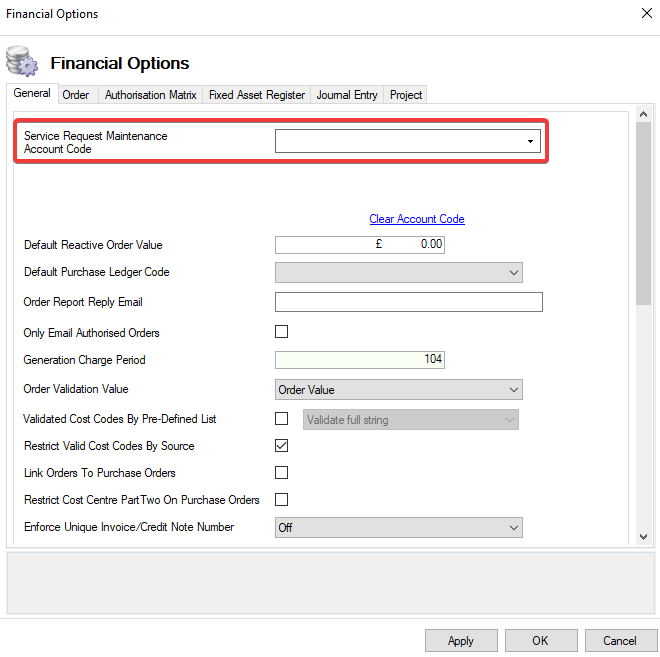 |
Default Reactive Order Value | The default value for Orders against a Service Request Maintenance. This amount is stored against the Order Item and the Order Value. 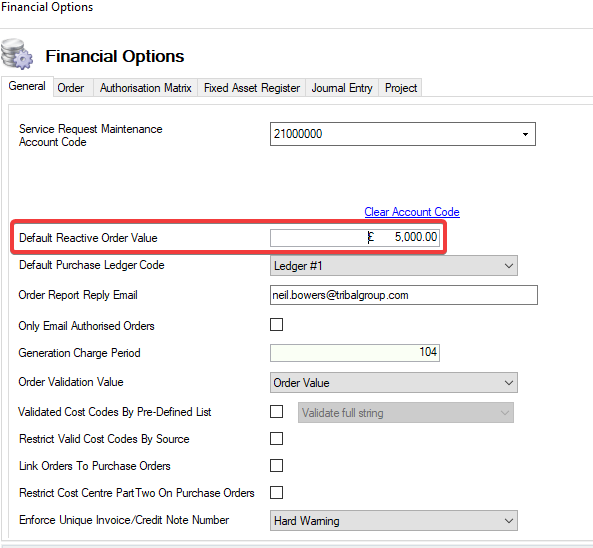 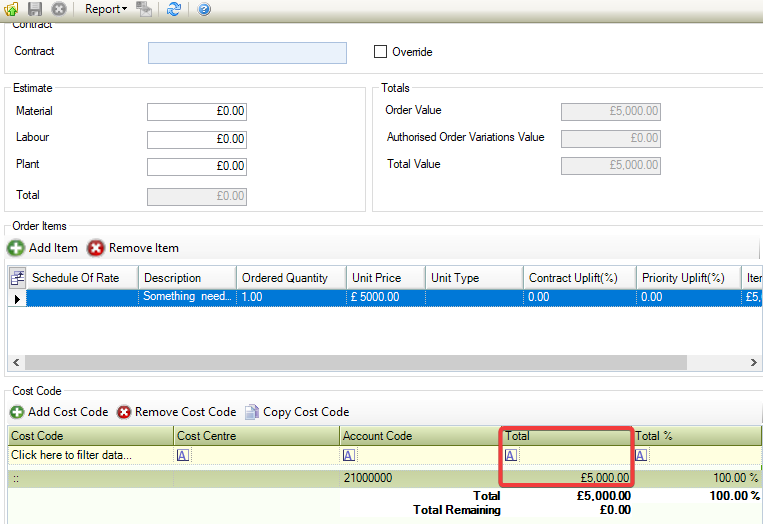 |
Default Purchase Ledger Code | When this option is enabled, monies will be automatically applied to the selected Purchase Ledger in Ledgers > Purchase Ledgers for any Jobs that do not have a linked Contractor and a valid Purchase Ledger. 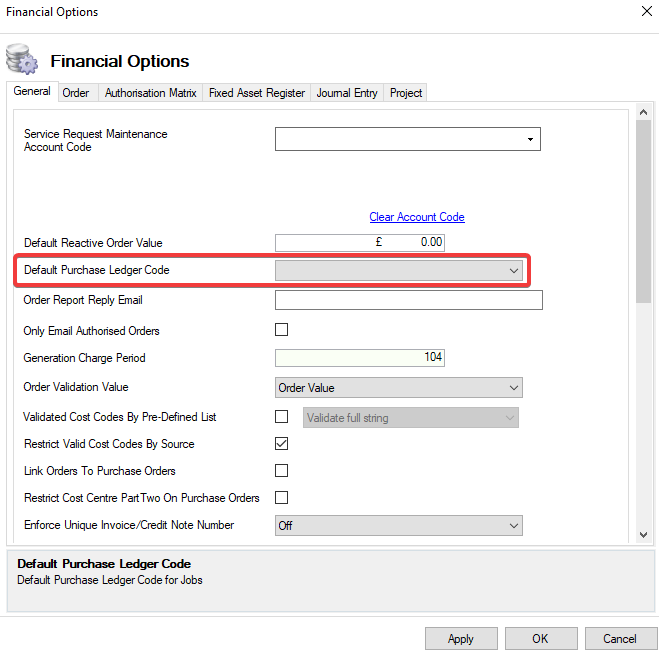 |
Generation Charge Period | When charges are produced, they are based on dates ahead and behind the present date. 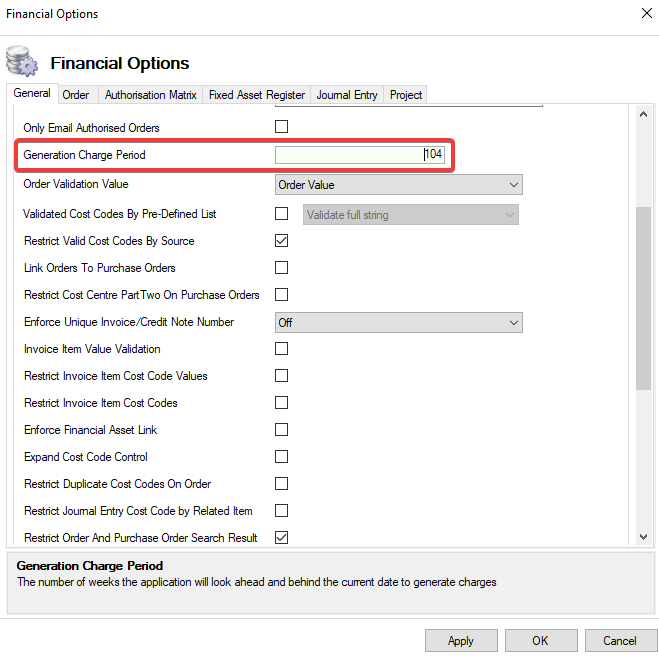 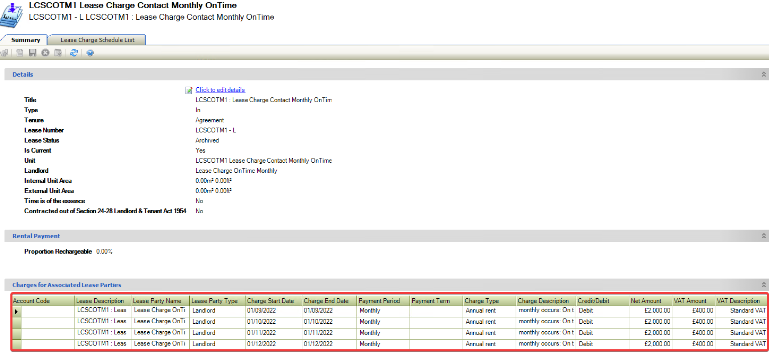 |
Order Validation Value | The value that will be used to validate against when saving or authorising an Order.  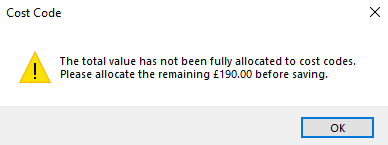 |
Validated Cost Codes By Pre-Defined List | When you try to save a Cost Code, it will validate against a list of allowed codes in the database. This can be done on either isolated parts of the Cost Code or the entire Cost Code string. 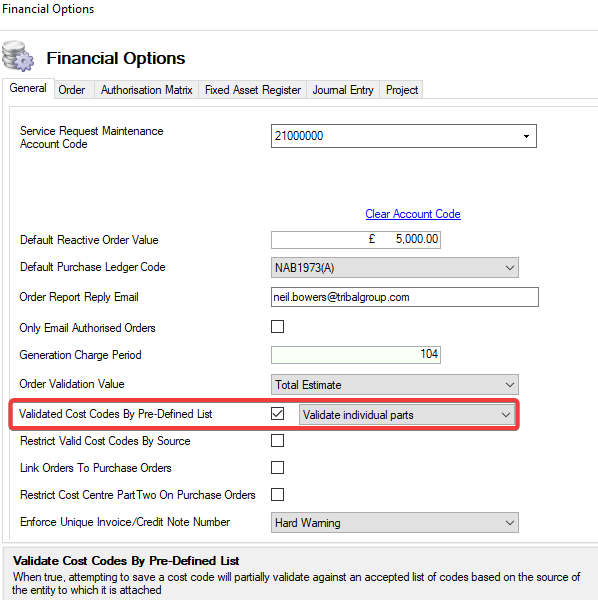 |
Restrict Valid Cost Codes By Source | When true, saving a Cost Code will validate against a list of acceptable codes based on the source of the object to which it is associated. 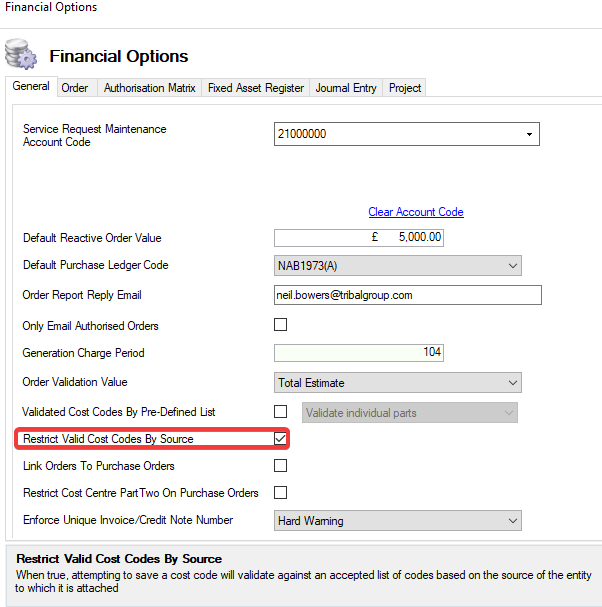 The Restrict Valid Cost Codes By Source setting cannot be selected together with Validated Cost Codes By Pre-Defined List. The following warning message will be displayed. 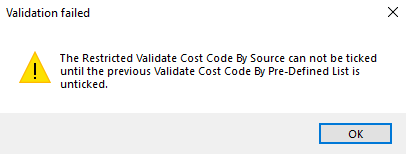 |
Link Orders to Purchase Orders | When this option is enabled, Purchase Orders can be linked to an existing Order using the Order Editor. 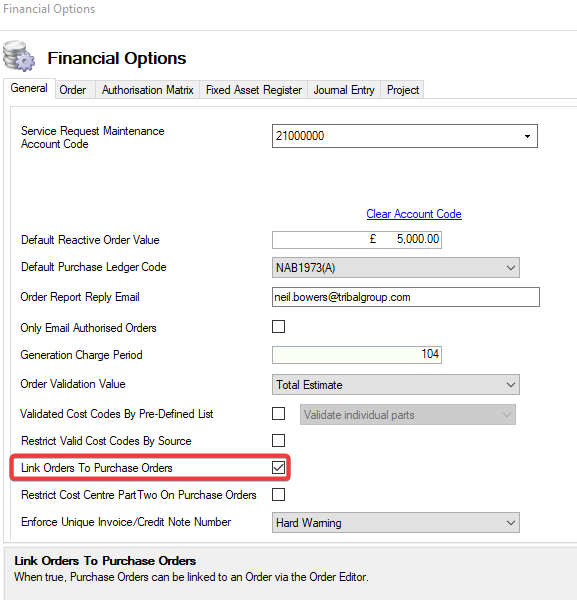 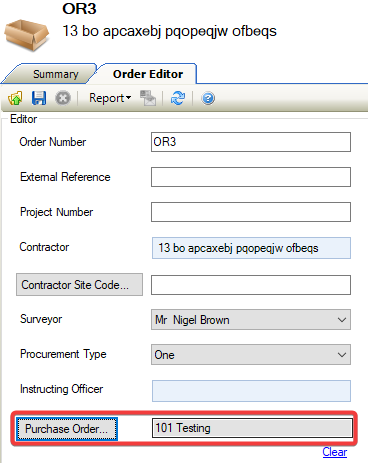 |
Restrict Cost Centre Part Two On Purchase Orders | On a Purchase Order, the Cost Centre Part Two list will be restricted based on the selection for Cost Centre Part One from the existing combinations in the Budget screen. 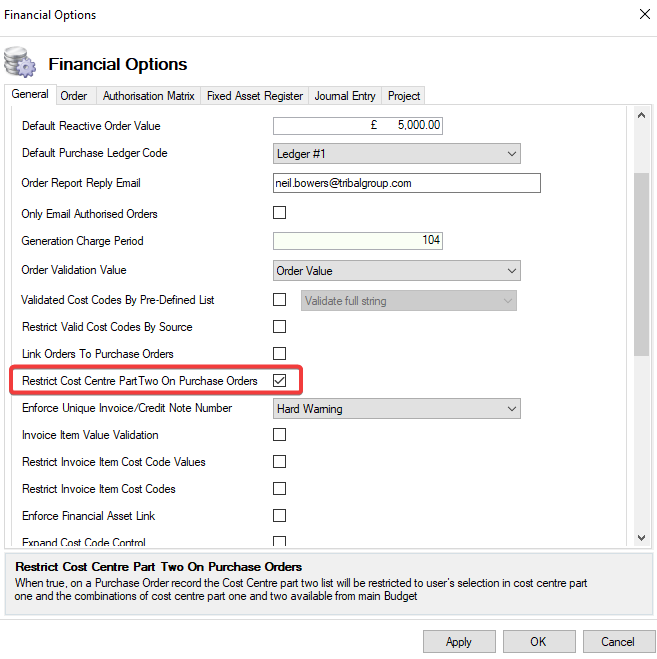 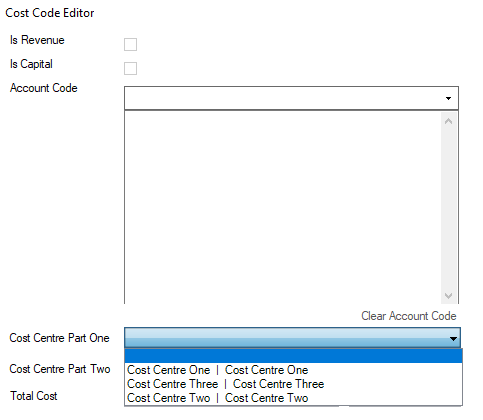 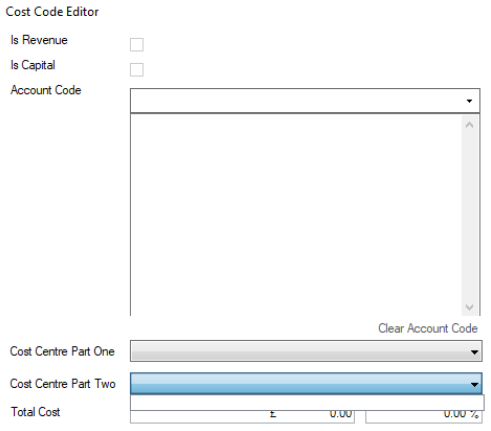  |
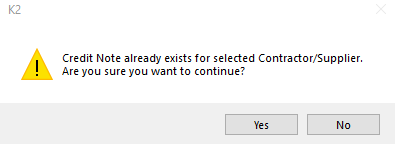
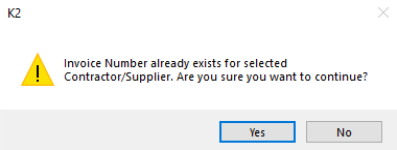
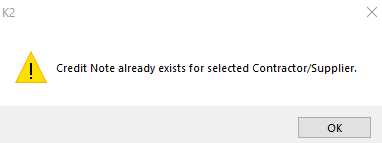
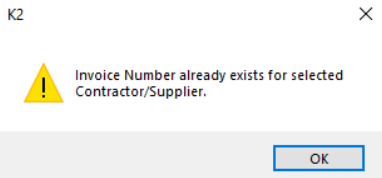
Enforce Unique Invoice / Credit Note Number | When set, a warning will be displayed for an Invoice and Credit Note when the number is not unique for the Contractor. This can be set as either Off, Soft Warning, or Hard Warning. 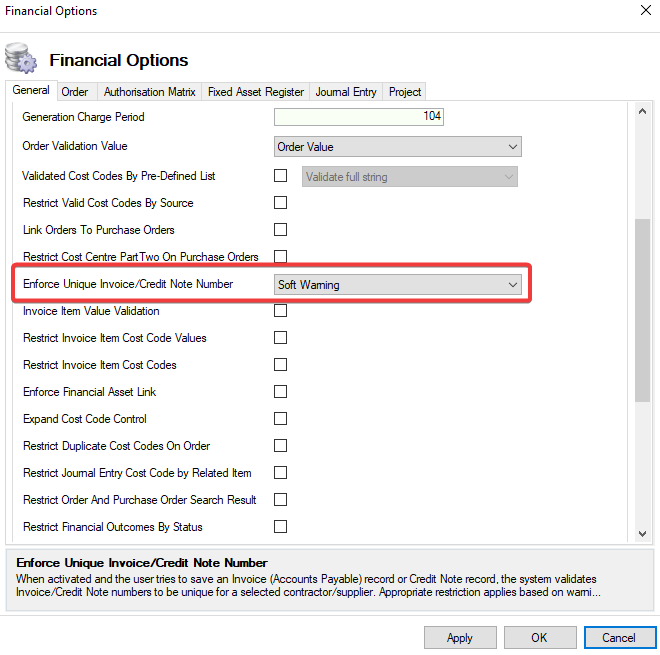
  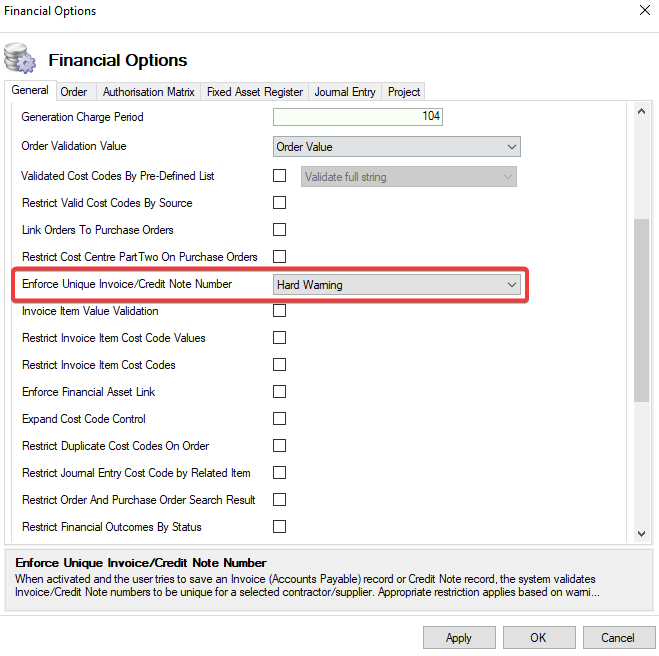
  |
Invoice Item Value Validation | When true, a warning message will be displayed when an Invoice Item has a value that is greater than the related Order value. 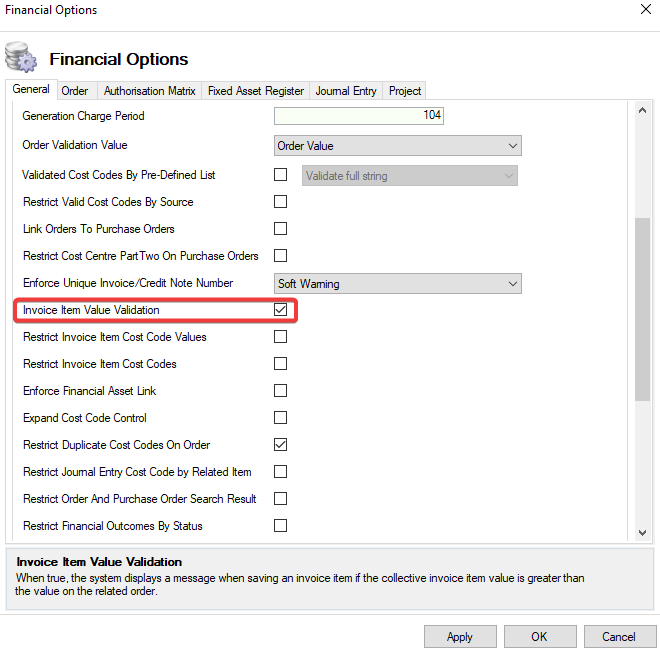  |
Restrict Invoice Item Cost Code Values | When true, the system prevents a cost on an Invoice Item from being more than the remaining cost for the Cost Code on the linked Order. 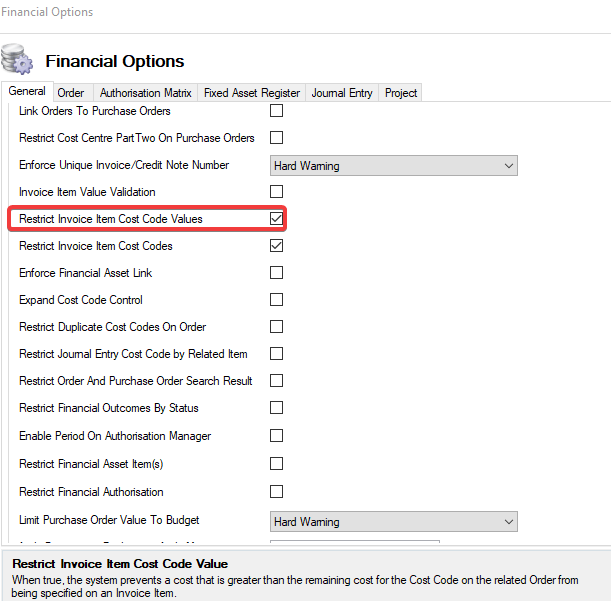 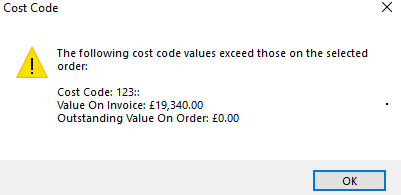 |
Restrict Invoice Item Cost Codes | When true, the system will only allow cost codes selected on linked Orders and Purchase Orders to be added to Invoice (Accounts Payable) items and will limit the fields that can be modified on an Invoice Item cost code to Labour, Plant, and Material Costs. 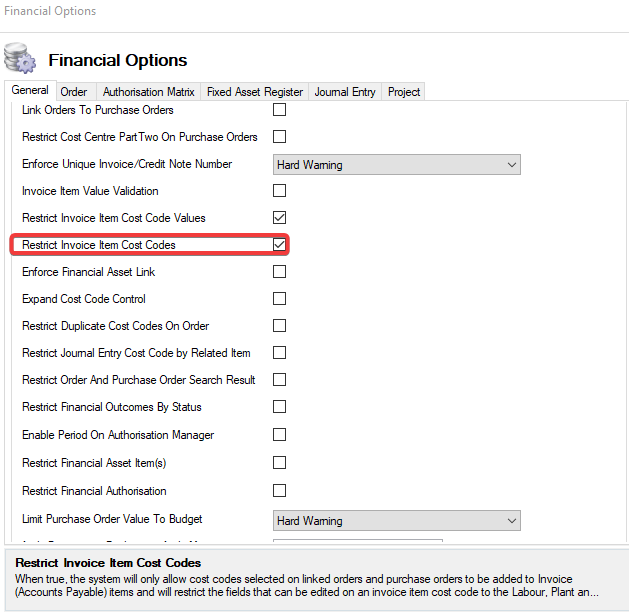 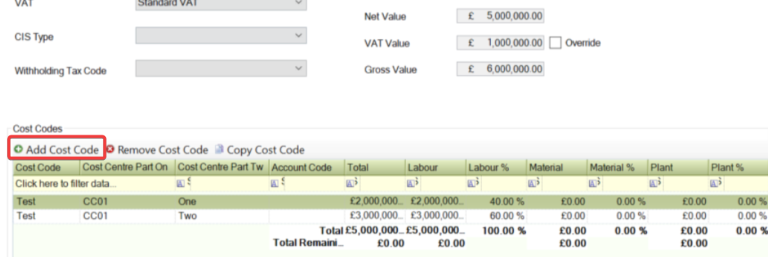 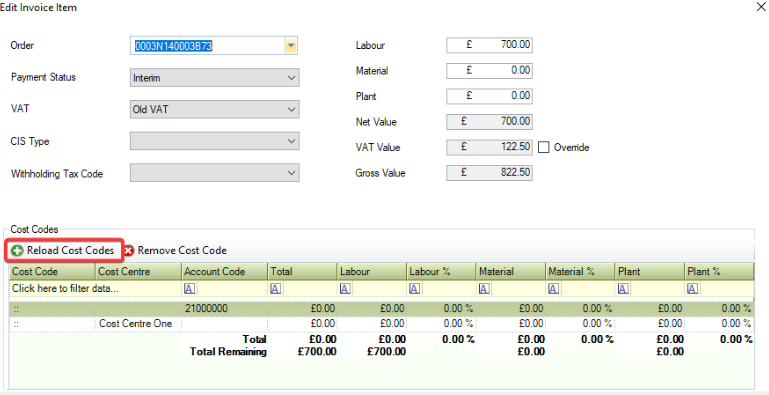 |
Enforce Financial Asset Link | When true, a warning message is displayed when attempting to save a Location, Asset, or Component that is not linked to a Financial Asset. 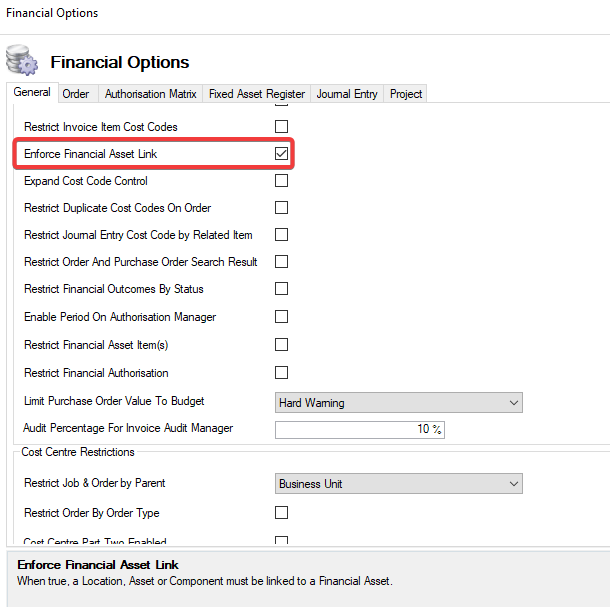 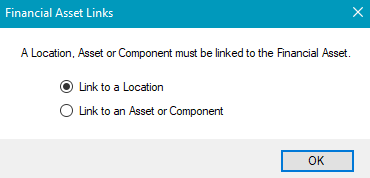 |
Expand Cost Centre Control | When true, the Cost Code Control is automatically expanded when editing a Cost Code. 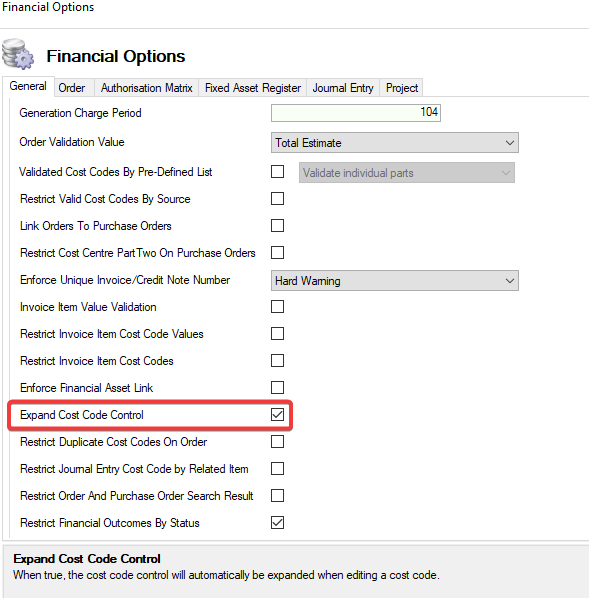 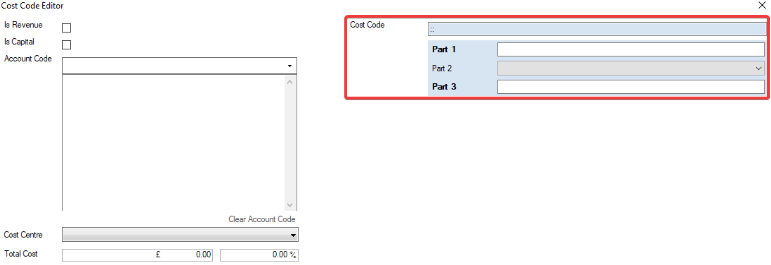 |
Restrict Duplicate Cost Codes On Order | When true, duplicate cost codes cannot be added to an Order, Purchase Order, and Order Variation. 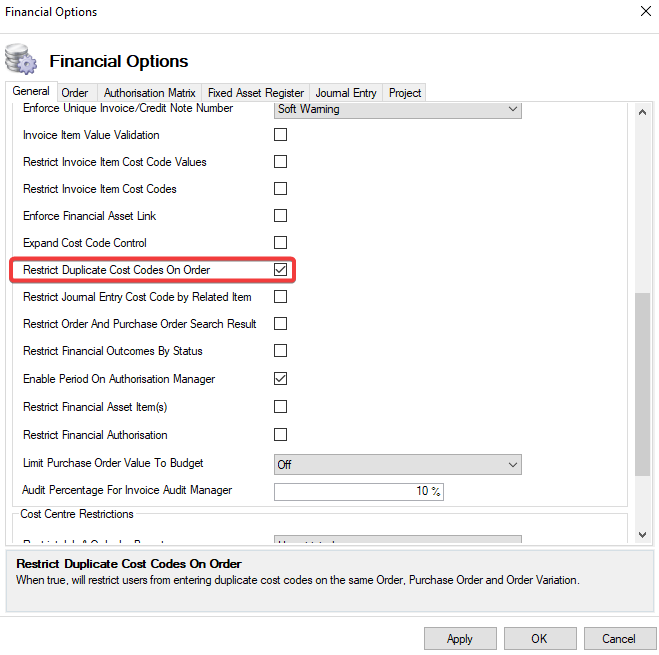 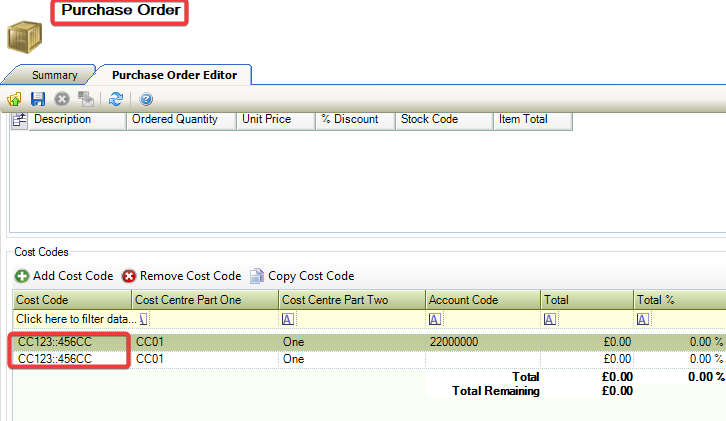 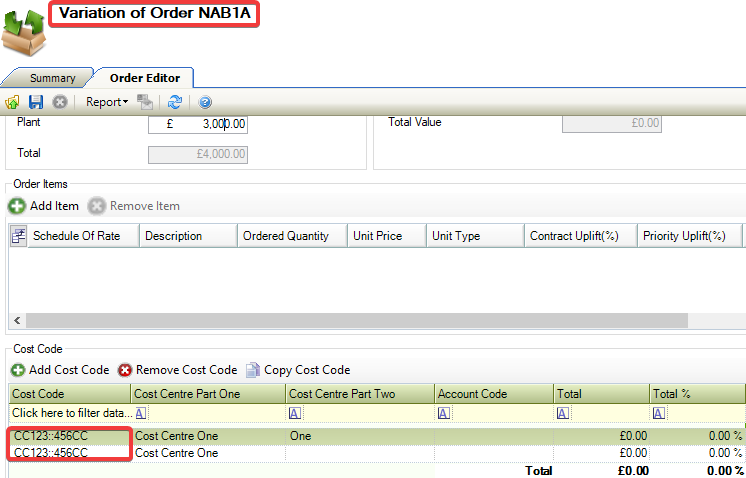 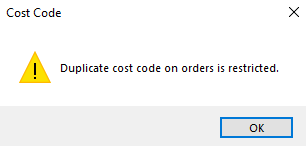 |
Restrict Journal Entry Cost Code by Related Item | When true, the system will omit Orders and Purchase Orders from search results when the selected Status, has a State set to 'Closed'. 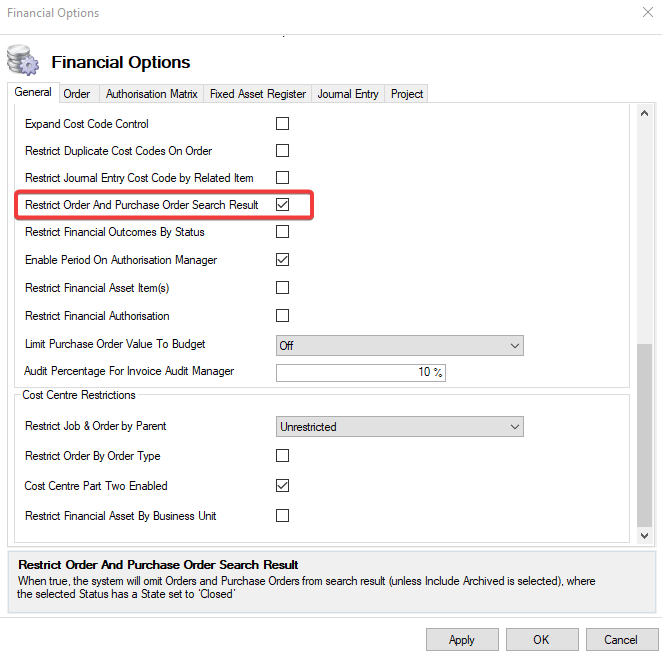 All Orders and Purchase Orders will be displayed when Include Archived has been selected. |
Restrict Order And Purchase Order Search Result | When true, Orders and Purchase Orders are omitted from the search results when the Order Status set has the State of Closed. 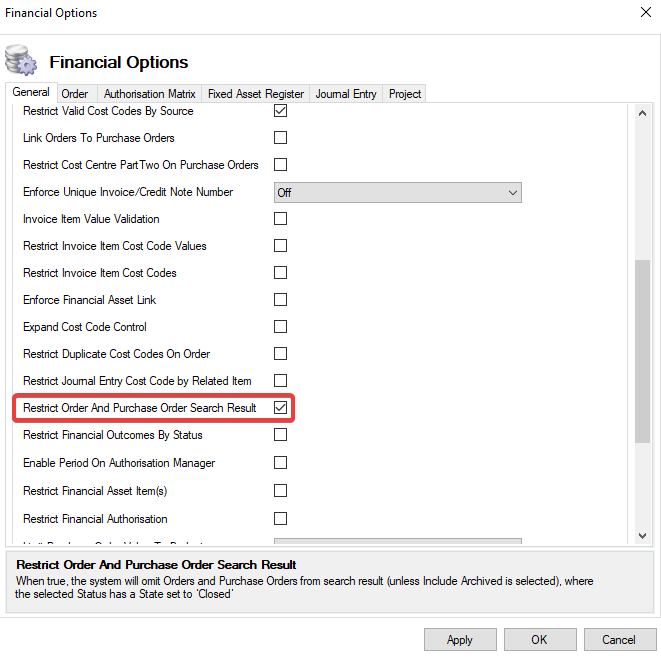  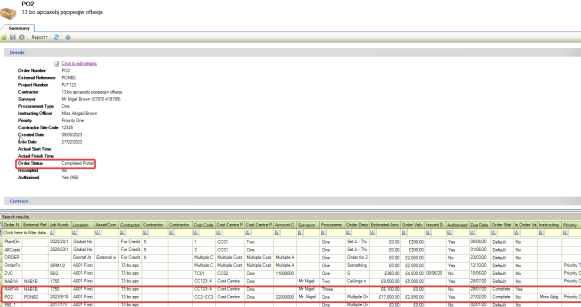 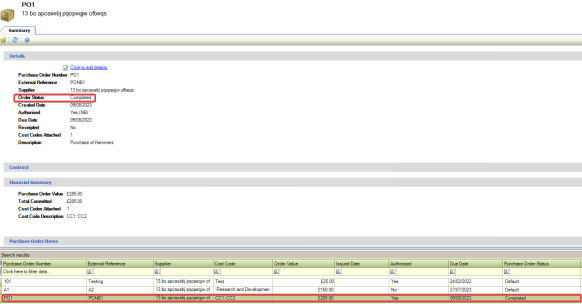 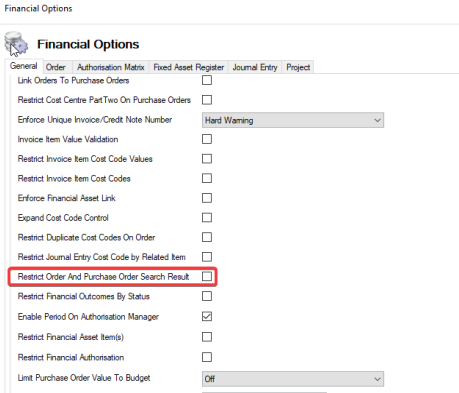  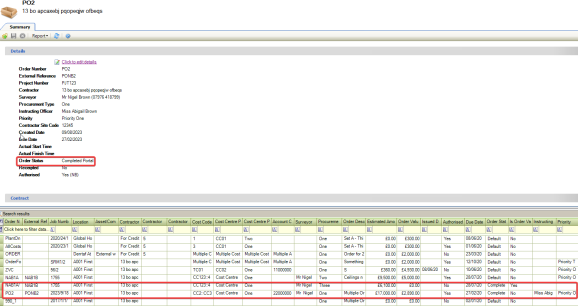 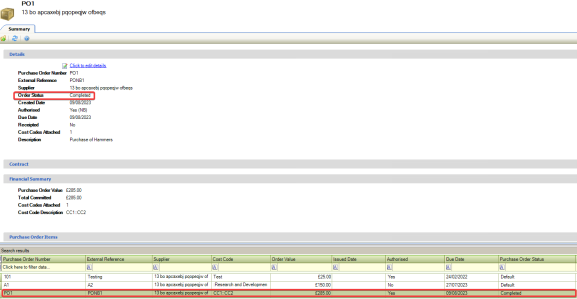 Where Is Archived has been selected then Closed records are displayed. |
Restrict Financial Outcomes By Status | When true, Project Status can be configured to allow or prevent the creation of Financial Outcomes. 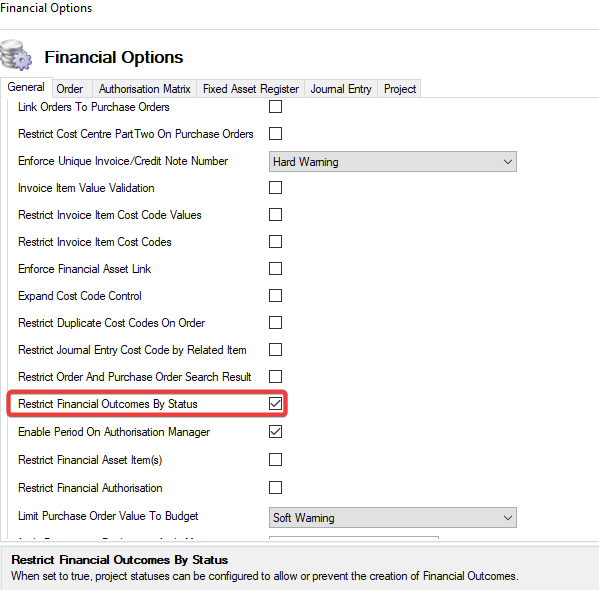 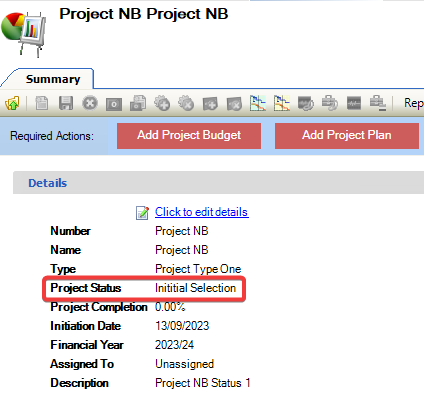 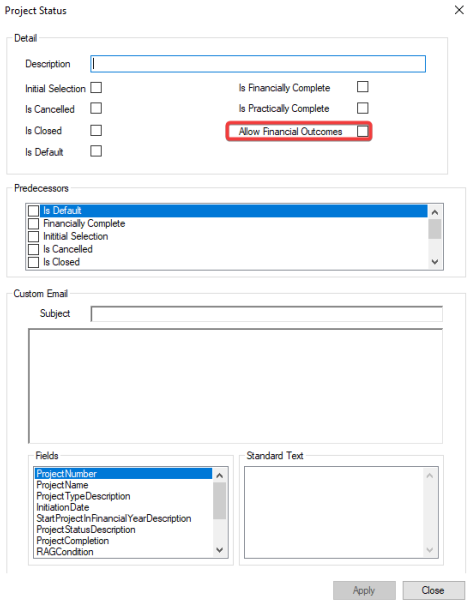 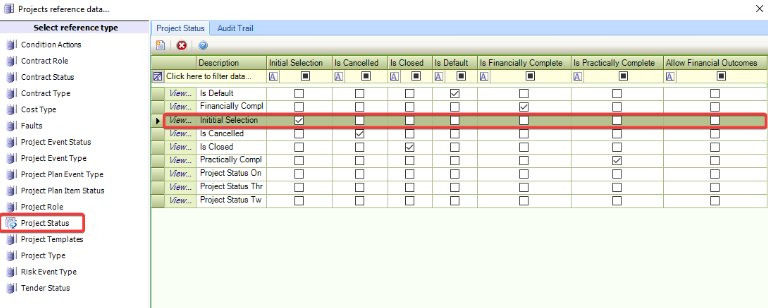 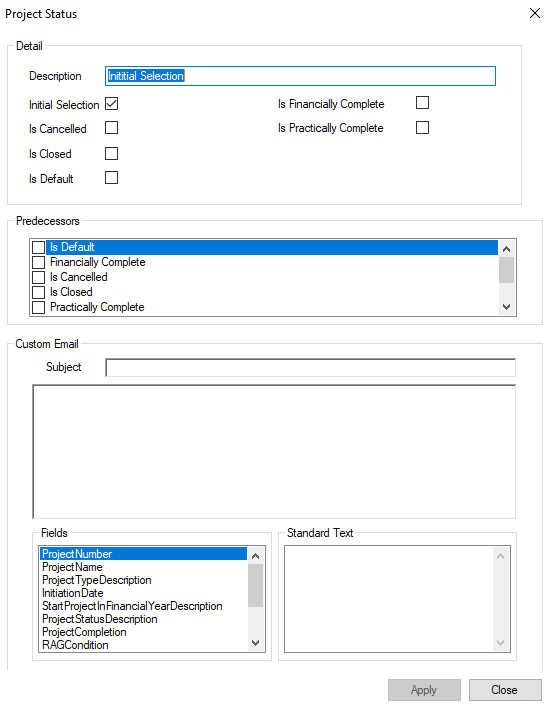  |
Enable Period On Authorisation Manager | When true, Invoices (Accounts Payable) and Credit Notes within Authorisation Manager are filtered by period start and end dates. 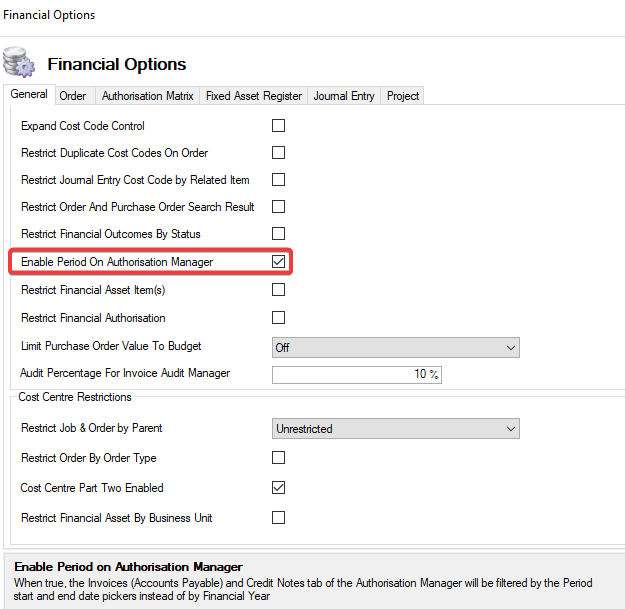  |
Restrict Financial Asset Item(s) | When true, a Financial Asset can only be linked to one Location, Asset or Component. No other items can be linked. 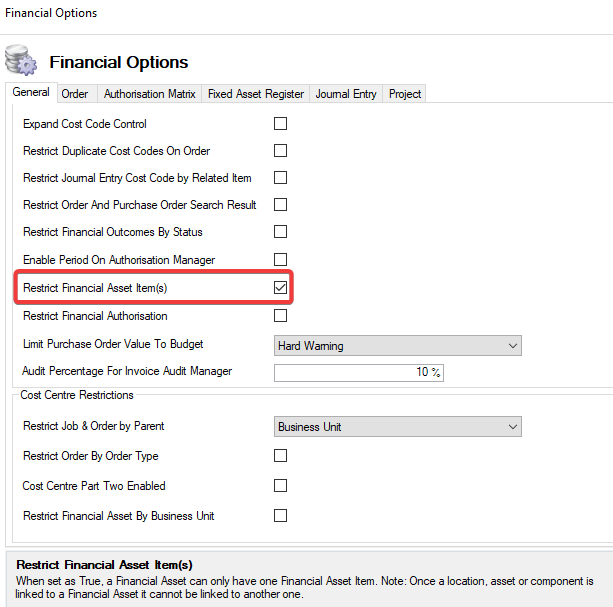  |
Restrict Financial Authorisation | When true, Invoices or Credit Notes cannot be authorised by the same user who authorised the Order. 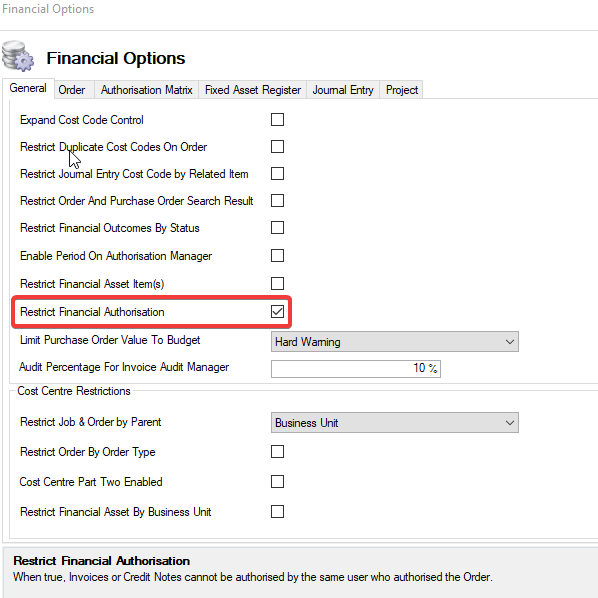 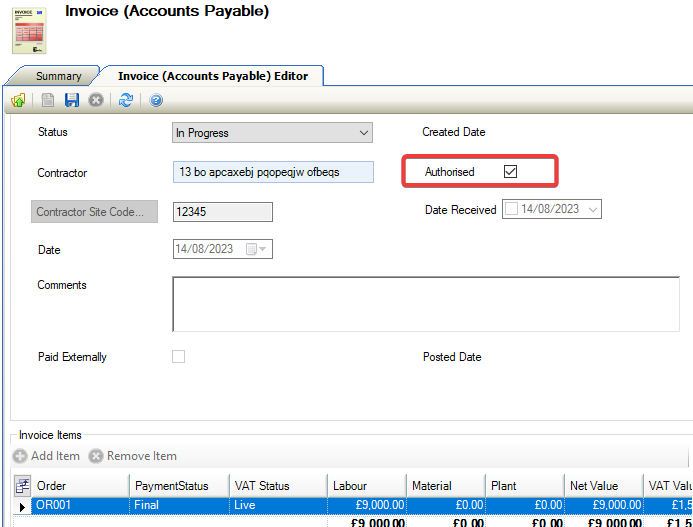 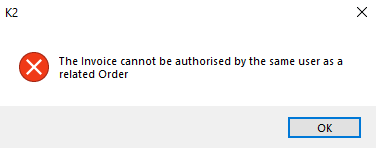  |
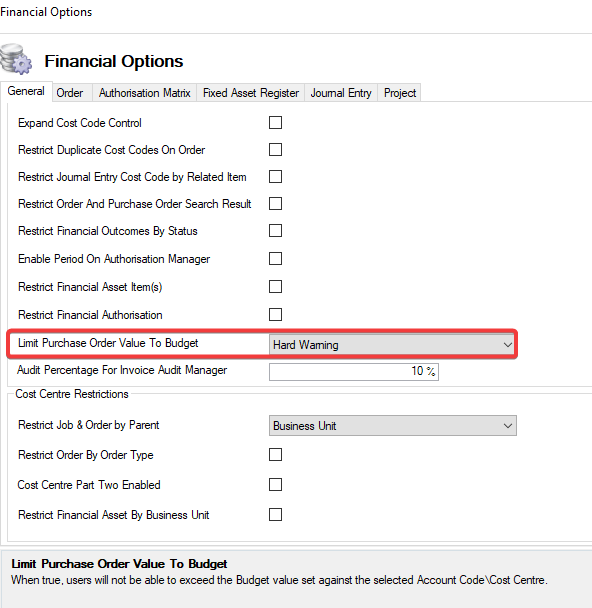
Limit Purchase Order Value To Budget | Users cannot exceed the Budget value specified against the chosen Account Code or Cost Code when it is selected. 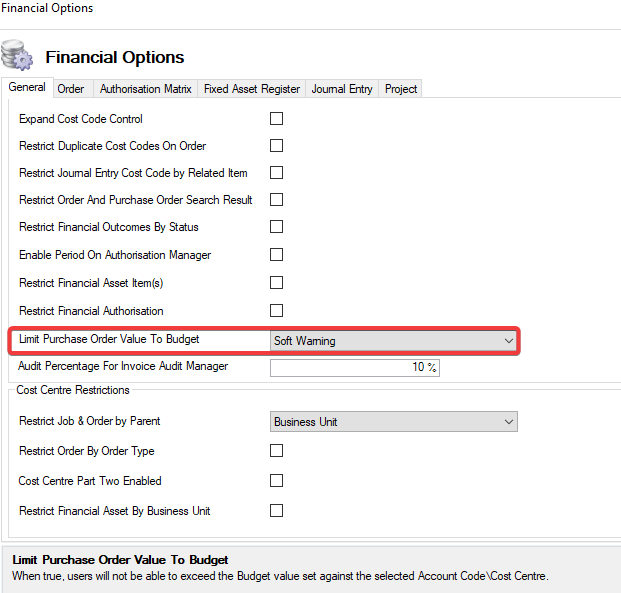
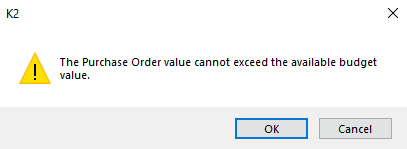 
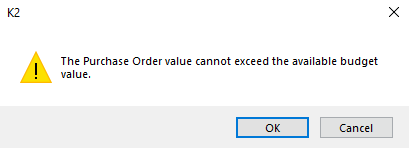 The same messages are displayed when over budget on Account Code. |
Audit Percentage For Invoice Audit Manager | The percentage of Invoices (Accounts Payable) randomly selected for requiring audit within the Invoice Audit Manager. By default, this is set as 10% but can be changed as required. 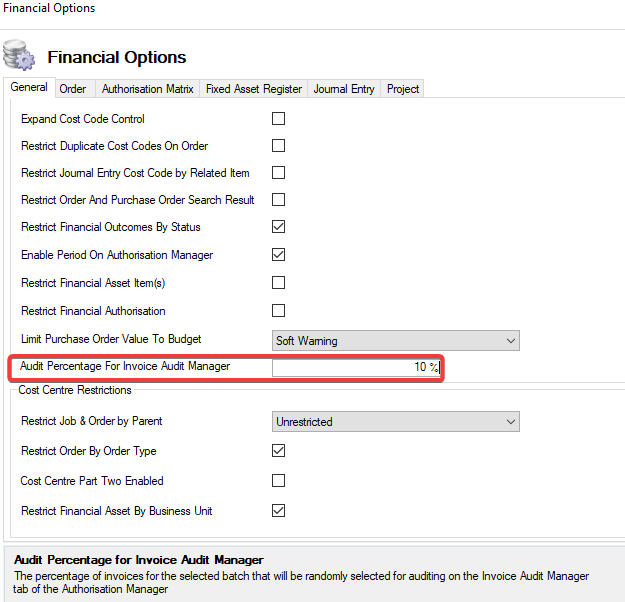  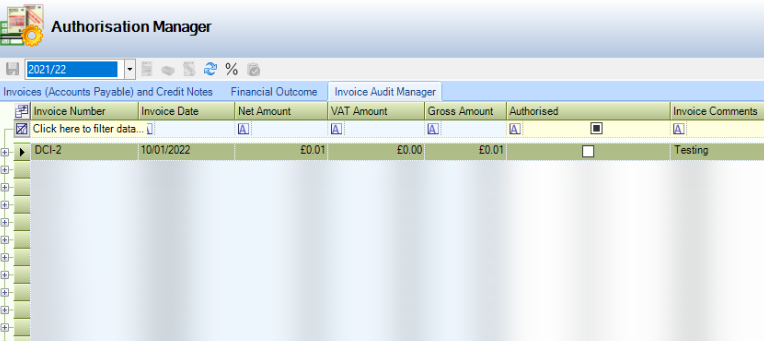 |
Restrict Job & Order By Parent | When true, the Cost Centre is restricted to the associated originating business unit or building. 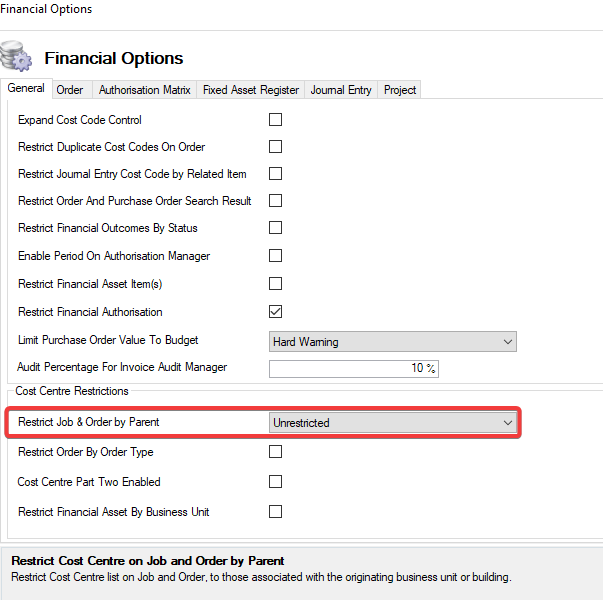 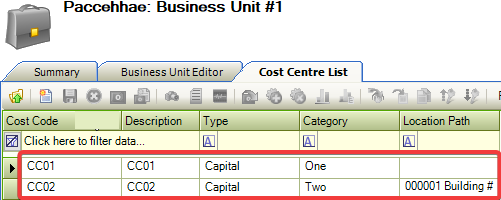 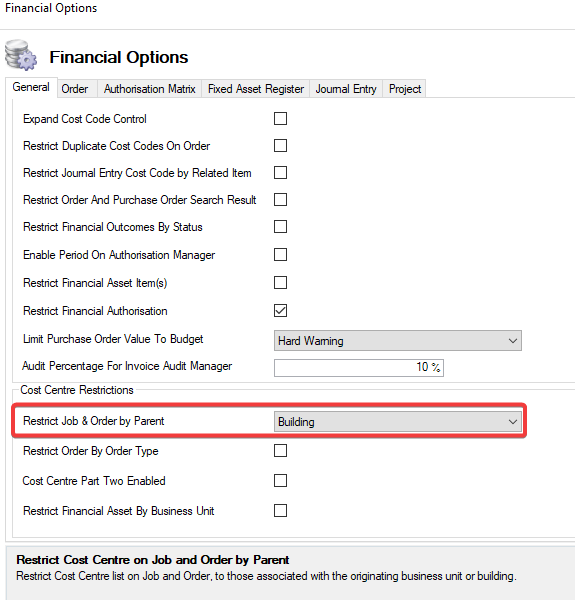 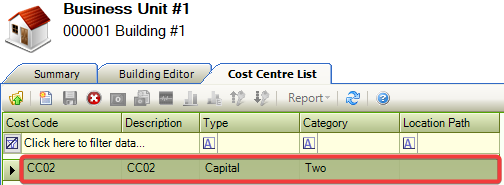 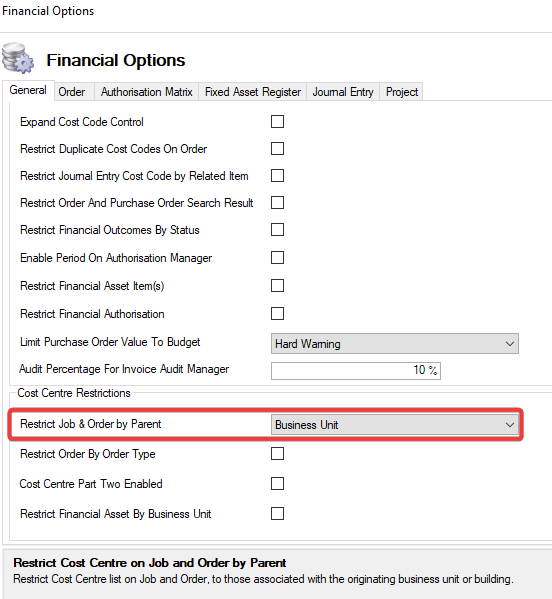 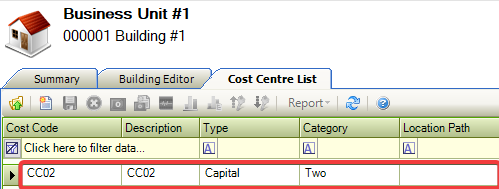 |
Restrict Order By Order Type | When selected, the Cost Centre list is restricted to those associated with the relevant Order Type. As an example, if this option is enabled and an Order is raised against a Condition Record, then the Is Revenue and Is Capital checkboxes on the Cost Code are not enabled. 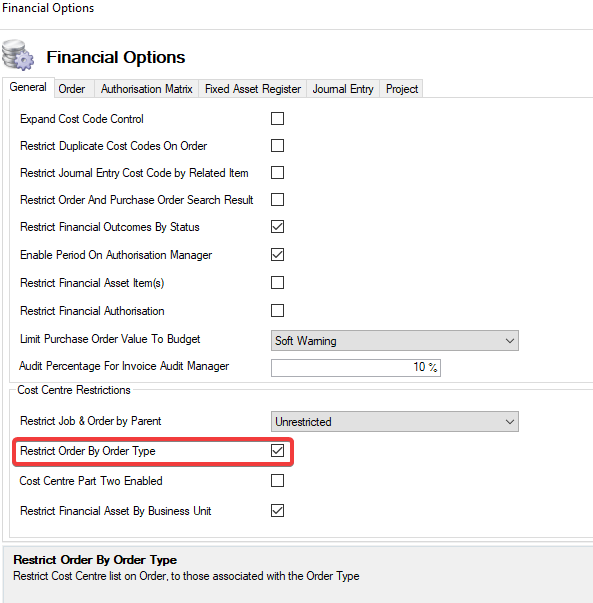  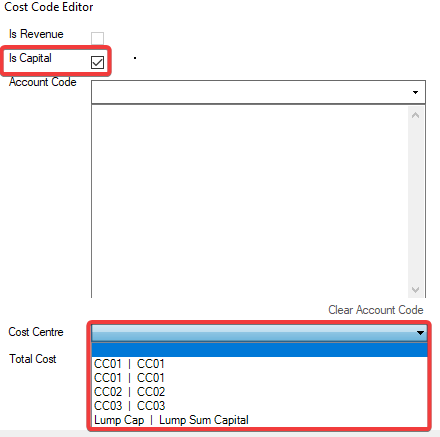 |
Cost Centre Part Two Enabled | When true, Cost Centre Part Two is enabled on an Order or Purchase Order record. 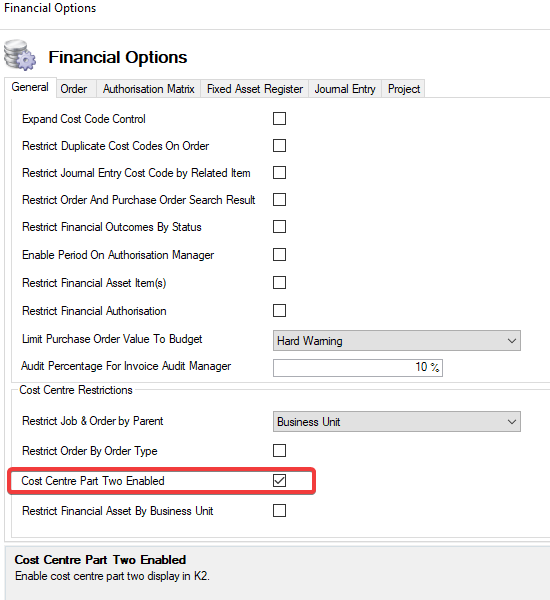 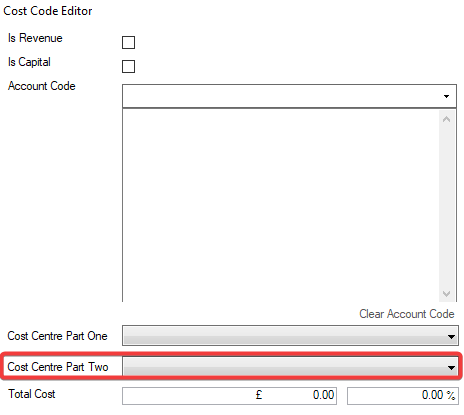 |
Restrict Financial Asset by Business Unit | When selected, only Cost Centres related to a Business Unit that has been linked to the Financial Asset will be displayed in the Capital Charges Cost Centre field. 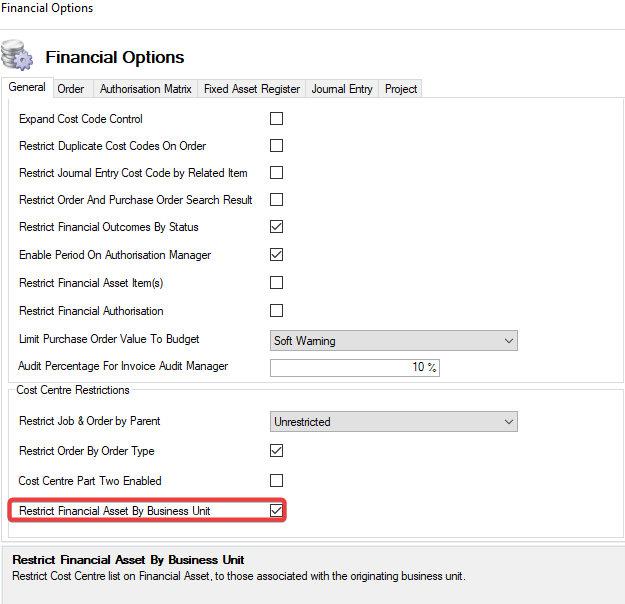  Cost Centres on a Financial Asset and not associated with a Business Unit. The Capital Charges Cost Centre drop-down is blank. |
The fields on the Order Tab are described in the following table:
This field… | Holds this information... |
|---|---|
Enforce Risk Level Assessment Before Order Authorisation | When selected, the Risk Level Assessment task must be completed before an Order can be authorised. 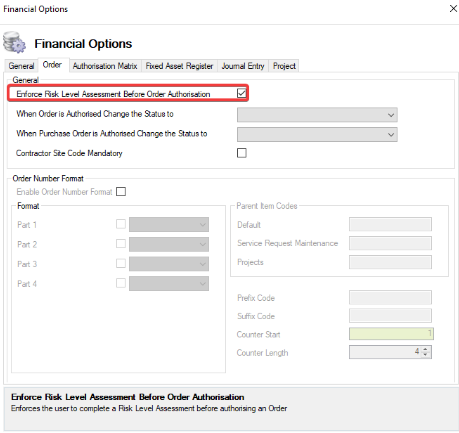 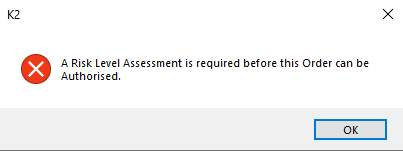 |
When Order is Authorised Change Status to. | When a Status has been selected, the Order will automatically update this Status after it has been authorised. 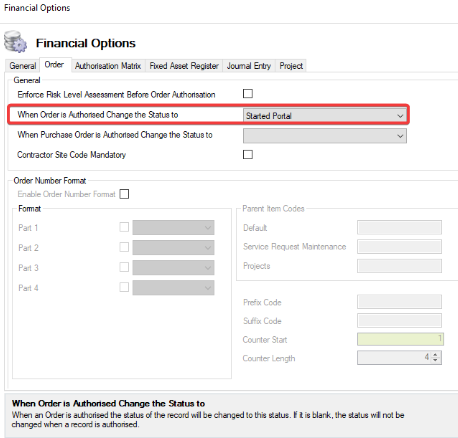 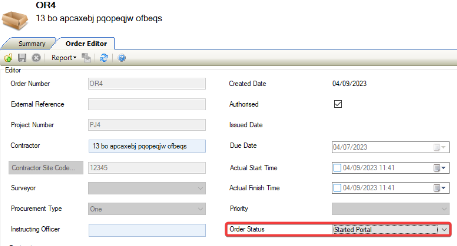 |
When Purchase Order is Authorised Change Status to | When a Status has been selected, the Purchase Order will automatically update this Status after it has been authorised.  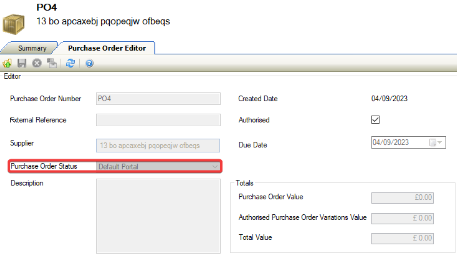 |
Contractor Site Code Mandatory | When true, the Contractor Site Code becomes mandatory when creating or updating a new or existing order. 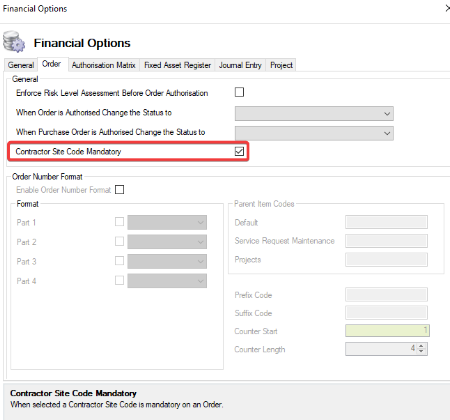 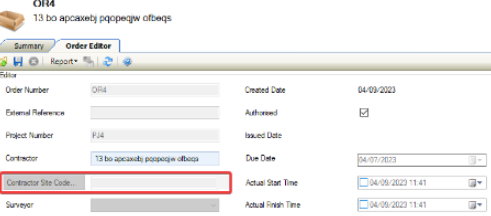 |
Enable Order Number Format | When true, it enables an Order Number to be set in a specified format. 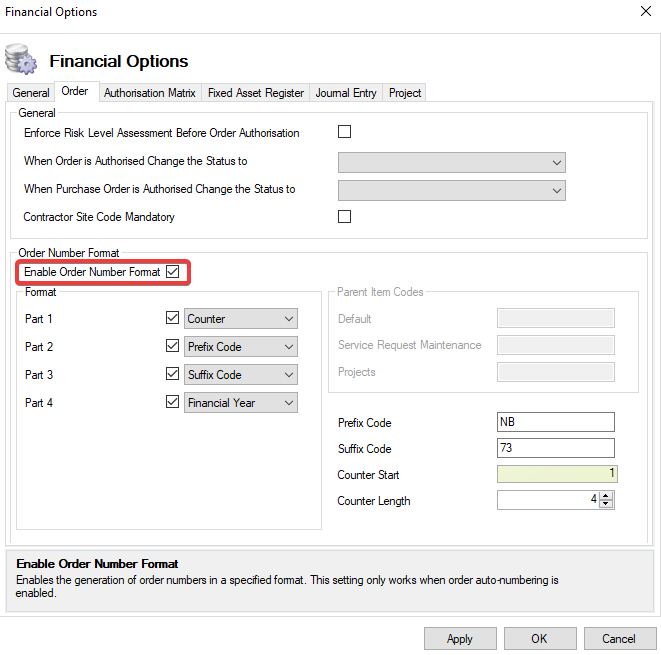 The Enable Order Number Format setting only applies when the Order auto-numbering has been enabled. Parts 1 to 4 will become available for selection in Format when Enable Order Number Format has been selected. |
Parts 1-4 | The Order Number Format can be divided into up to 4 parts. These parts can be a combination of Counter, Financial Year, Parent Item Code, Prefix Code, and Suffix Code 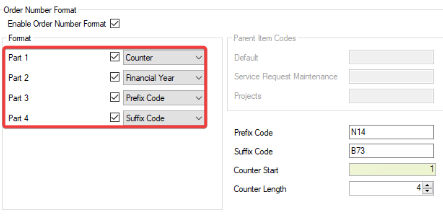 Where Format Part 1 has become active. The counter must be selected from the drop-down to continue.  |
Prefix Code | When active, allows the user to add a Prefix Code to an Order Code. 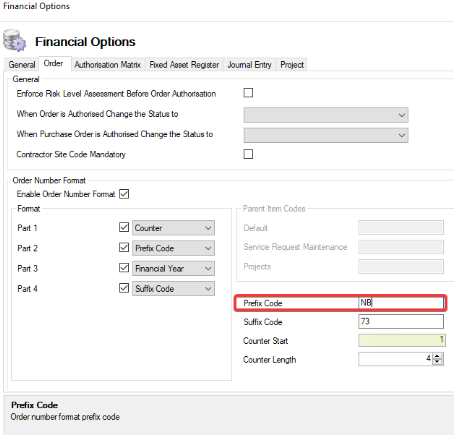 The Prefix Code will only become active when the Prefix Code has been selected from the Part 1 to 4 drop-downs. |
Suffix Code | When active, allows the user to add a Prefix Code to an Order Code. 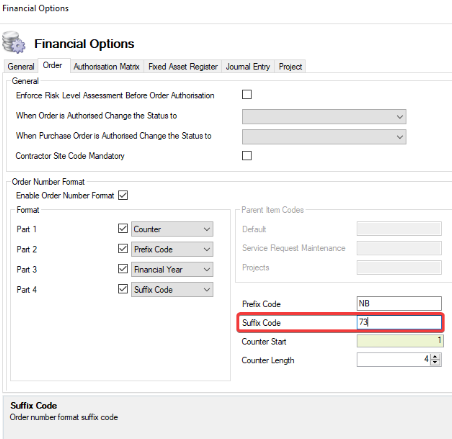 The Suffix Code will only become active when the Suffix Code has been selected from the Part 1 to 4 drop-downs. |
Counter Start | When selected the Counter Start number is displayed in the Order Number on saving. 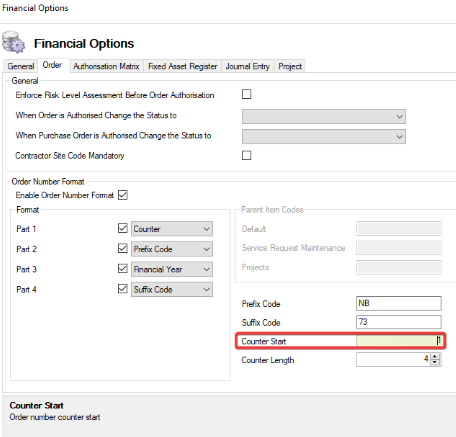 The Counter Start will become active when Counter has been selected from the Part 1 to 4 drop-downs |
Counter Length | When selected the displays the number of digits required for the Order Number. 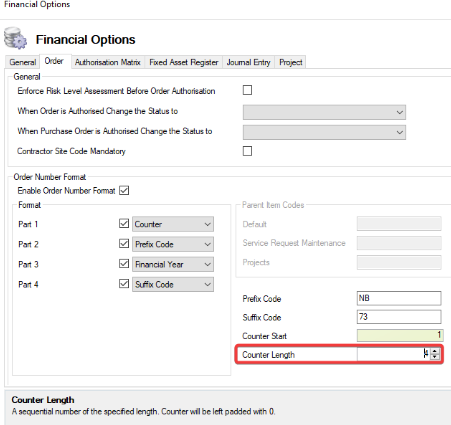 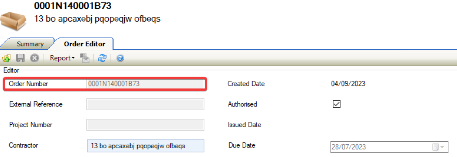 The Counter Length will become active when Counter has been selected from the Part 1 to 4 drop downs. |
The fields on the Authorisation Matrix tab are described in the following table:
Fields… | Holds this information... |
|---|---|
Project Budget | When selected, a Project Budget must be submitted for authorisation and approved by the specified number of users based on the value for each level. 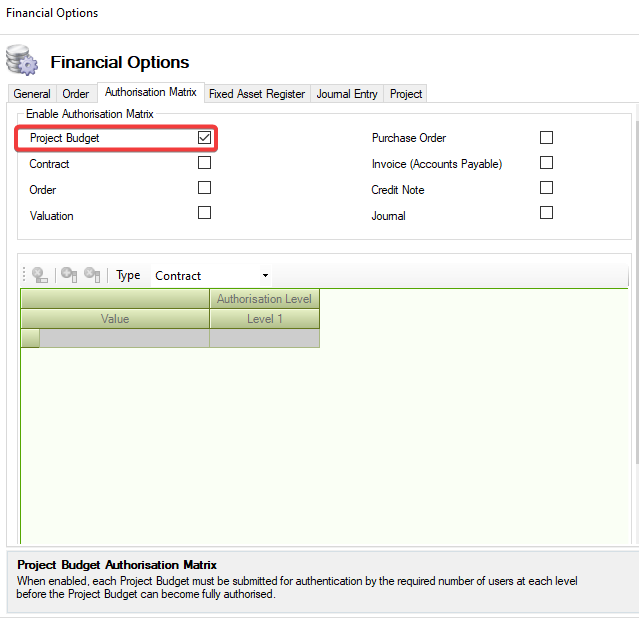 |
Contract | When selected, a Contract must be submitted for authorisation and approved by the specified number of users based on the value for each level. 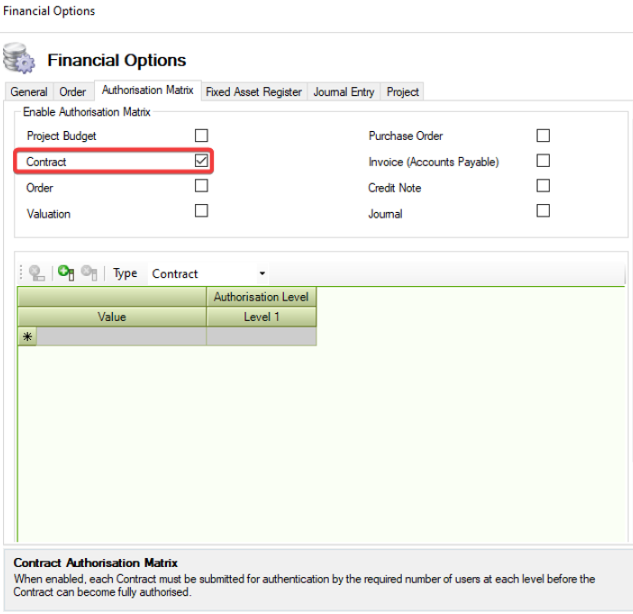 |
Order | When selected, an Order must be submitted for authorisation and approved by the specified number of users based on the value for each level. 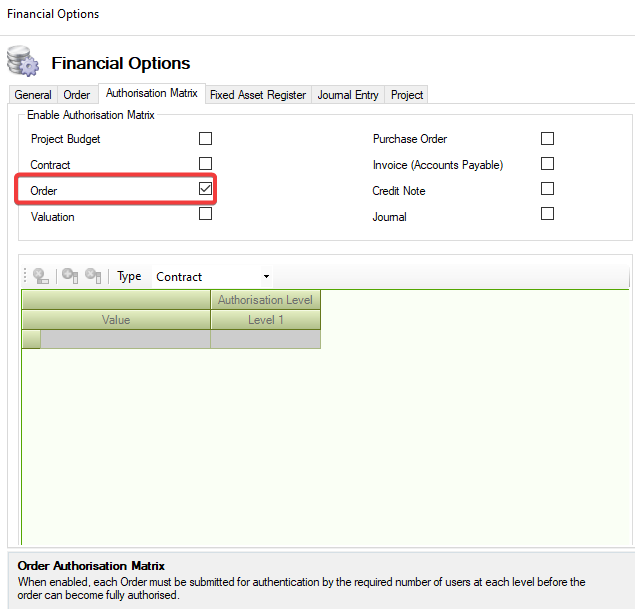 |
Valuation | When selected, a Valuation must be submitted for authorisation and approved by the specified number of users based on the value for each level. 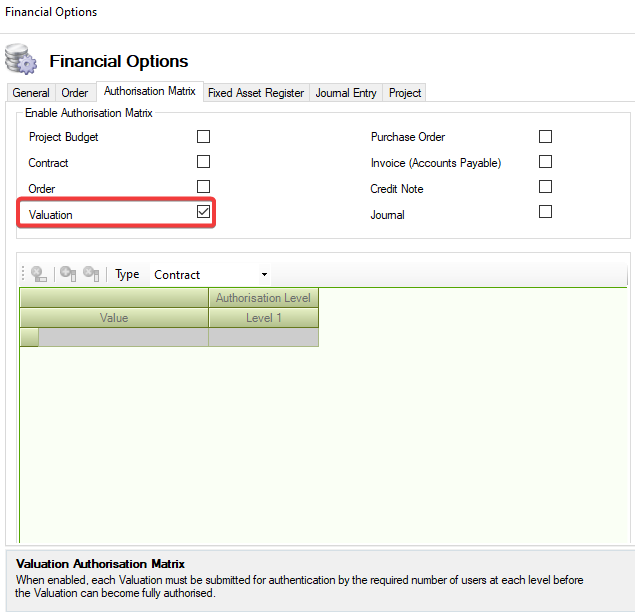 |
Purchase Order | When selected, a Purchase Order must be submitted for authorisation and approved by the specified number of users based on the value for each level. 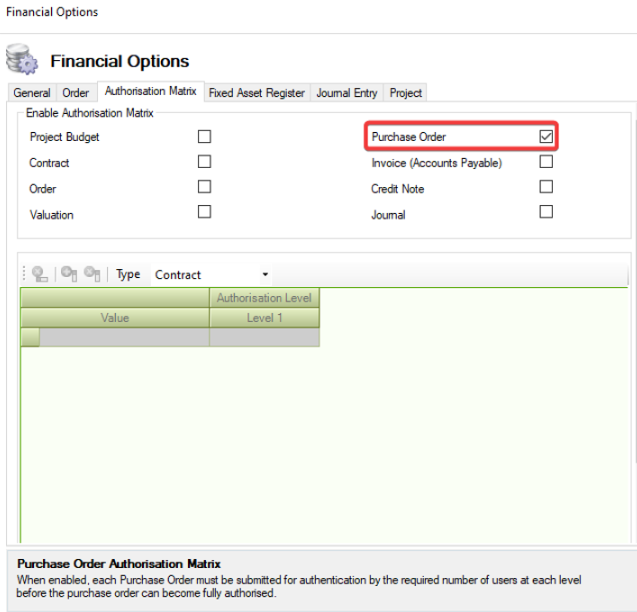 |
Invoice (Accounts Payable) | When selected, an Invoice (Accounts Payable) must be submitted for authorisation and approved by the specified number of users based on the value for each level. 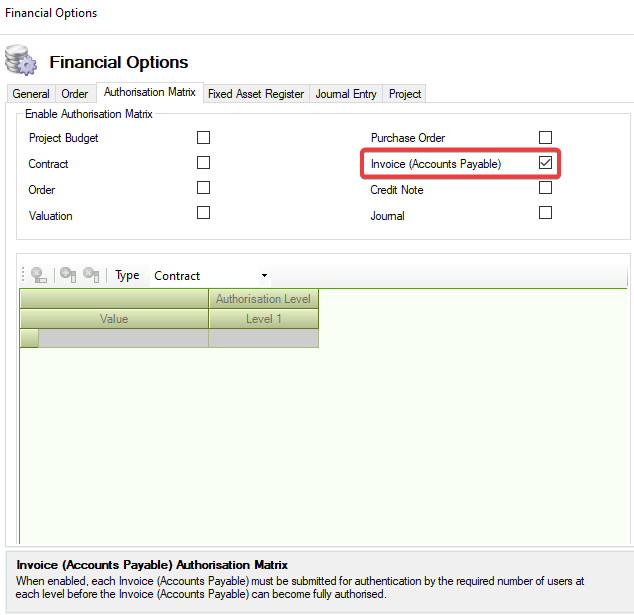 |
Credit Note | When selected, a Credit Note must be submitted for authorisation and approved by the specified number of users based on the value for each level. 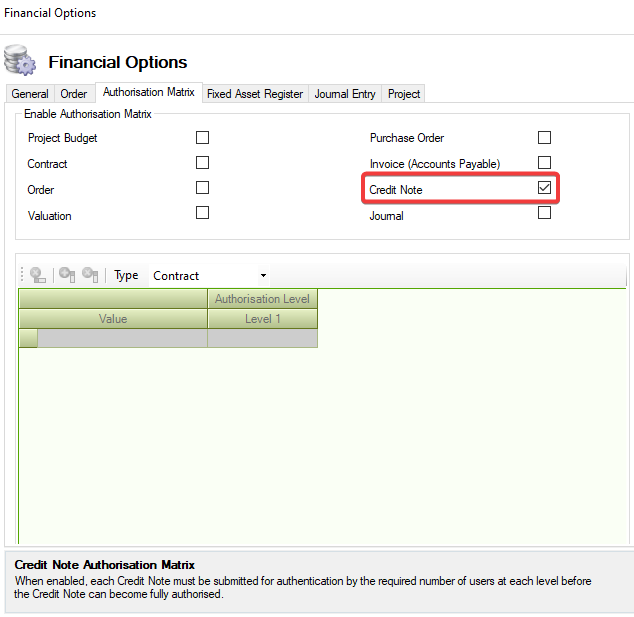 |
Journal | When selected, a Journal must be submitted for authorisation and approved by the specified number of users based on the value for each level. 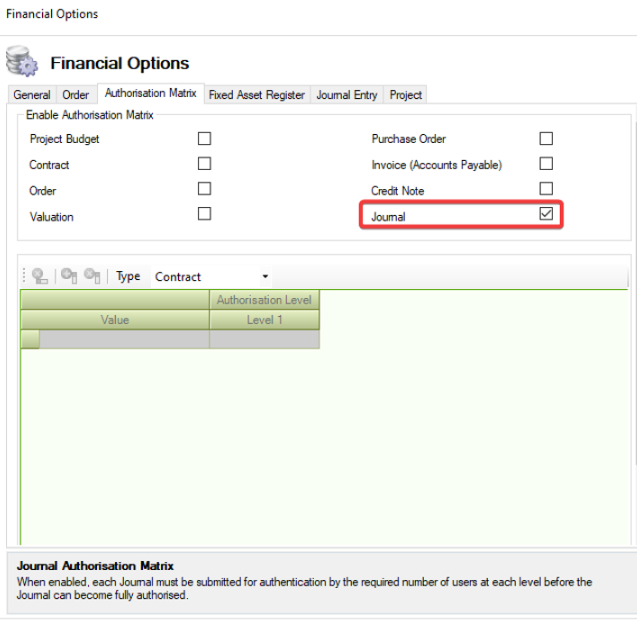 |
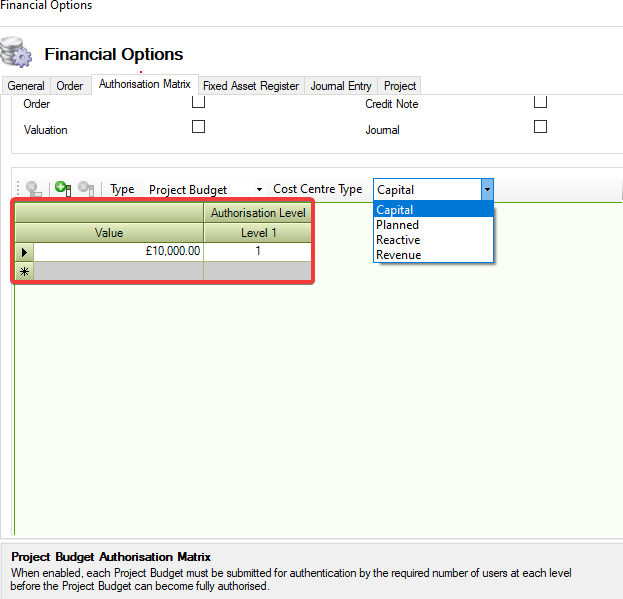
Select a value from the Type drop-down.
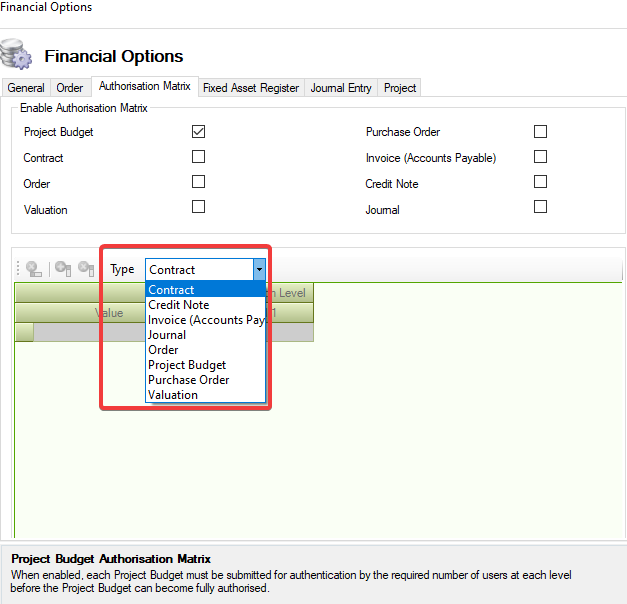
Where the Type of Project Budget has been selected Cost Centre Type is displayed and defaults to Capital.
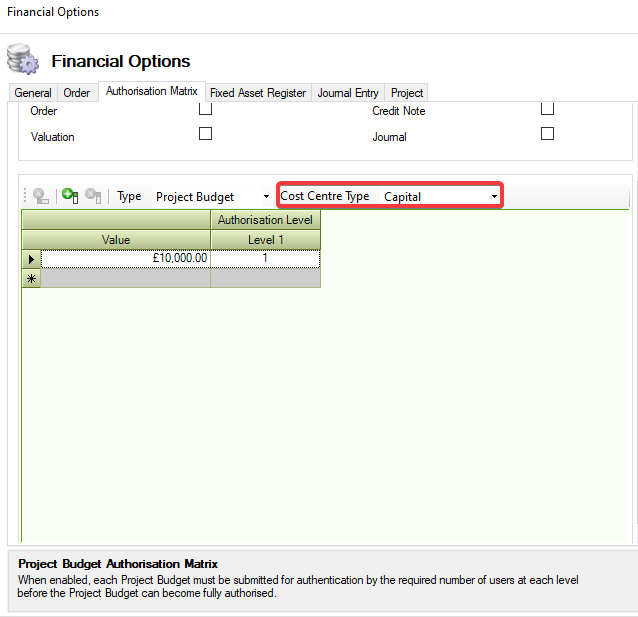
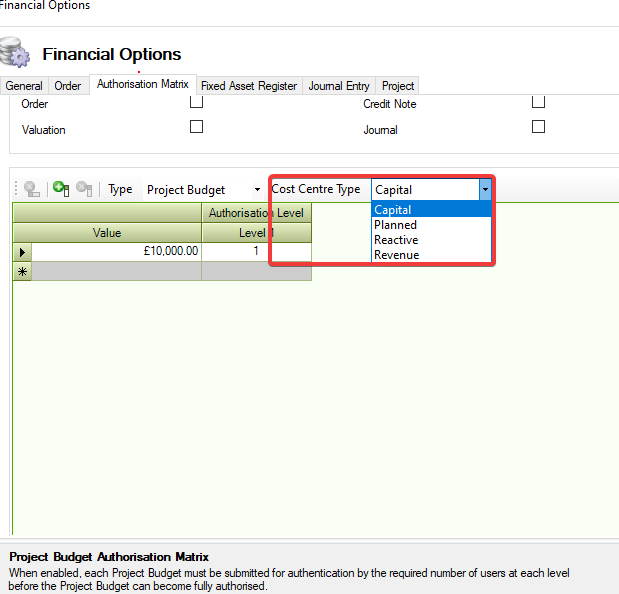
Select a value from the Cost Centre Type drop-down.
Check that the grid becomes active.
Click on Add Level.
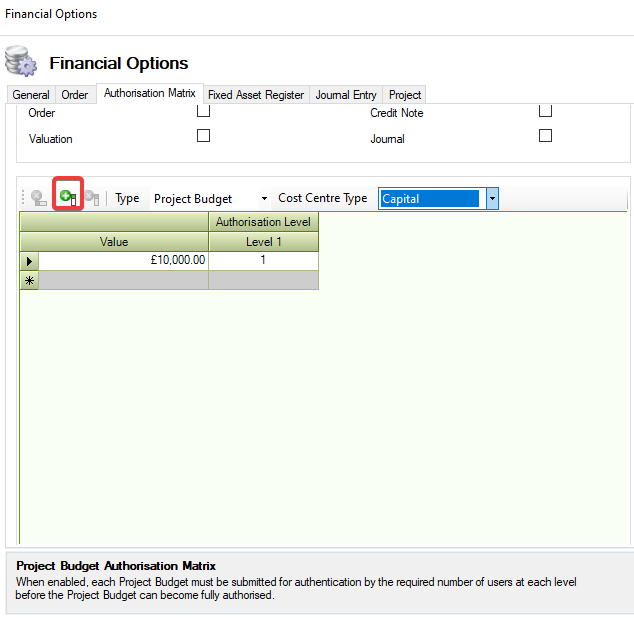
Check that a new Authorisation Level has been created.
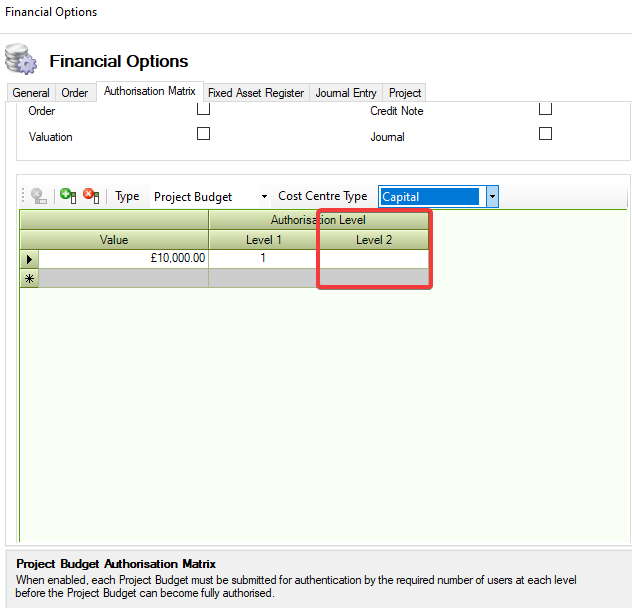
Check that details can be added to the column.
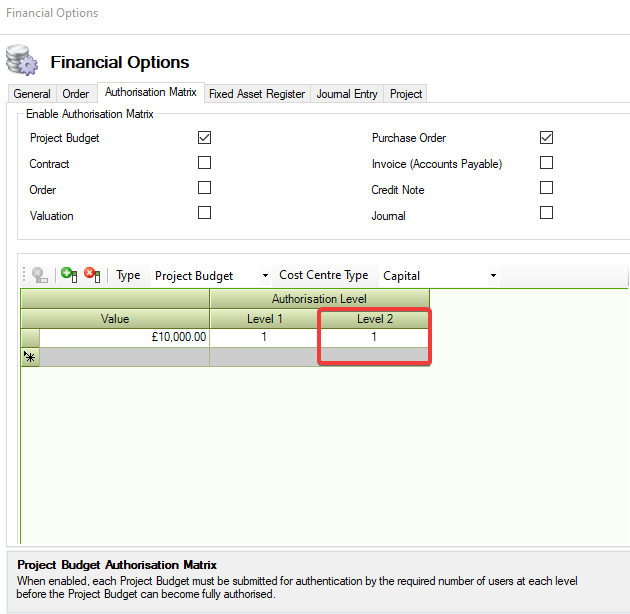
Check that Remove Last Level has become active.
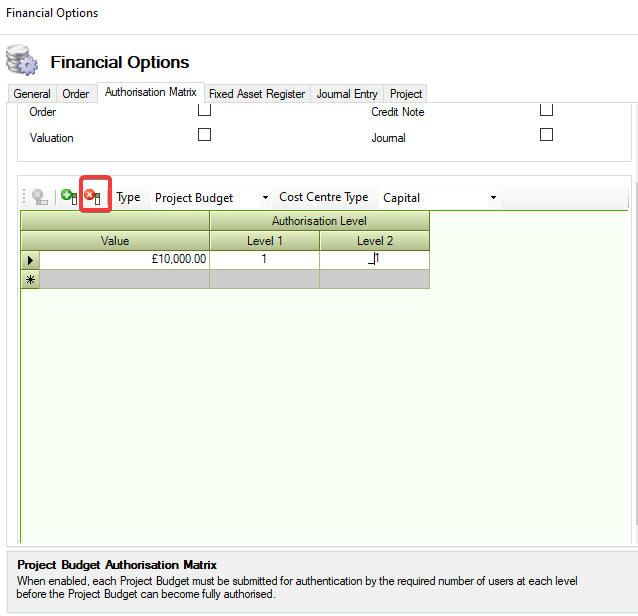
Click on Remove Last Level.
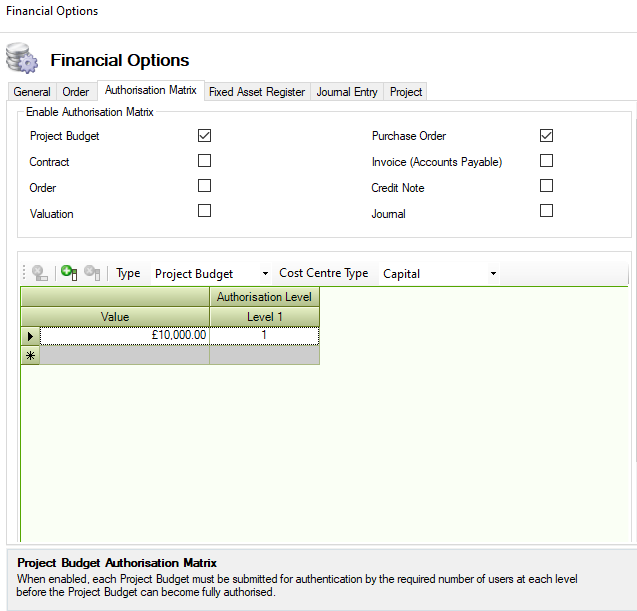
The Authorisation Level has been removed and the Remove Last Level is inactive.
The Authorisation Level once created can be set against an Authorisation Role.
The fields on the Fixed Asset Register tab are displayed.
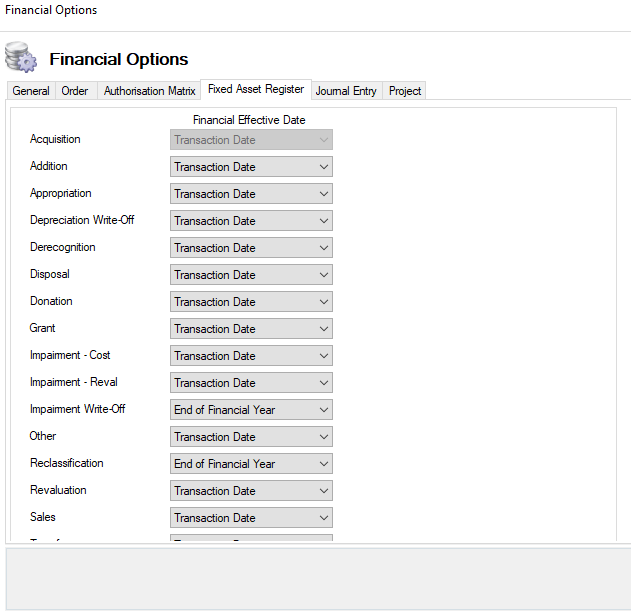
On opening the Financial Effective Date drop-downs apart from Impairment Write-Off and Reclassification will default to Transaction Date.
The End of Financial Year, Start of Financial Year, and Transaction Date can be selected from the Financial Effective Date drop-down.
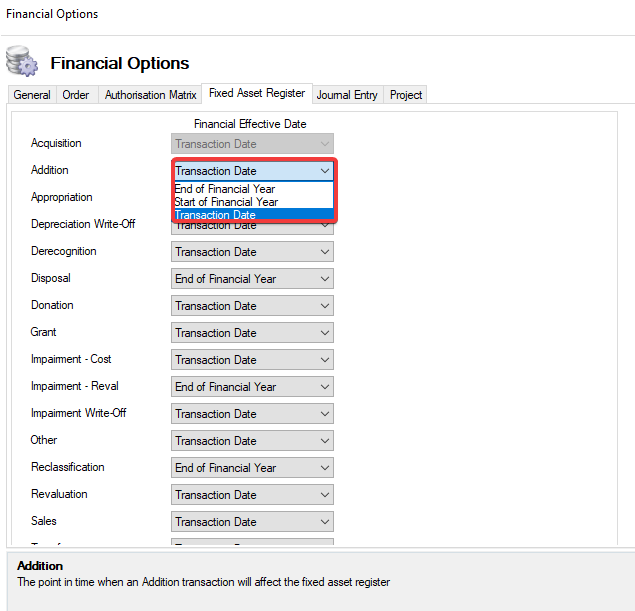
The Transaction Type can be selected from the drop-down.
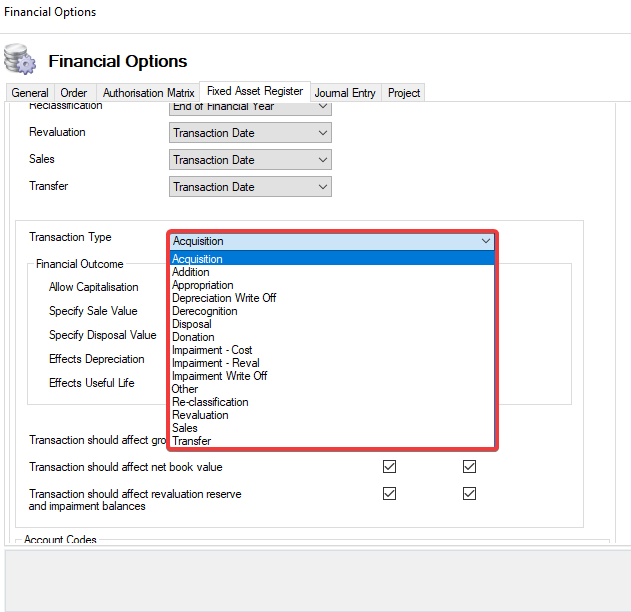
The Transaction Type selected will appear against the Financial Transactions screen in Projects.
Select a Financial Outcome.
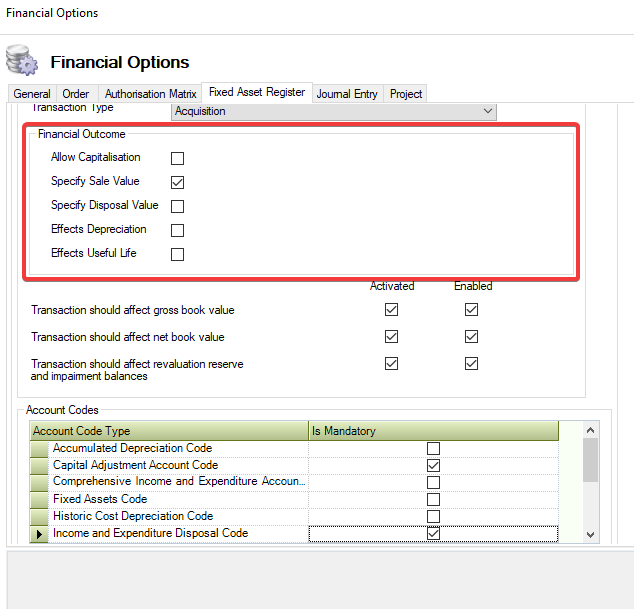
The Financial Outcome selected changes the dialogue viewed upon opening a transaction under Financial Outcomes.
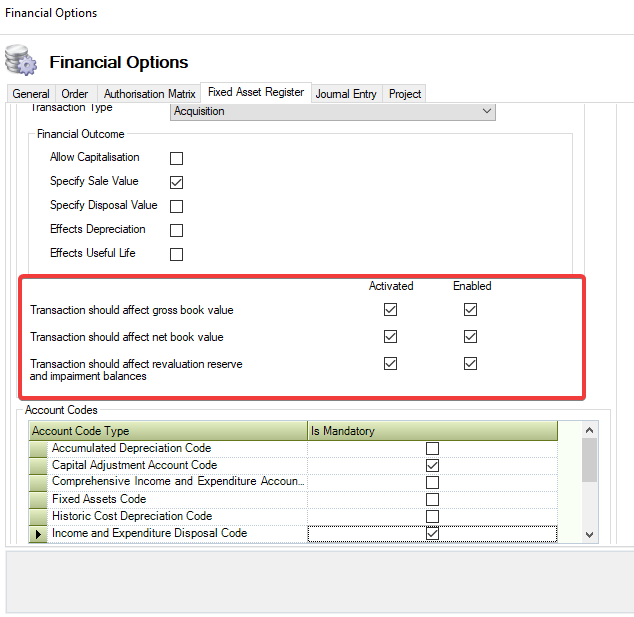
The Transaction should affect gross book value, net book value, and revaluation reserve and impairment balances should be selected by default.
Select an Account Code Type from Account Codes.
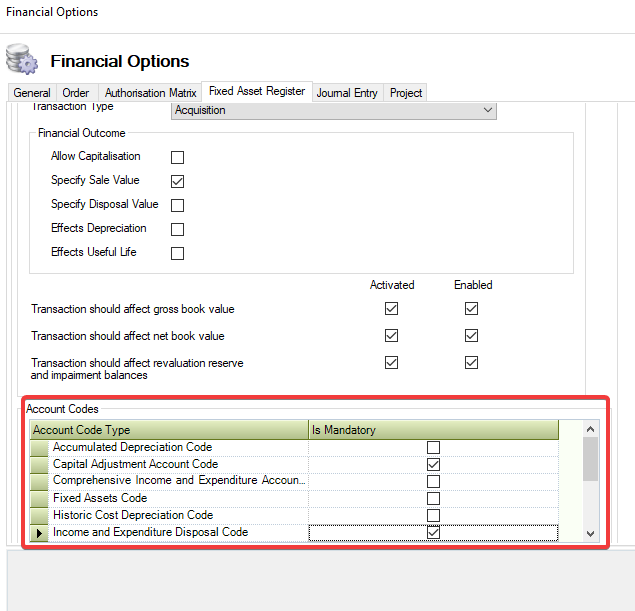
Click on Apply.
The Transaction amounts will appear on the Financial Outcomes grid found against a project.
The fields on the Journal tab are described in the following table:
This field… | Holds this information... |
|---|---|
Enable Journal Entry Number Format | When selected, Journal Entry numbers can be generated in a specified format. 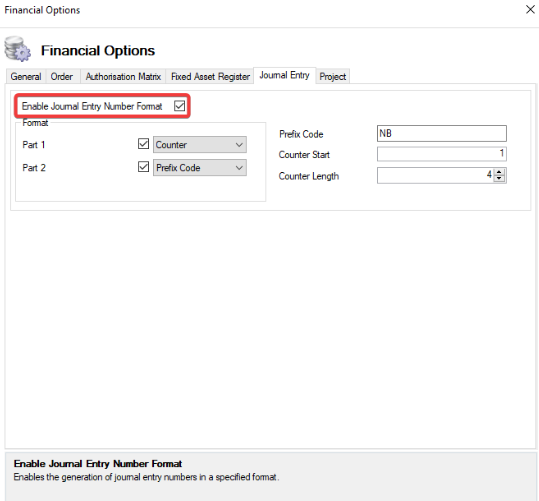 |
Part 1-2 | The Entry Number Format can be divided into up to 2 parts. These parts can be a combination of Counter, Prefix Code. 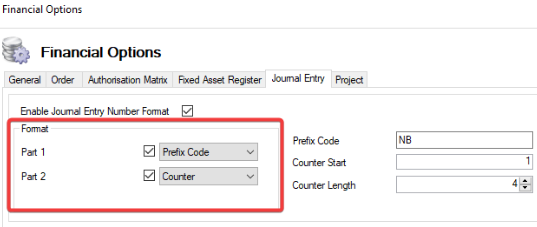 The Enable Journal Entry Number Format setting only applies when the Journal Entry Auto Unique Number has been enabled. Parts 1 to 2 will become available for selection in Format when Enable Journal Entry Number Format has been selected. |
Prefix Code | When active, allows the user to add a Prefix Code to a Journal Entry. 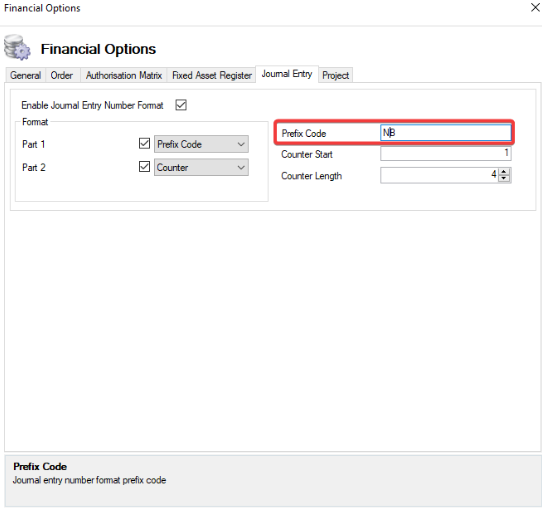 |
Counter Start | When selected the Counter Start number is displayed in the Journal Entry number on saving. 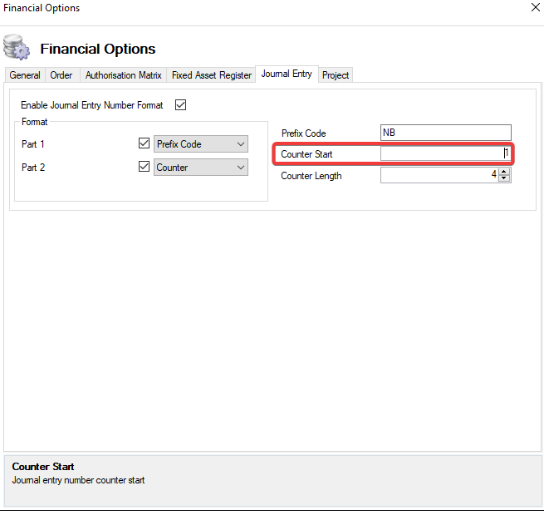 |
Counter Length | When selected it displays the number of digits required for the Journal Entry Number. 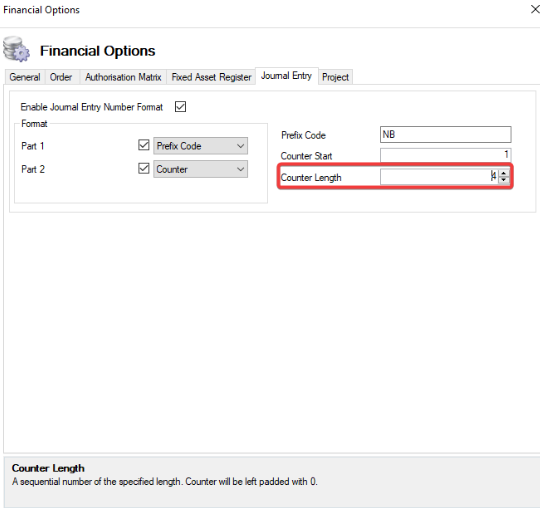 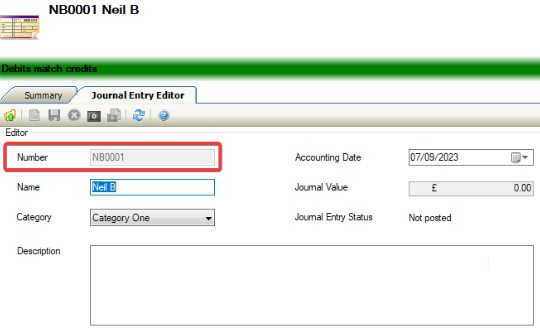 The Counter Length will become active when Counter has been selected from the Part 1 to 2 drop downs. |
The fields on the Project Tab are described in the following table.
This field… | Holds this information... |
|---|---|
Enable Project Capitalisation | When selected, Project Costs can be capitalised against its Financial Asset. 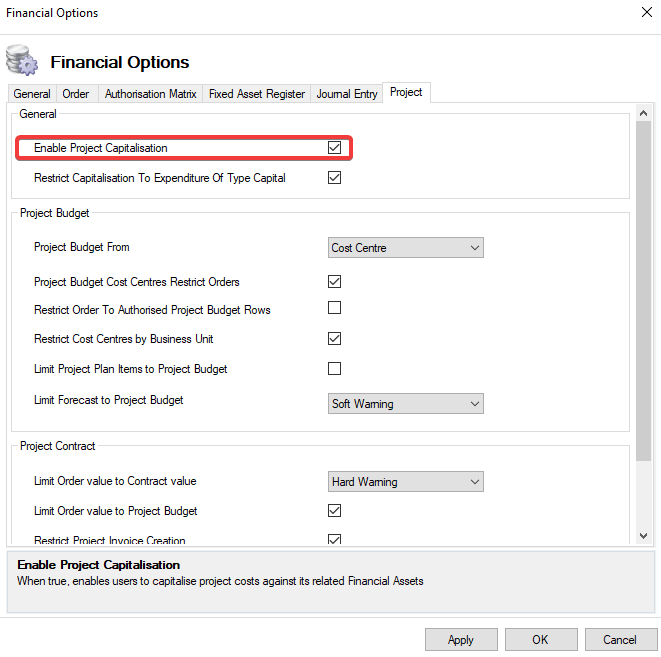 |
Restrict Capitalisation To Expenditure Of Type Capital | When selected, the Capital Value should only contain Capital Costs and exclude both Operational and other cost types. 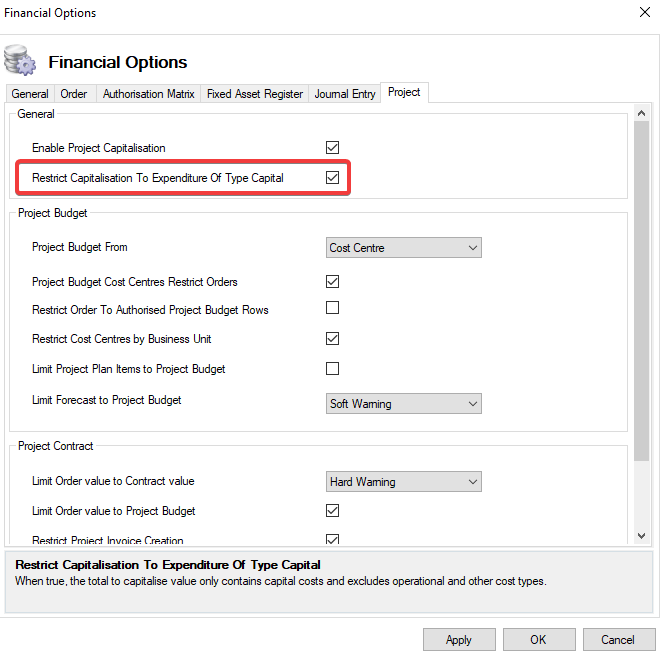 |
Project Budget From | When set, it will allow the user to create a budget from either the Cost Centre or Chart of Account.
 
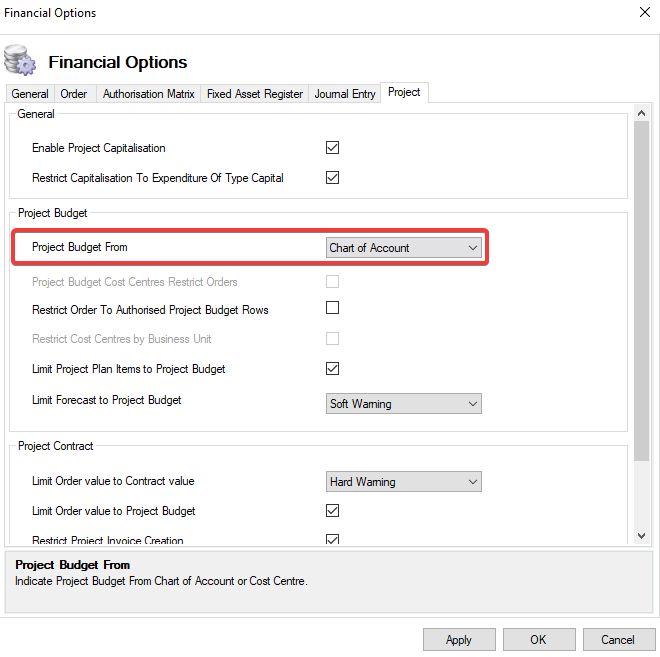 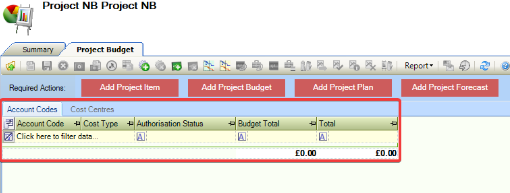 Where Chart of Account has been selected, the Project Budget Cost Centres, Restrict Orders, and Restrict Cost Centres By Business Unit become inactive. |
Project Budget Cost Centres Restrict Orders | When selected, the Project Budget Cost Centres will restrict Orders. 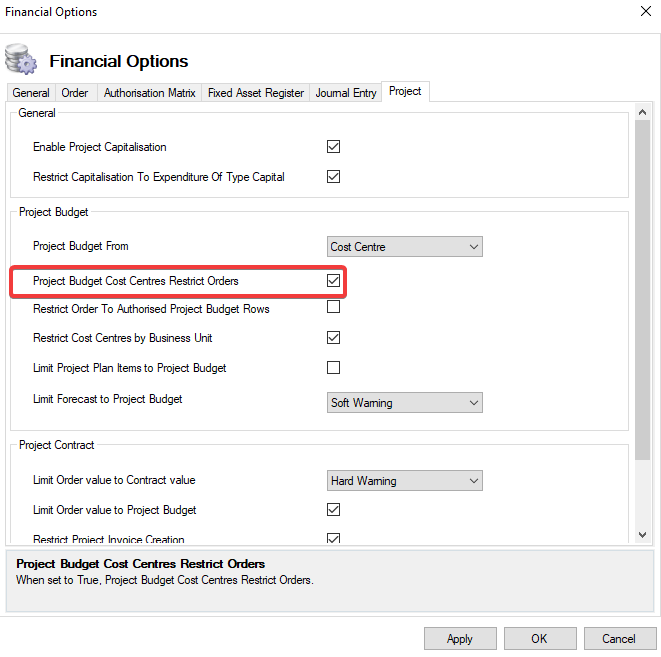 |
Project Order To Authorised Project Budget Rows | When selected, an Order that has been created against a Project Contract cannot be authorised unless the Cost Code against the related Project Budget has been authorised.  |
Restrict Cost Centres by Business Unit | When selected, Cost Centres will be restricted by a Business Unit. 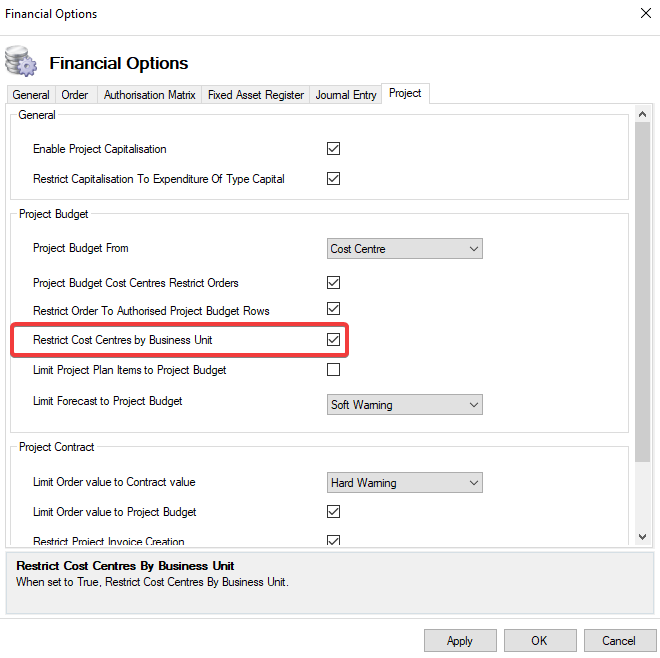 |
Limit Project Plan Items to Project Budget | When selected, this prevents the value of the Project Plan from exceeding the value of the Project Budget. 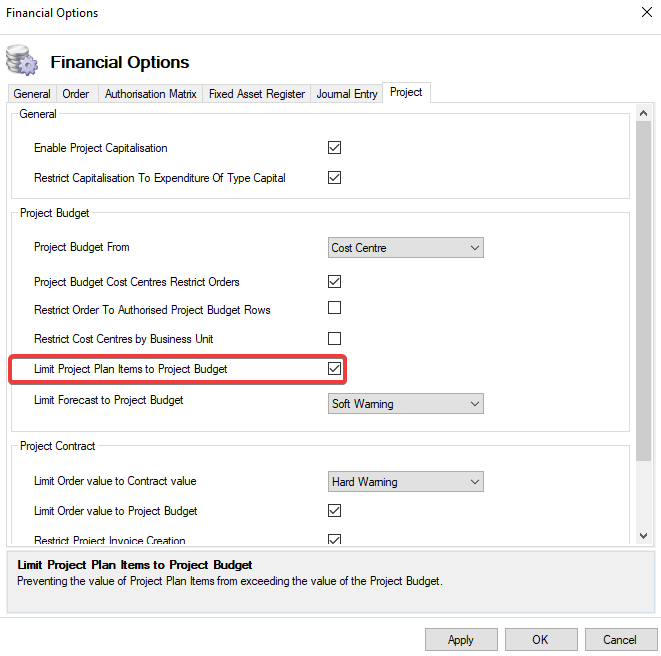 |
Limit Forecast to Project Budget | When set, a warning message will be displayed when the Total Forecast exceeds the value of the project. 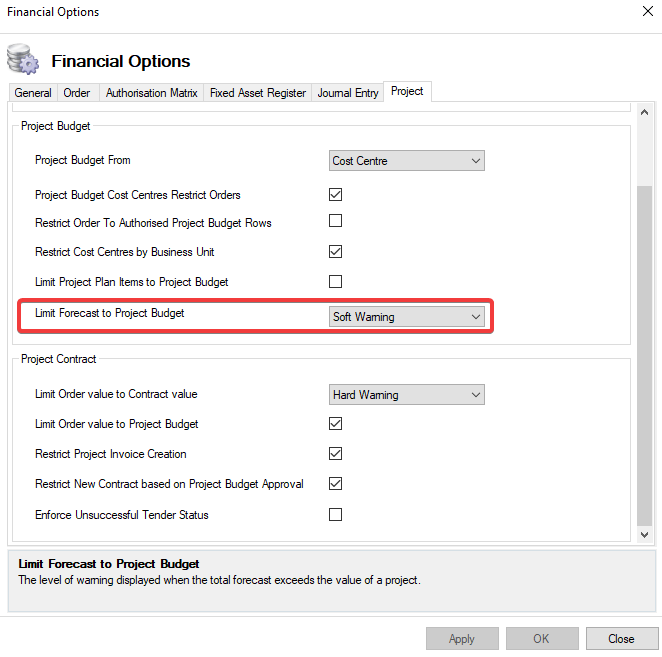 |
Limit Order Value to Contract Value | When set, a warning message will be displayed when the Value of the Orders exceeds the value of the contract they are linked to. 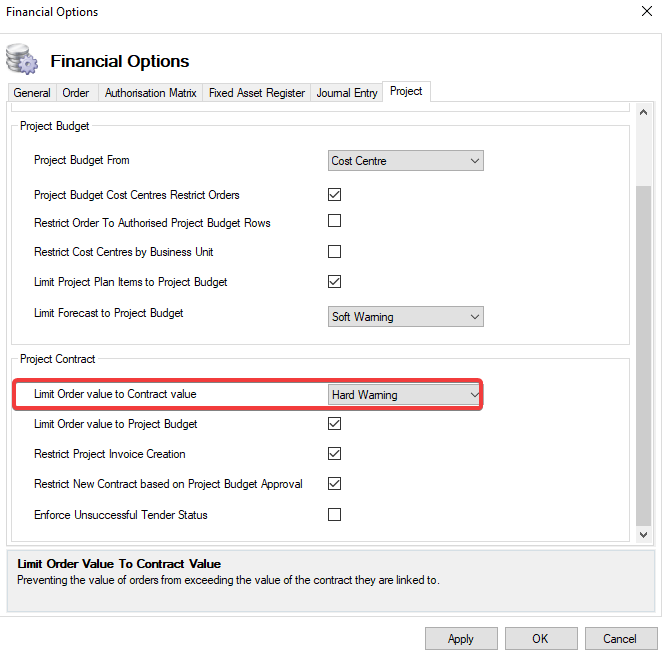 |
Limit Order Value to Project Budget | When selected, this prevents the value of the Project Order from exceeding the value of the corresponding Project Budget. 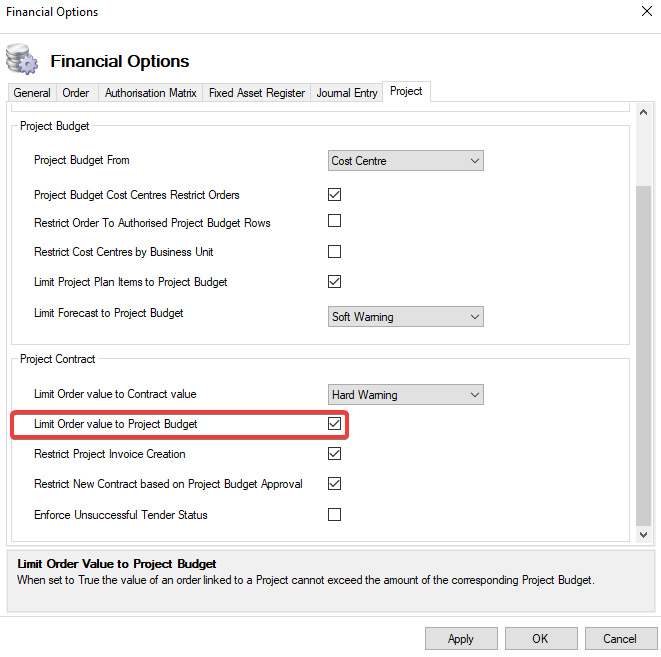 |
Restrict Project Invoice Creation | When selected, Invoices can no longer be added to financially complete projects. 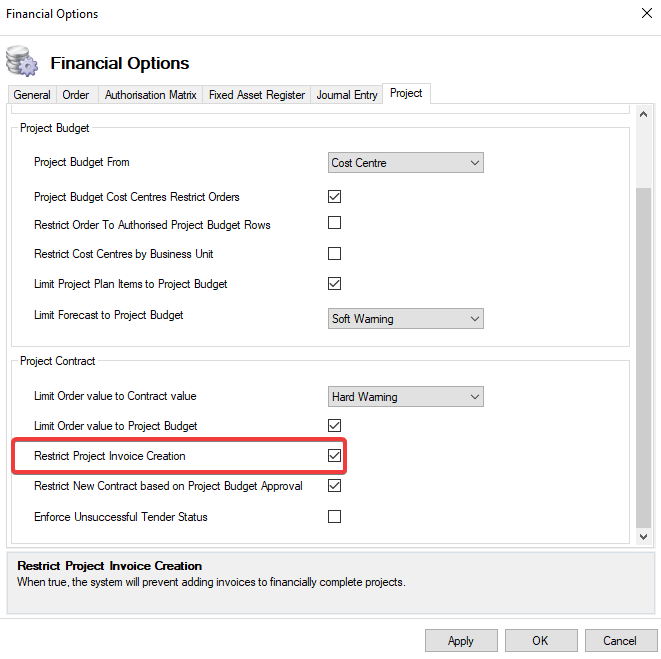 |
Restrict New Contract based on Project Budget Approval | When selected, when all Project Budget rows are set to Authorised, a new contract can be created by a user. 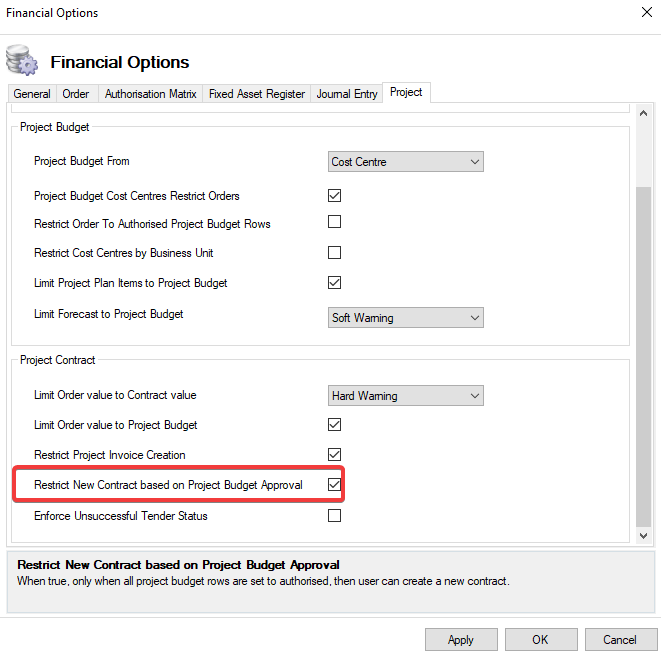 |
Enforce Unsuccessful Tender Status | When selected, the Tender status will not update to Unsuccessful when a Successful tender has been added. 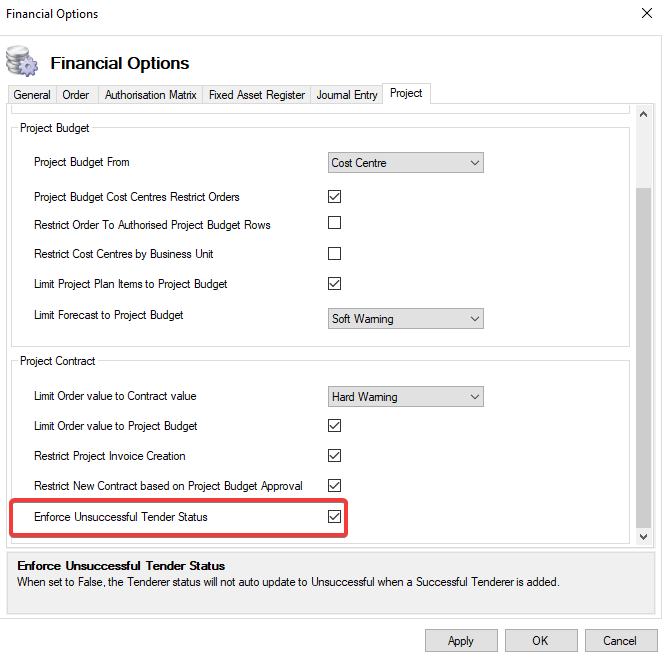 |
