
Managing Voids
A void record contains checklist items created from the checklist template which can be managed in Units Reference Data. A list of events can be added against a void and displayed in the Calendar.
You must have a role with the Void permission to manage voids.
Search for and open the relevant unit record.
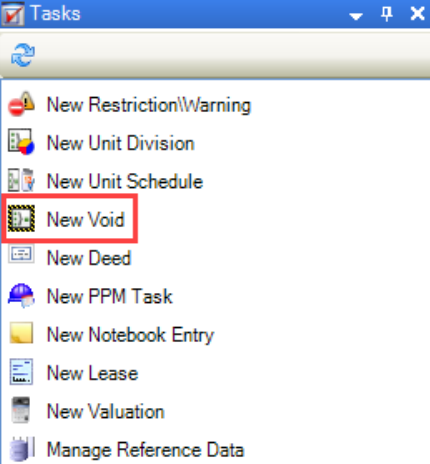
Click the New Void option in the Tasks panel to add a void.
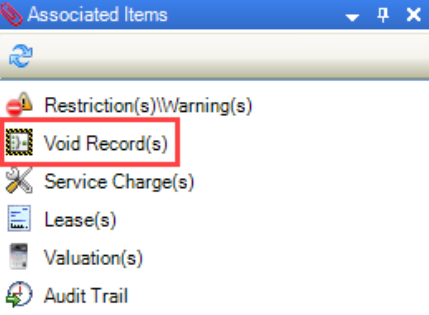
Alternatively, click the Void Record(s) option in the Associated Items panel, and then double-click the relevant existing record in the Void List.
The Void Editor is displayed.
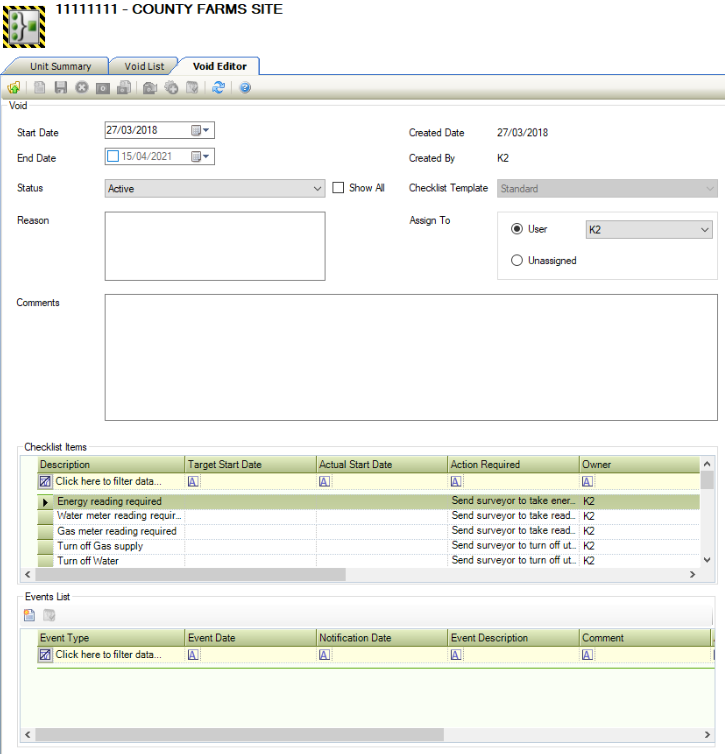
Use the Void Editor to:
The fields on the Void Editor are described in the following table:
This field | Holds this information... |
|---|---|
Start Date | The void start date. |
End Date | The void end date. |
Status | The status of the void (for example: active, closed or pending). These can be defined in Void Status reference data (accessed by navigating to Estates > Valuation > Valuation). |
Reason | The reason for the void. |
Created Date | The date the void record was created. This is automatically populated with today's date on saving and cannot be edited. |
Created By | The user who created the void record. This is automatically populated with the logged-in user and cannot be edited. |
Checklist Template | The template of checklist items. These are then displayed in the Checklist Items section on saving. This field cannot be edited after saving. These can be managed in Void Checklist Template reference data (accessed by navigating to Estates > Valuation > Valuation). |
Assign To | The person responsible for the void. Select from the drop-down list or select the Unassigned radio button. Editing this field updates all records in the Checklist Items grid on saving. A confirmation message is displayed. |
Comments | Any comments relating to the void. |
Once saved, the Check List Items and Events List sections are enabled.
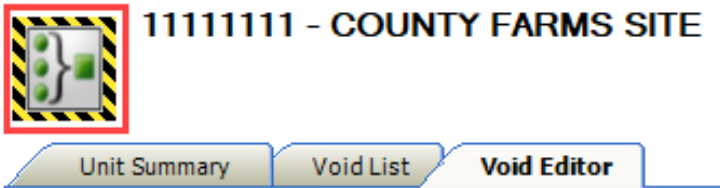
Once a void is added to a unit, a black and yellow border is also added to the unit icon.
The Checklist Items section is populated with the items defined in the selected Checklist Template.

The Checklist Items grid is only enabled on saving the void record.
Double-click a record in the Checklist Items grid to display the Edit Checklist Item window.
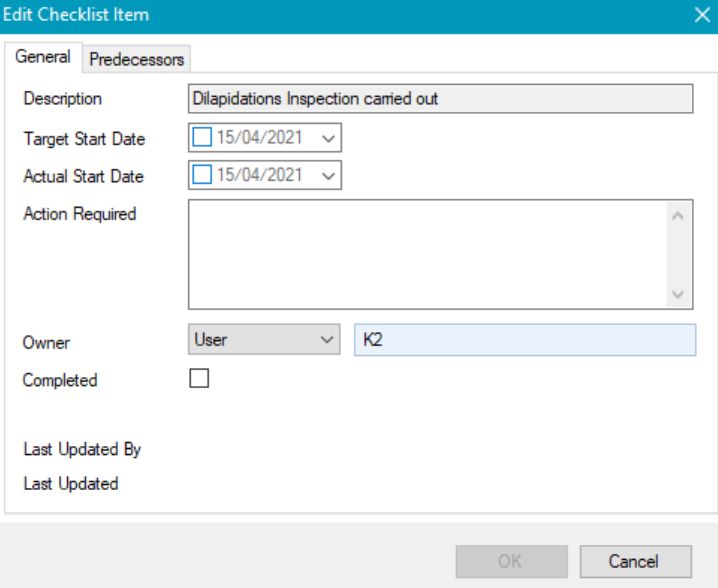
Edit the fields on the General tab as required.
The fields on the General tab are described in the following table:
This field | Holds this information... |
|---|---|
Description | A description of the checklist item. |
Target Start Date | The date that the checklist item should start to be addressed. |
Actual Start Date | The date that the checklist item was addressed. |
Action Required | Further details of the action required. |
Owner | The person responsible for the checklist item. Select the type of person (that is: user, contact or free text if the person is not recorded in the system) and enter or select the relevant person from the adjacent field. |
Completed | Whether the checklist item has been completed. |
Last Updated By | The user who last updated the checklist item. This is automatically populated with the logged-in user and cannot be edited. |
Last Updated | The date the checklist item was last updated. This is automatically populated with today's date on saving and cannot be edited. |
Select the Predecessors tab, and then click the Add button or double-click an existing predecessor record to edit it.
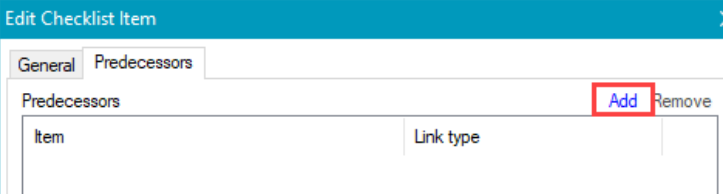
You can also select a record and click the Remove button to delete it.
The Predecessor Link window is displayed.
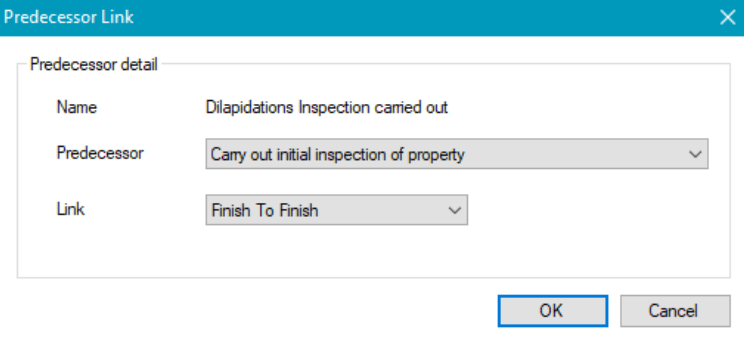
Select the predecessor item from the Predecessor drop-down list.
Select the link type from the Link drop-down. You can select from the following:
Finish To Finish - the predecessor must end before the successor ends
Finish To Start - the predecessor must end before the successor starts
Start To Finish - the predecessor must start before the successor ends
Start To Start - the predecessor must start before the successor starts
Repeat this process for as many predecessors as necessary, and then click OK.
Click OK on the Edit Checklist Item window to return to the Void Editor.
Use the Events List section to add or edit one-off or recurring events.
To add or edit events:
Click the New button to add an event.

Alternatively, double-click an existing record.
The Void Event Schedule window is displayed.
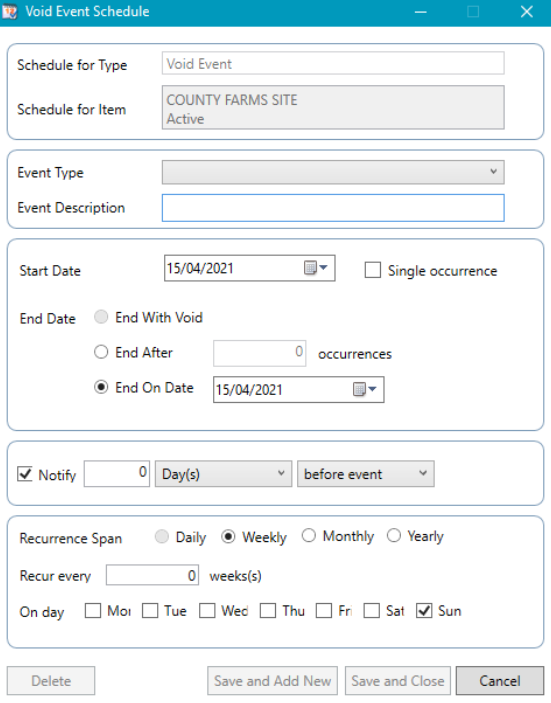
Enter or edit the relevant details.
The fields on the Void Event Schedule window are described in the following table:
This field | Holds this information... |
|---|---|
Schedule for Type | This defaults to 'Void Event' and cannot be edited. |
Schedule for Item | This defaults to the unit that the event schedule is for and cannot be edited. |
Event Type | The type of event. These can be defined in Void Event Type reference data (accessed by navigating to Organisation > Unit > Units). |
Event Description | A description of the event. |
Start Date | The start date. |
Single Occurrence | Whether the event is a one-off occurrence. |
End Date | The end date. Select whether there is no end date, whether the event is to end after a specific number of occurrences, or whether to end on a specific date. |
Notify | Whether a notification is required for the event(s). Enter the details of how far in advance of or after the event(s) that the notifications are displayed. |
Recurrence Span | The frequency that the event recurs. |
Do one of the following:
Click Save and Add New to save the event and add another one.
Click Save and Close to save the event and close the Event Schedule window.
Click Cancel to cancel the schedule.
Click Delete to delete the schedule.