
Managing Zones
Zones are areas designated for a particular purpose. Since zones may overlap, their total area may not equal that of the site.
Use K2 to:
To add or edit a zone, do one of the following:
Search for and open the relevant business unit record, and then click the New Zone option in the Tasks panel.

Search for and open the relevant existing zone, and then click the Click to edit details button.
Select an existing zone in the Navigator panel and then click the Click to edit details button.
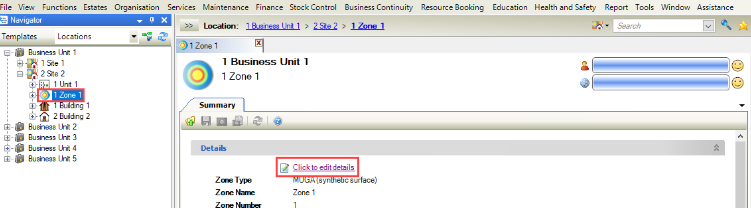
The Zone Editor is displayed.
Enter or edit the relevant fields.
The fields on the Zone Editor are described in the following table:
This field | Holds this information... |
|---|---|
Zone Type | The type of zone (for example: car park). These can be defined in Zone Types reference data (accessed by navigating to Functions > Core > Reference Data > Core). |
Space Description | A description of the space. This is populated automatically based on the Zone Type. |
Number | A unique reference number for the zone. |
Area | The area of the zone. |
Name | The name of the zone. |
Comments | Any relevant comments regarding the zone. |
Application Resource | Whether the zone is an application resource. |
Booking Resource | Whether the zone can be used as a booking resource. |
Is Car Park | Whether the zone is a car park. Selecting this check box enables the Car Park Name, Car Park Spaces and Car Park Sector fields. |
Contaminated Land | Whether the zone's land is contaminated. |
Car Park Name | The name of the car park. This is only enabled when the Is Car Park check box is selected. |
Car Park Spaces | The number of spaces that the car park has. This is only enabled when the Is Car Park check box is selected. |
Car Park Sector | The sector of the car park. This is only enabled when the Is Car Park check box is selected. |
Location | The location of the zone. This is populated automatically based on the location in the hierarchy (as displayed in the Navigator panel). Double-click in the field to open the zone's parent location (for example: a site). |
Record any information on the Overall Condition and Resource Booking tabs, as required.
Click Save.
The zone is then displayed in the Navigation panel on refreshing.
Use the Overall Condition tab on a zone record to define the condition of specific elements of the site (for example: ceilings, stairs, roofs, and so on).
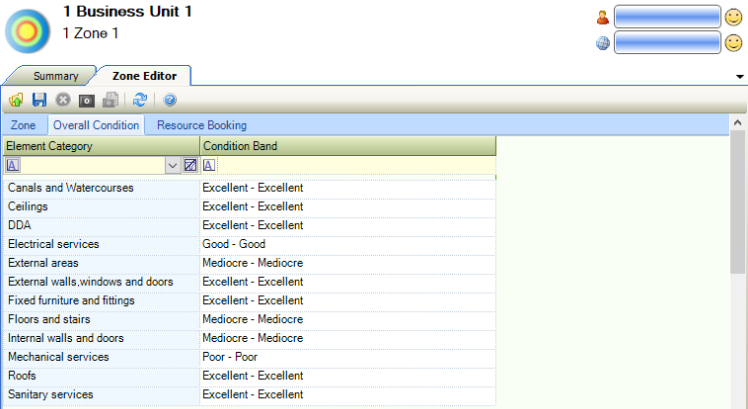
The list of elements is displayed automatically based on those recorded in the Element List (in Condition Reference Data).
Select the relevant condition from the respective drop-down lists.
The conditions are defined in Condition Bands (in Condition Reference Data).
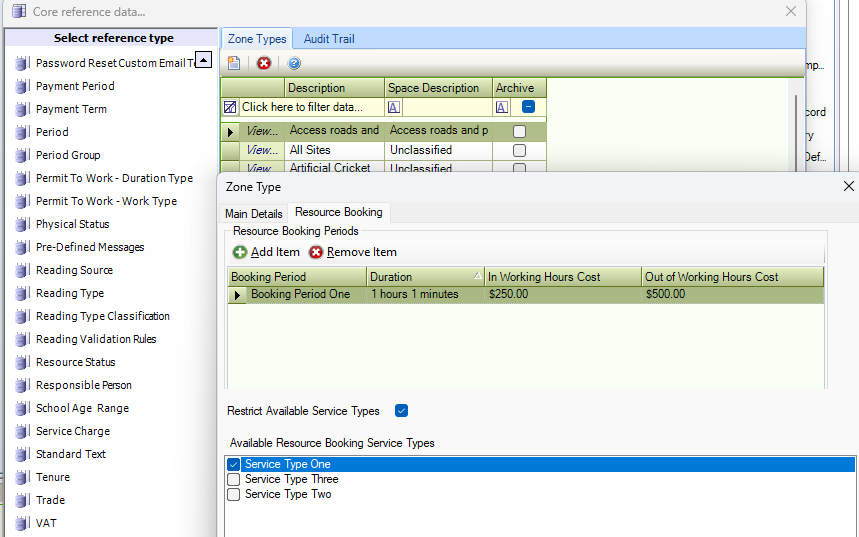
Providing a Zone has been ticked as a booking resource, the Resource Booking mini-tab can be utilised.
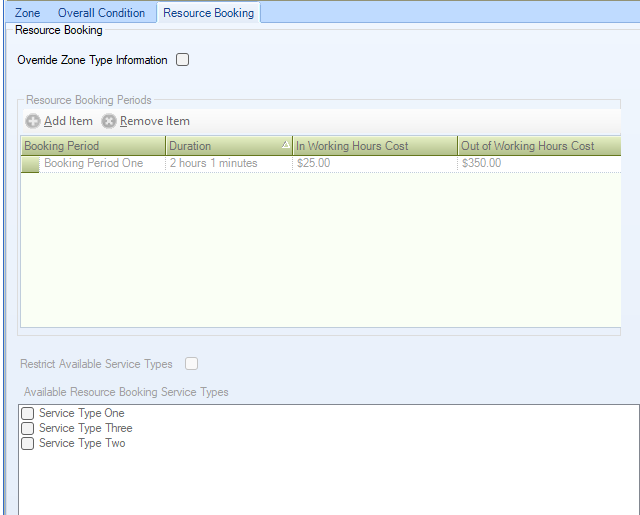
Depending on the Zone Type selected, the Resource Booking Periods can be automatically imported. These periods automatically define the cost and duration within or outside of working hours. It also allows for Service Types to be automatically added, or make them optional.
It is also possible to override the Zone Type information, allowing for manual configuration of Booking Periods against the Zone.
For further information, please review the Resource Booking functionality.
The Zone Layout is used for recording the maximum and minimum capacity against a Zone.
The fields on the Zone Layout dialog are described in the following table:
This field… | Holds this information... |
|---|---|
Layout Description | The name of the Layout. This is a mandatory field. |
Zone Layout Style | The layout style for the Zone. This is a mandatory field. These can be defined in Zone Layout Core reference data. (accessed by navigating to Functions > Core > Reference Data > Core). |
Max. Capacity | The Maximum Capacity for the Zone. |
Min. Capacity | The Minimum Capacity for the Zone. |
Default Layout | If this is the default layout for the Zone. |
Layout Note | Any relevant notes regarding the Zone Layout. |
Click OK once all mandatory fields have been populated, and the Zone Layout(s) associated item can be used to view all saved layouts.
Other Tasks/Associated Items
To add or edit a restriction or warning:
Search for and open the relevant room record.
Click the New Restriction\Warning option in the Tasks panel.

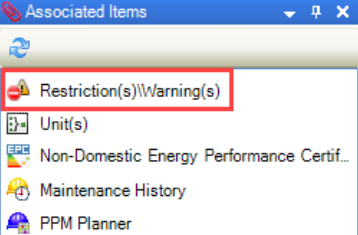
Alternatively, click the Restriction(s)\Warning(s) option in the Associated Items panel and then double-click an existing record to open it.
The Restrictions and Warnings window is displayed.

The fields on the Restriction and Warnings window are described in the following table:
This field… | Holds this information... |
|---|---|
Category | The category of restriction or warning. These can be defined in Restriction And Warning Category Reference Data (accessed by navigating to Functions > Core > Reference Data > Restrictions and Warnings). |
Comment | Any comments on the restriction or warning. This field is mandatory. |
Logged By | The user who logged the restriction or warning. This defaults to the logged-in user but can be amended. |
Logged Date | The date the restriction or warning was logged. |
Input Date | The date the restriction or warning was input. This defaults to the logged-in user on saving and cannot be amended. |
Input By | The user who input the restriction or warning. This defaults to the logged-in user and cannot be amended. |
Requirements | Any requirements for the restriction or warning. This is populated based on the selected Category and can be defined in Restriction And Warning Requirements Reference Data (accessed by navigating to Functions > Core > Reference Data > Restrictions and Warnings). |
DBS Required | Whether a DBS check is required. |
DBS Level | The DBS level required for the restriction. This list is hard-coded and cannot be edited. |
Click OK.
To add a new suitability record:
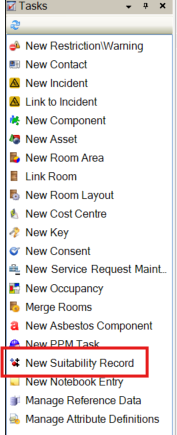
Select New Suitability Record from the Tasks panel.
Refer to Adding or Editing a Suitability Item Record for further details.
To add a new service request maintenance to a Zone:
Select New Service Request Maintenance option from the Tasks panel.

Refer to Adding or Editing a Service Request for further details.
The location will be populated when creating a service request from a location.