Managing Zones
Select from the following to manage zone records:
To open a zone record:
Open the Site Record to which the zone belongs.
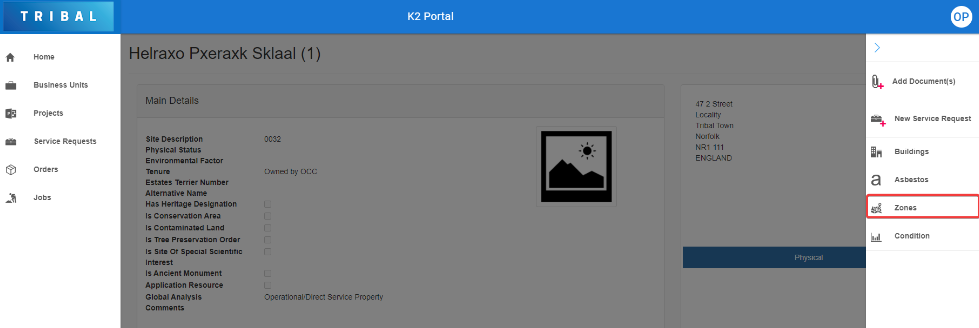
Click the Zones button in the right-hand panel.
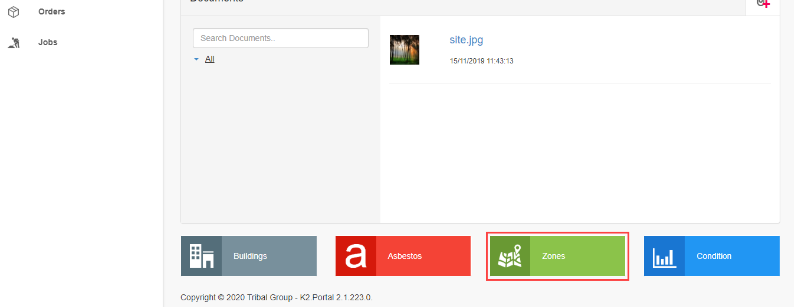
Click the Zones button at the bottom of the screen.
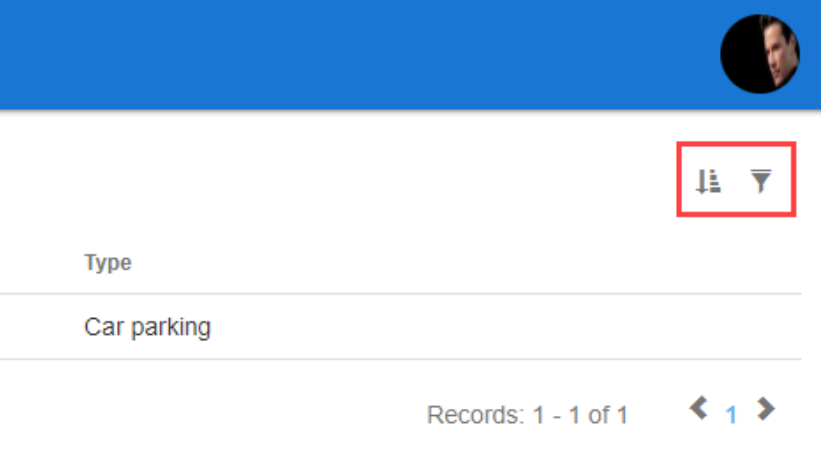
Check that the Zones screen is displayed.

Locate and click the relevant zone to open it. If required, use the sort and filter options in the top right-hand corner of the screen to sort or narrow the results.
Check that the Zone details screen is displayed.
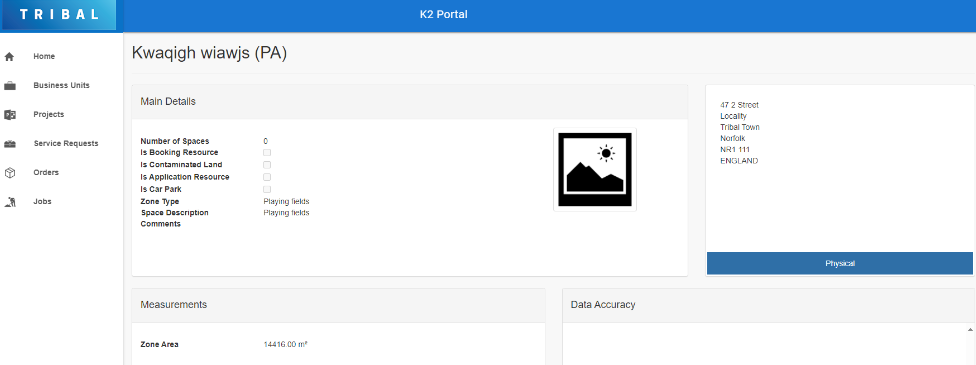
The fields on the Zone Details screen are described in the following table:
This field… | Holds this information... |
|---|---|
Number of Spaces | The number of spaces that the zone holds. |
Is Booking Resource | Whether the zone can be booked. |
Is Contaminated Land | Whether the zone is contaminated land. |
Is Application Resource | Whether people can apply to use the zone for a specific purpose. |
Is Car Park | Whether the zone is a car park. |
Car Park Name | The name of the car park. This is only displayed if the Is Car Park check box is selected. |
Car Park Spaces | The number of spaces in the car park. This is only displayed if the Is Car Park check box is selected. |
Car Park Sector | The car park sector. This is only displayed if the Is Car Park check box is selected. |
Zone Type | The type of zone (for example: car park). |
Space Description | A description of the space. |
Comments | Any comments regarding the zone. |
Physical | The physical address of the zone. |
Zone Area | The area of the zone. |
Use the Notebook Entries panel to add notes or reminders by entering text and clicking the Add button.
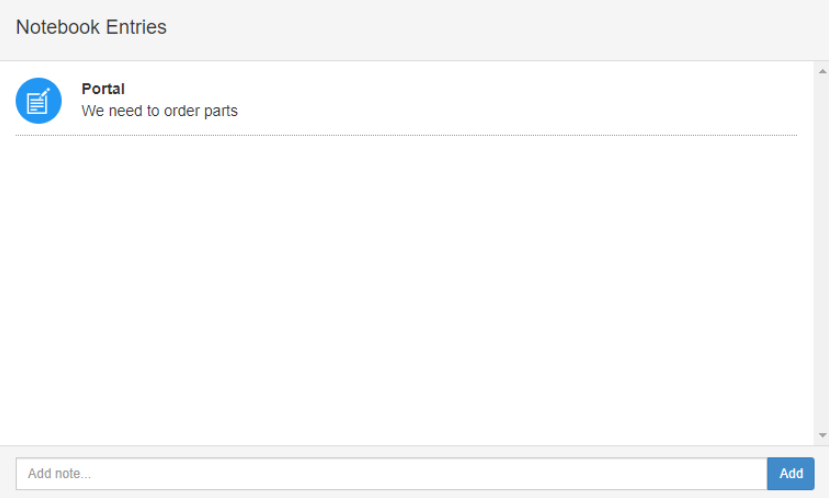
You can also view existing notebook entries (unless they are archived).
If the Enable Portal RCI Event option in Portal Options (accessed by navigating to Tools > System Options and then clicking the Portal Options button) is set to True, the Data Accuracy panel is displayed. Live issues are marked with a flag, while resolved issues are marked with a tick.
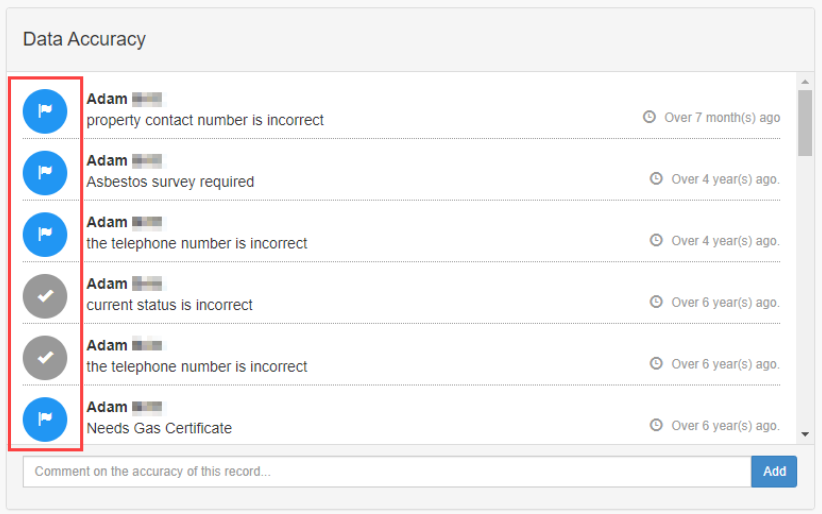
You can raise potential data inaccuracies by entering a comment and clicking the Add button.
This creates a record in the Record Confidence Indicator in K2 with an Application Name of 'Portal'.
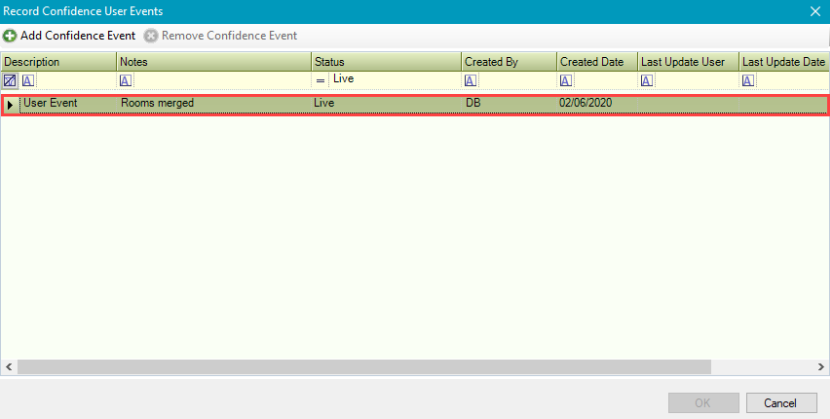
It also reduces the user confidence level by one-sixth.

Condition records can be opened from any location record.
To open a condition record:
Click the Condition button in the right-hand panel when a location record is open.

Click the Condition button at the bottom of the location record.
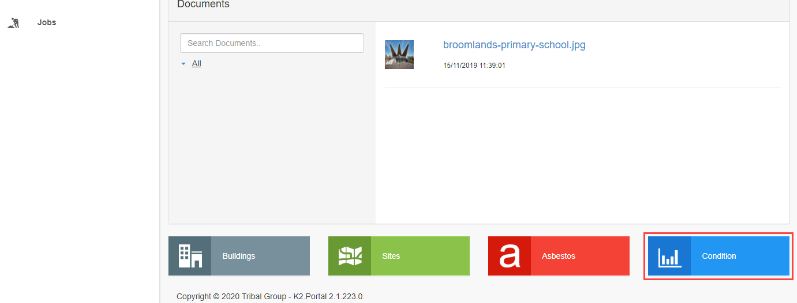
The Condition screen is displayed, which lists all of the condition records for the selected location.

Search for and select the relevant condition record.
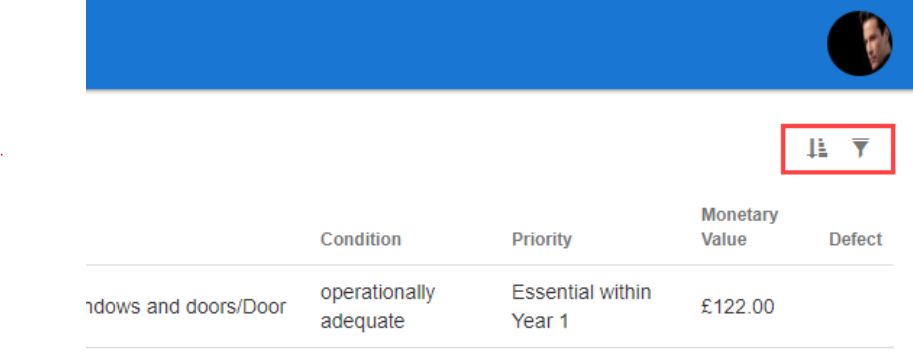
If required, use the sort and filter options in the top right-hand corner of the screen to sort or narrow the results.
Check that the Condition details screen is displayed.
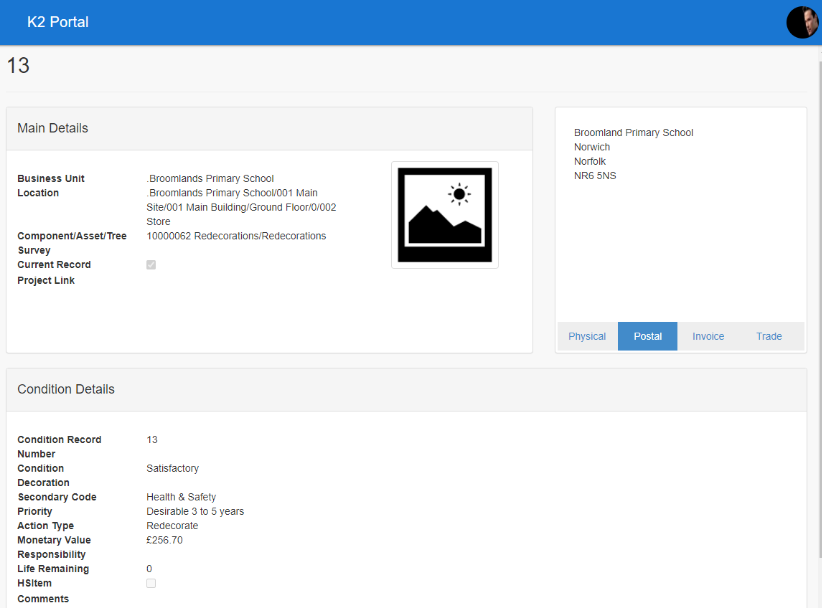
The fields on the Condition Details screen are described in the following table:
This field… | Holds this information... |
|---|---|
Business Unit | The business unit to which the item belongs. |
Location | The location of the item. |
Component/Asset/Tree | The component, asset or tree to which the condition relates. |
Survey | The survey to which the condition relates. |
Current Record | Whether this is a current condition record. |
Project Link | A project reference which has been manually entered into K2. |
Physical | The physical address of where the condition item is located. |
Postal | The postal address of where the condition item is located. |
Invoice | The invoice address of where the condition item is located. |
Trade | The trade address of where the condition item is located. |
Condition Record Number | The record number for the condition. |
Condition | The condition status of the item surveyed. |
Decoration | The condition status of the decoration. |
Secondary Code | An additional code to further define the priority of the condition record. |
Priority | The priority of the item being surveyed. |
Action Type | The action required for the condition item. |
Monetary Value | The value of the condition item. |
Responsibility | The party responsible for the condition of the item. |
Life Remaining | The number of years remaining that the item has in its current condition. |
HSItem | Whether the item is a health and safety item. |
Comments | Any comments on the condition item. |
Service Requests linked to a Zone can be viewed from a record.
To view a service request:
Open the Zone record that the service record is linked to.
Do one of the following:
Click the Service Requests button at the bottom of the screen.
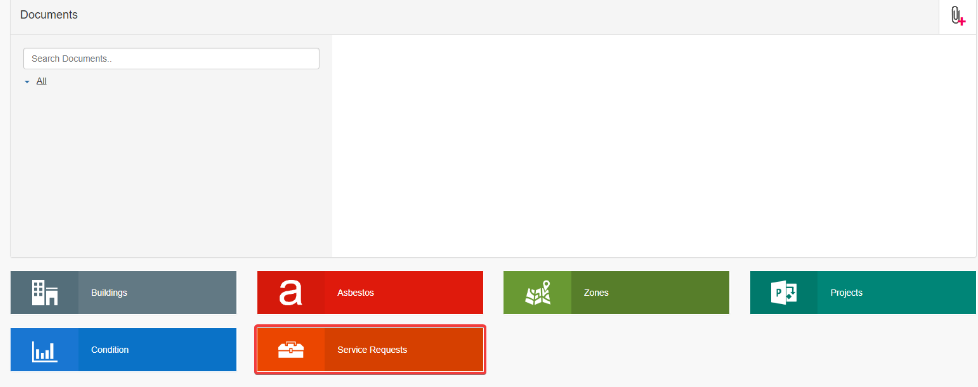
Check that the Service Requests grid has opened.

The number of requests displayed and days shown can be set to between 1 and 30 in Portal Options > Service Request Maintenance > Location Service Request Grid Limit (days) setting.
A new service request record can be created by raising a Service Request against an existing Zones record.
To create a new service request refer to Manage Service Request for further information.
To add a new service request from a zone record do one of the following:
Click on New Service Request on the right-hand panel.

Click on New Service Request from the grid page in the right-hand panel.

A new Service Request fault page is opened with the zone name and location populated.

The location displayed is linked to the Zone record and is now associated with the new service request.
To close or cancel a service request refer to Managing Service Requests and scroll down to Close or Cancel a Service Request for further information.
