
Managing Job Times
The Timesheet Entry screen allows you to enter multiple time recordings against multiple jobs.
It can be accessed by navigating to Maintenance > Timesheet Entry.
The list of Direct Labour Operatives is filtered based on a user’s configuration, that is:
If the user is linked to a contact record that is flagged as ‘Direct Labour’ they will only be able to see that operative.
If the user is linked to a contact record that is flagged as a ‘Direct Labour’ and ‘Supervisor’ they will be able to see the supervisor and all operatives linked to the supervisor.
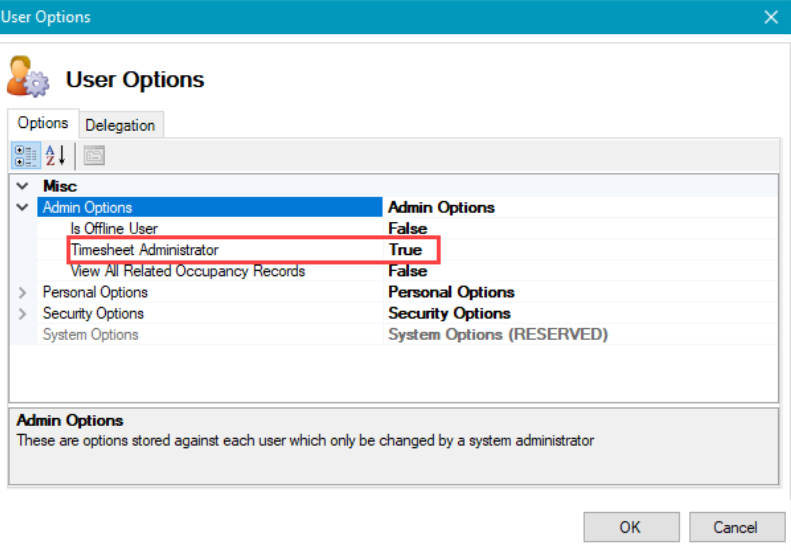
If the user has the Timesheet Administrator setting set to 'True' in User Options (accessed by navigating to Tools > User Options), they can see all operatives’ timesheets.
Use the Time Entry screen to:
Select the relevant week from the drop-down, or use the left and right arrows to select the relevant week.
The Week Ending Day can be configured in System Settings.

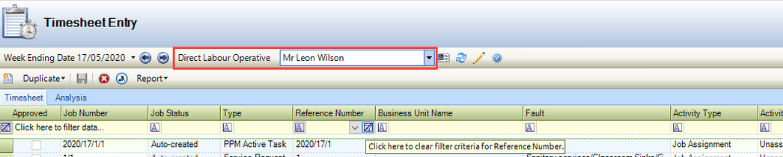
Select the relevant operative from the
Direct Labour Operative drop-down list.
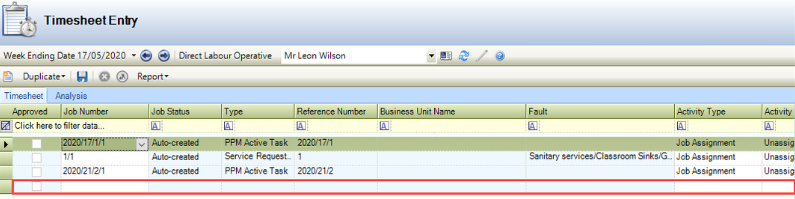
Click the New button.
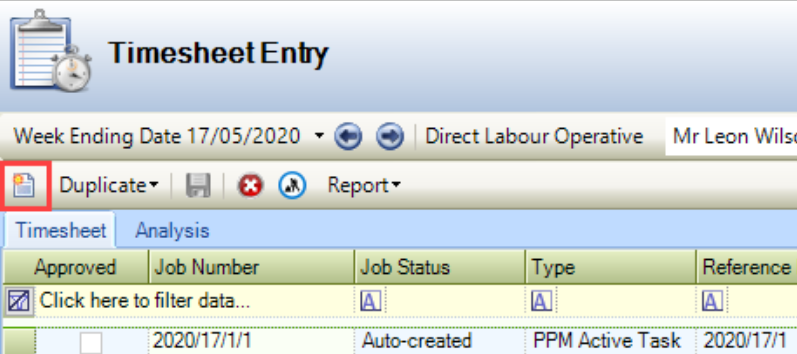
A row is added to the Timesheet grid.
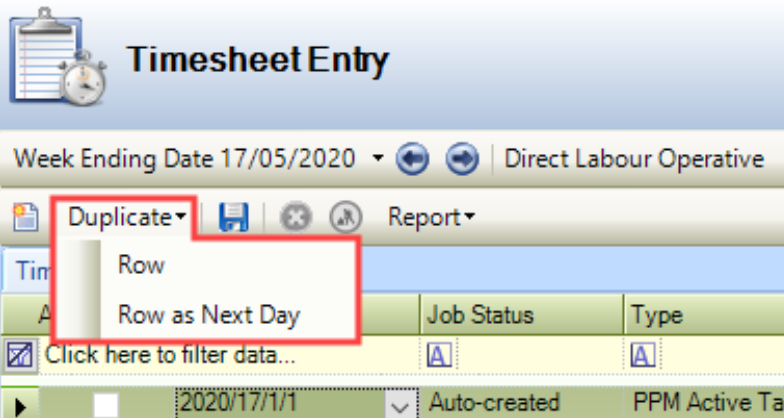
Alternatively, select an existing record and select one of the following from the Duplicate drop-down:
Row - duplicates the selected row
Row as Next Day - duplicates the selected row but changes the date to the next day.
Enter the relevant details.
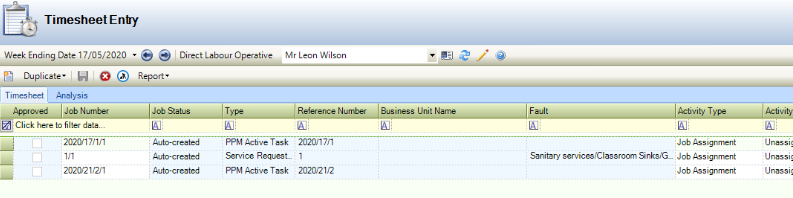
The fields on the Timetable tab are described in the following table:
This field… | Holds this information... |
|---|---|
Approved | Whether the work has been approved. |
Job Number | A drop-down containing all of the selected operative’s current job assignments and those completed in the past two months (based on the assignment Accepted Date). |
Job Status | The job status. This is populated automatically based on the Job Number. |
Type | The job type. This is populated automatically based on the Job Number. |
Reference Number | The job reference number. This is populated automatically based on the Job Number. |
Business Unit Name | The name of the business unit. This is populated automatically based on the Job Number. |
Fault | The fault being worked on. This is populated automatically based on the Job Number. |
Activity Type | The type of activity. Select 'Job Assignment' if it is related to time on a job or 'Resource' if it is related to the operative being unavailable. |
Activity | The activity that the operative was undertaking. When ‘Time working’ is selected the ‘Duration’ field becomes active. |
Start Date | The work start date. |
Start Time | The work start time. |
Duration | The duration of time in hours and minutes. This is only enabled when 'Time working' has been selected in the Activity field. |
<Labour Rate Bands> | The labour costs by different bands. These can be defined in Labour Rate Band Reference Data (accessed by navigating to Function > Core > Reference Data > Core). |
Click Save.
Working hours can be approved manually or automatically.
The Time Approval screen (accessed by navigating to Maintenance > Time Approval) is used to approve working hours manually.
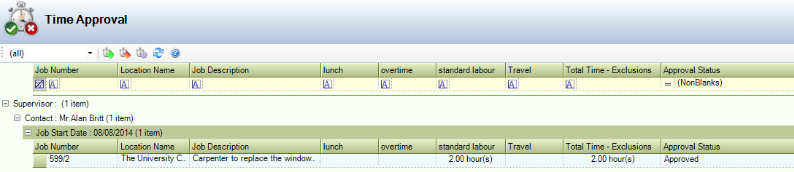
The Time Approval screen displays all time approval for all operatives and supervisors for the past month, by default.
To filter the records displayed:
Click the Configure Time Approval button.
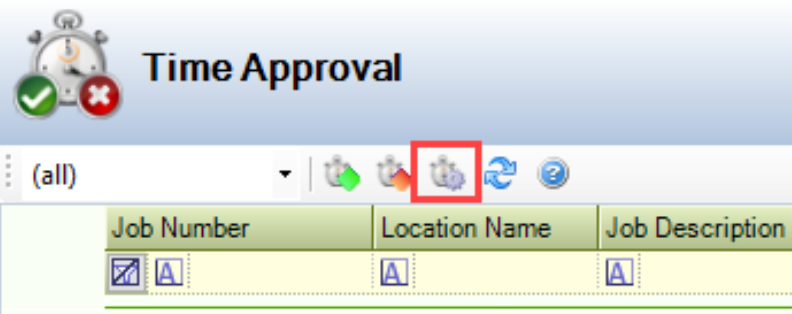
The Configure Time Approval window is displayed.
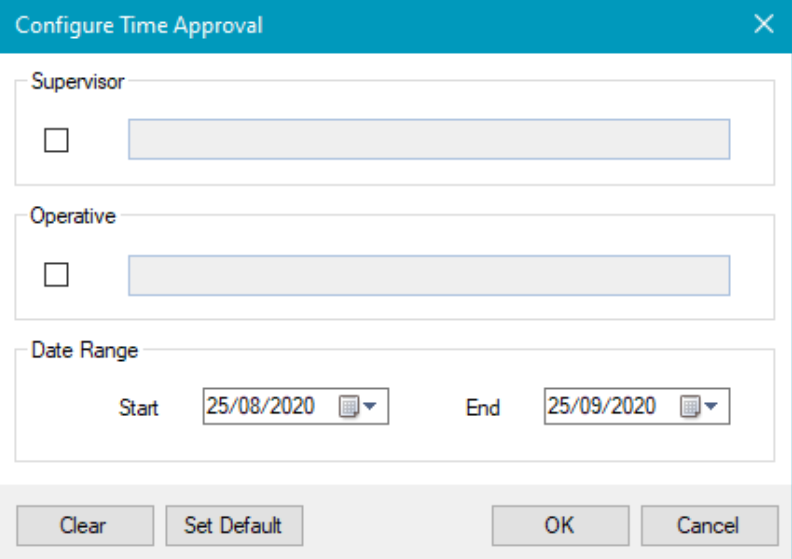
Select Supervisor and/or Operative check boxes, then select the relevant contact(s) that you want to be displayed on the Time Approval screen.
Select the Start and End dates that you want to display.
If you want the currently selected settings to be displayed by default the next time that the Time Approval screen is opened, click the Set Default button.
Click OK.
Users must have the Supervisor check box selected on the Employee Details tab of their contact record in order to approve their operatives' working hours. Users with the Timesheet Administrator setting set to 'True' in their User Options can approve the working hours of all staff.
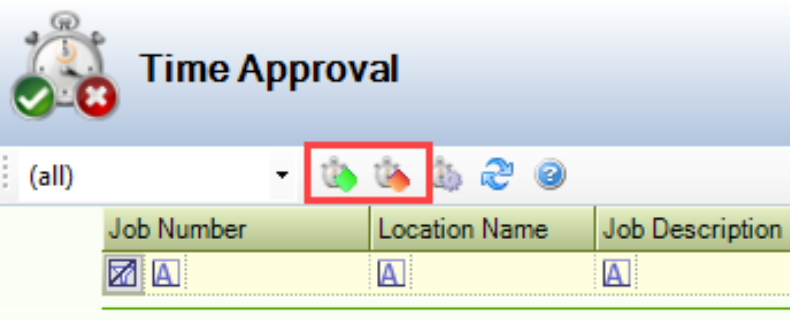
To approve or reject working hours:
Navigate to the relevant job details using the navigation tree.
Select the relevant row, and then click the Approve or Reject button.
When a record is approved, the Approved Labour Cost is recalculated automatically.
When a record is rejected, the Approved Time and Approved Labour Cost remain at '0'. If part of the record is automatically approved based on configuration settings, then the Approved Time and Approved Labour Cost also remain at '0'.
You can also set working hours in certain labour rate bands to be approved automatically by selecting the Automatically Approve Time check box in the relevant record in Labour Rate Band Reference Data (accessed by navigating to Functions > Core > Reference Data > Core).
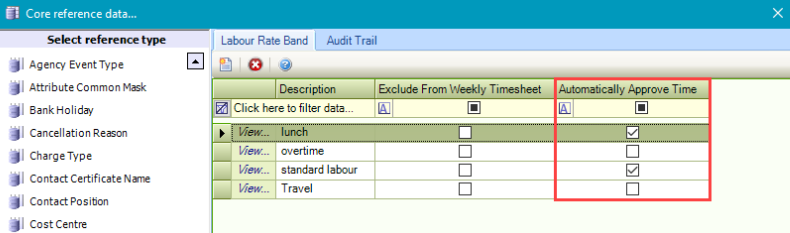
Selecting this check box overrides the Time Approval Threshold setting in the Maintenance section of System Options (accessed by navigating to Tools > System Options).