Stock Control
You can use the Stock Control module to help you do the following:
Managing Stores
You can use K2 to manage your stock stores.
To add a new store:
Navigate to Stock Control > New Store.
Alternatively, search for and open an existing store.
The Store Editor screen is displayed.
Enter or edit the relevant details.
The fields on the Store Editor tab are described in the following table:
This field… | Holds this information... |
|---|---|
Number | A unique reference number for the store. This field is mandatory. |
Name | The name for the store. This field is mandatory. |
Mobile | Whether the store is mobile (for example: a van). |
Description | A description of the store. |
Owner | The owner of the store, selected from the business unit list. |
Location | The location of the call subject. This field is mandatory.
Use the level selector to select the relevant room, floor, zone, building, site or business unit. |
Click Save.
When you create a new store the following buttons are added to the Tasks panel:
You can add a bin to a Store Record.
To add or edit a bin:
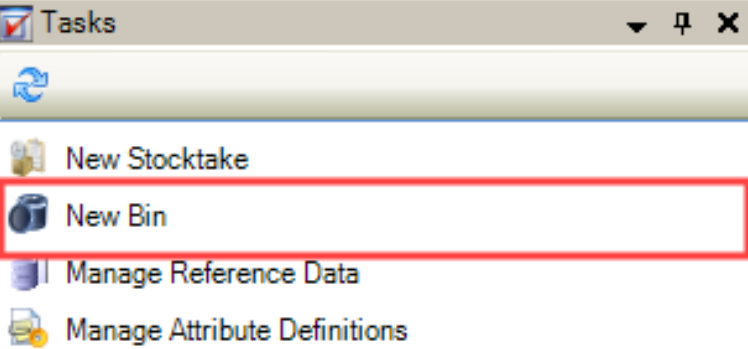
Click the New Bin option in the Tasks panel.
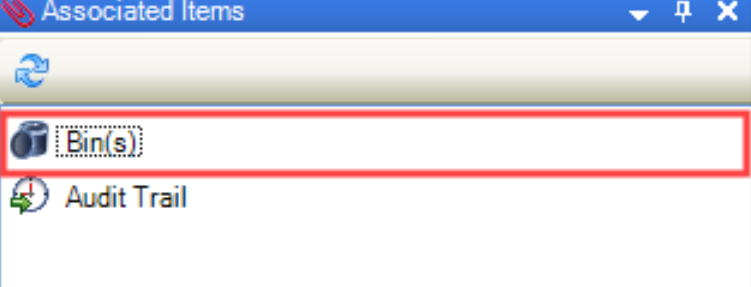
Click the Bin(s) option in the Associated Items panel and then double-click an existing record to open it.
The Store Bin window is displayed.
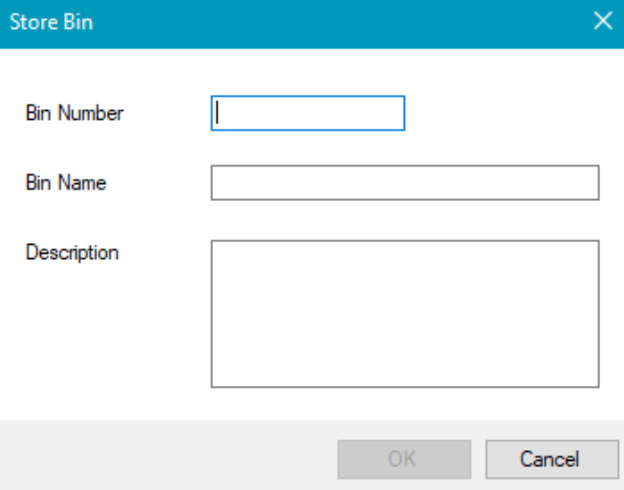
Enter details of the bin store.
The fields on the Store Bin window are described in the following table:
This field… | Holds this information... |
|---|---|
Bin Number | A unique reference number for the bin. This field is mandatory. |
Bin Name | The name for the bin. This field is mandatory. |
Description | The description of the bin. |
Click OK.
The Stocktake Editor allows you to assess the amount of stock held.
To perform a new stocktake:
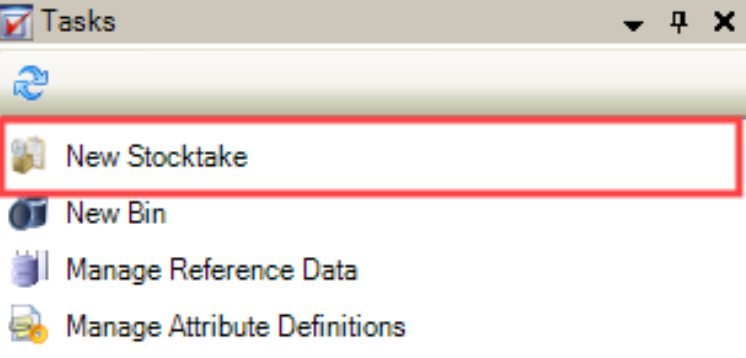
Navigate to Stock Control > New Stocktake.
Alternatively, New Stocktake is added to the Tasks tab when you create a new store.
The Stocktake Editor tab is displayed.
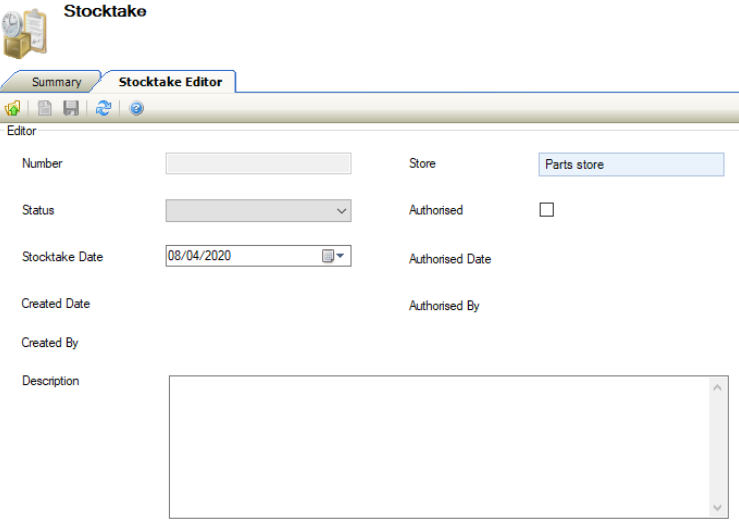
Enter or edit details of the stocktake.
The fields on the Stocktake Editor tab are described in the following table:
This field… | Holds this information... |
|---|---|
Number | A unique reference number for the stock-take. |
Status | The status of the stock. Choose from:
|
Stocktake Date | The date of the stocktake. |
Created Date | The date that the stocktake is created. |
Created By | The user name of the creator. |
Description | A description of the stocktake. |
Store | The store associated with the stocktake. This field is mandatory. |
Authorised | Whether the stock-take is authorised. |
Authorised Date | The date of authorisation. |
Authorised By | The authoriser of the stock-take. |
Click Save.
Refer to Edit a Store to find out more about altering an existing store.
Managing Stock
You can use K2 to manage your stock.
The Stock Code Editor allows you to add a new stock code record.
To add a new store:
Navigate to Stock Control > New Stock Code.
Alternatively, search for and open the relevant stock code.
The Stock Code Editor tab is displayed.
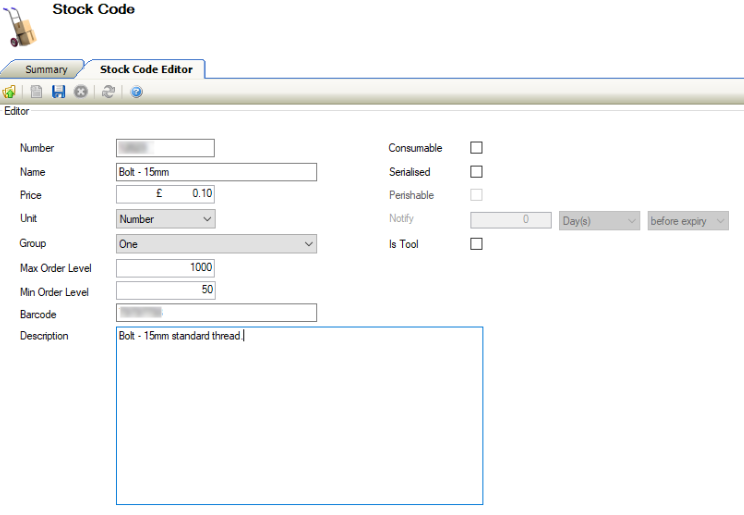
Enter or edit the relevant details.
The fields on the Stock Code Editor tab are described in the following table:
This field… | Holds this information... |
|---|---|
Number | A unique reference number for the stock code. This field is mandatory. |
Name | The name for the stock code. This field is mandatory. |
Price | The price per unit. |
Unit | The type of unit the stock is measured in. These can be defined in Measurement Unit Types Reference Data (accessed by navigating to Functions > Core > Reference Data > Core). |
Group | The stock code group. These can be defined in Stock Code Groups Reference Data (accessed by navigating to Stock Control > Stock Control). |
Max Order Level | The maximum number of units of the stock that can be ordered. |
Min Order Level | The minimum number of units of the stock that can be ordered. |
Barcode | The bar code number associated with the stock code. |
Description | The description of the stock code. |
Consumable | Whether the stock is consumed as part of a job and not returned to stock. |
Serialised | Whether the stock has a serial number. |
Perishable | Whether the stock is perishable. This field is enabled by selecting the Serialised field. |
Notify | The notification period before or after the stock perishes in days, weeks, months or years. This field is mandatory when the Perishable check box is selected. |
Is Tool | Whether to stock code is considered a tool. |
Click Save.
Stock items can be added from a Stock Code record.
To add or edit a stock item:
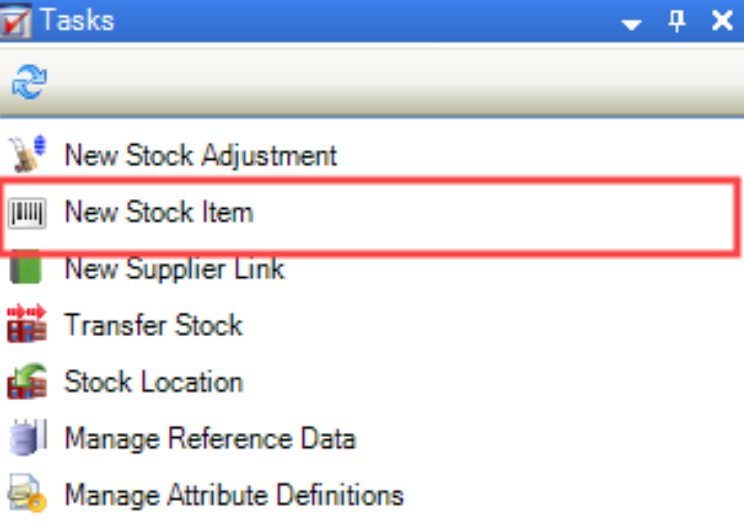
Click the New Stock Item option in the Tasks panel.
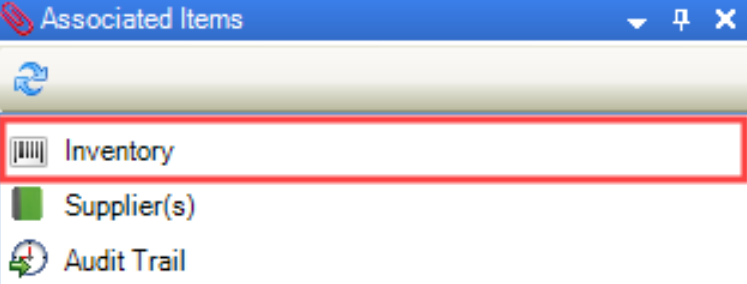
Alternatively, click the Inventory option in the Associated Items panel, and then double-click an existing record to open it.
The Stock Item Edit window is displayed.
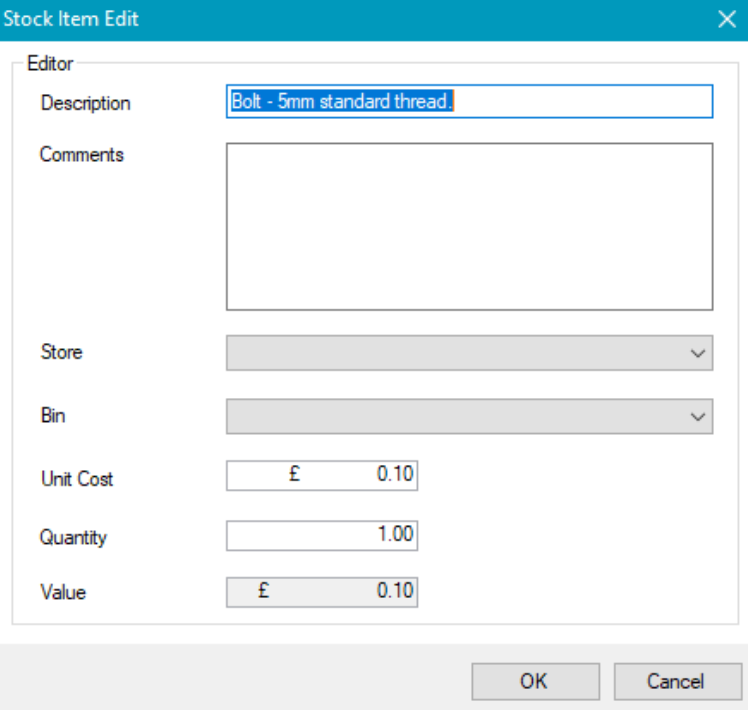
Enter details of the stock.
The fields on the Stock Item Edit window are described in the following table:
This field… | Holds this information... |
|---|---|
Description | The description of the item. |
Comments | Comments about the item. |
Store | The store that the item is associated with. This field is mandatory. Refer to Adding or Editing a Store for further information on adding stores. |
Bin | The name for the bin, associated with the chosen store. This field is mandatory. Refer to Adding or Editing a Bin for further information on adding bins. |
Unit Cost | The cost per unit. |
Quantity | The quantity of the unit. |
Value | The value of the unit. |
Click OK.
The Inventory tab is displayed.

Stock adjustments can be added tab from a Stock Code record.
To create a new stock adjustment:
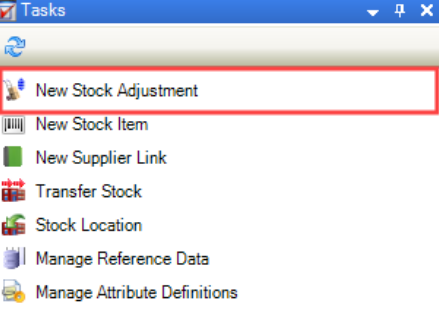
Click the New Stock Adjustment option in the Tasks panel.
The Stock Adjustment Edit window is displayed.
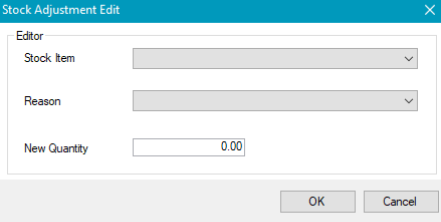
Enter details of the stock.
The fields on the Stock Adjustment Edit window are described in the following table:
This field… | Holds this information... |
|---|---|
Stock Item | The stock item. This field is mandatory. Refer to Adding or Editing Stock Items for information on adding stock items. |
Reason | The reason for the stock adjustment. This field is mandatory. These can be defined in Stock Adjustment Reason Reference data (accessed by navigating to Stock Control > Stock Control). |
New Quantity | The adjusted amount of stock. The quantity cannot be greater than the amount specified in the stock item quantity. |
Click OK.
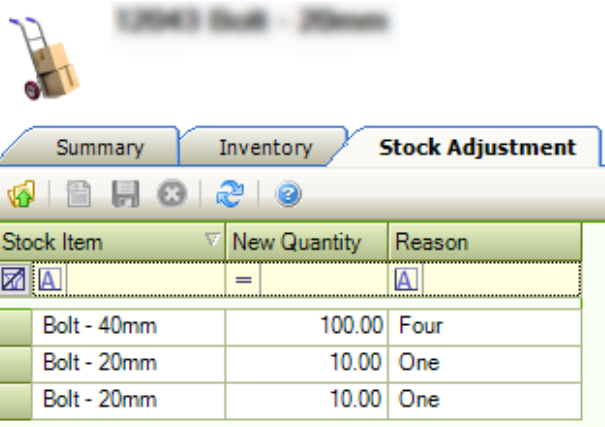
The Stock Adjustment screen is displayed.
You can assign stock to a location from a Stock Code record.
To add or edit a supplier link:
Click the Stock Location option in the Tasks panel.
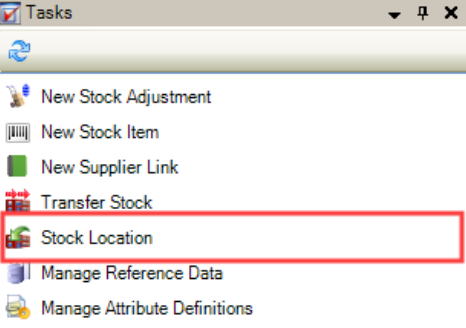
The Stock Location window is displayed.
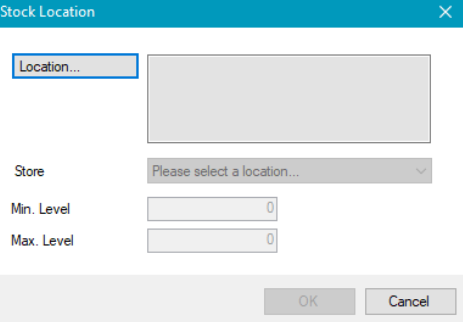
Enter details of the stock location.
The fields on the Stock Location window are described in the following table:
This field… | Holds this information... |
|---|---|
Location | The location of the stock. This field is mandatory. Click the Location button to display the Select location window. 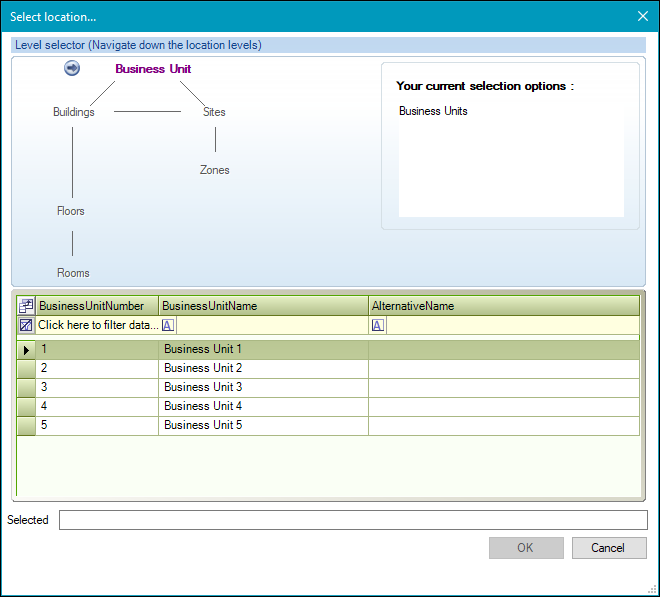 Use the level selector to select the relevant room, floor, zone, building, site or business unit. |
Store | The store location. |
Min. Level | The minimum amount of stock. |
Max. Level | The maximum amount of stock. |
Click OK.
The Stock Locations tab is displayed.
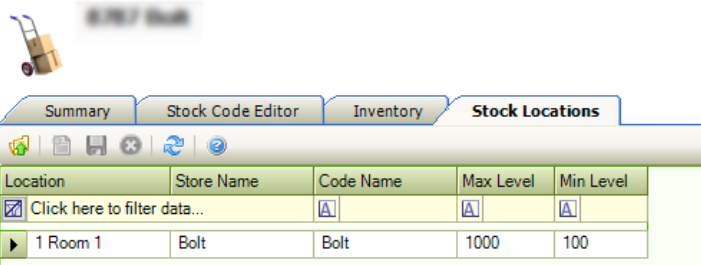
You can link a supplier to a Stock Code record.
To add or edit a supplier link:
Click the New Supplier Link option or search for and open the relevant stock code.
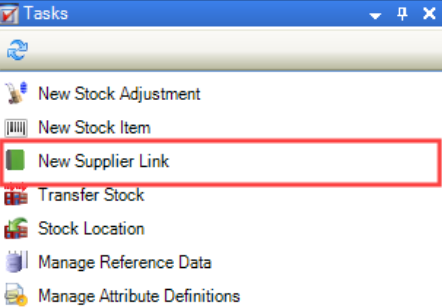
Alternatively, click the Supplier(s) option in the Associated Items panel and then double-click an existing record to open it.
The Stock Item Supplier Link Editor window is displayed.
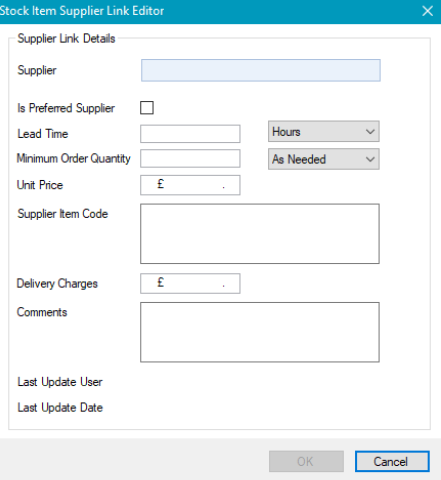
Enter or edit the relevant details.
The fields on the Stock Item Supplier Link Editor window are described in the following table:
This field… | Holds this information... |
|---|---|
Supplier | The name of the supplier. Suppliers are defined in the Agency Editor (accessed by navigating to Functions > Core > New Agency). Refer to Adding or Editing an Agency for more information. |
Is Preferred Supplier | Whether the supplier is a preferred supplier. |
Lead Time | The lead time for the order in hours, days, weeks, months or years. This field is mandatory. |
Minimum Order Quantity | The minimum number of items that can be ordered. |
Unit Price | The price per unit. |
Supplier Item Code | The supplier's item code. |
Delivery Charges | The delivery charge. |
Comments | Comments about the supplier link. |
Last Update User | The user that last updated the item. |
Last Update Date | The date that the item was last updated. |
Click OK.
The Suppliers tab is displayed.
Click Edit Supplier to open the Agency Editor, where you can edit the information stored about the supplier. Refer to Adding or Editing an Agency for more information.
You can transfer stock between stores from a Stock Code record.
To transfer stock between stores:
Click the Transfer Stock button in the Tasks panel.
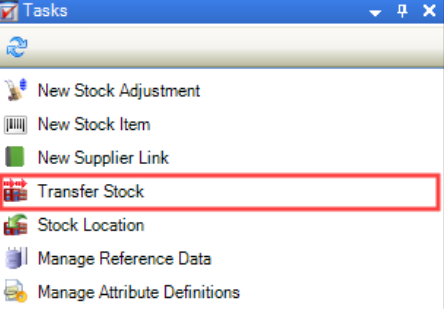
The Stock Transfer window is displayed.
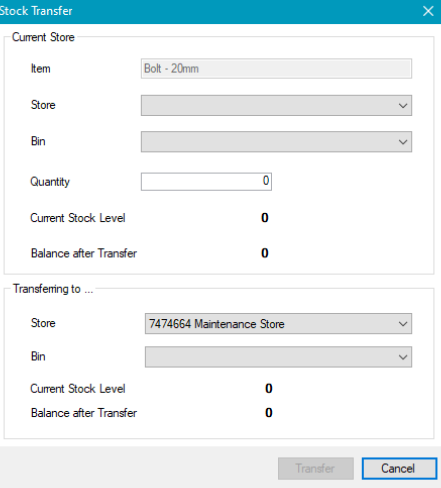
Enter details of the stock transfer.
The fields on the Stock Transfer window are described in the following table:
This field… | Holds this information... |
|---|---|
Item | The item being transferred. |
Store | The Store where the item is currently located. This field is mandatory. |
Bin | The Bin where the item is currently located. This field is mandatory. |
Quantity | The quantity of stock items transferred. |
Current Stock Level | The stock level of the current store before transfer. |
Balance after Transfer | The balance of stock in the current location after transfer. |
Store | The Store where the item is to be transferred. This field is mandatory. |
Bin | The Bin where the item is to be transferred. This field is mandatory. |
Current Stock Level | The stock level of the destination store after transfer. |
Balance after Transfer | The balance of stock in the destination location after transfer. |
Click the Transfer button.
The stock is transferred between locations.
The Stock Request allows you to address stock requests and allocate stock to a job.
To add a stock request:
Navigate to Stock Control > Stock Requests.
The Stock Request screen is displayed.
Double-click the relevant record.
The Stock Request window is displayed.
The fields on the Stock Request window are described in the following table:
This field… | Holds this information... |
|---|---|
Job Number | The job number. |
Job Description | The description of the job. |
Stock Code | The stock code. |
Stock Description | The description of the stock. |
Quantity Requested | The quantity of stock requested. |
Quantity Allocated | The quantity of stock allocated. |
Completed | Whether the stock request is completed. |
Requested By | The contact making the request. |
Requested Date | The requested date. |
Enter the amount of stock requested into the Quantity Allocated field in the Allocate Stock section. Alternatively,
Select the Auto Allocate button.
Click OK.
Click Save.
Related Topics
Click the links below to navigate to the following related topics:
