
Managing Sites
A site is defined as an area of land which encompasses buildings and zones. Sites cannot overlap.
Use K2 to:
To add or edit a site, do one of the following:
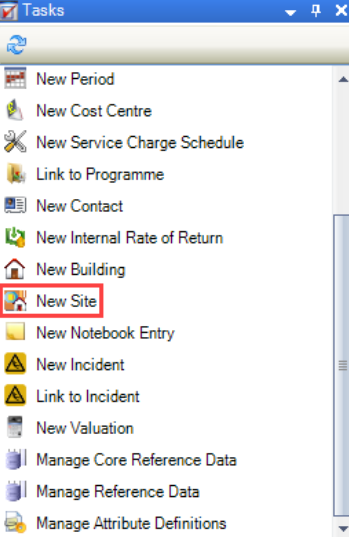
Search for and open the relevant business unit record, and then click the New Site option in the Tasks panel.
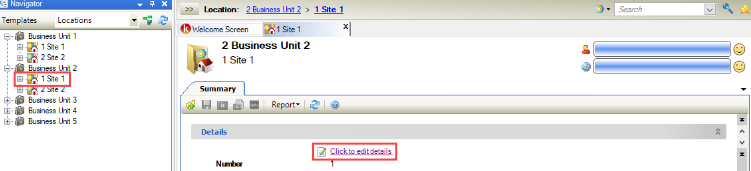
Search for and open the relevant existing site, and then click the Click to edit details button on the Summary tab.
Select an existing site in the Navigator panel and then click the Click to edit details button on the Summary tab.
The Site Editor is displayed.

Enter or edit the relevant details.
The fields on the Site Editor are described in the following table:
This field… | Holds this information... |
|---|---|
Number | The number of the site. This is populated automatically depending on the Site Auto Unique Number setting in System Options (accessed by navigating to Tools > System Options and then clicking the System Options button). |
Name | The name of the site. |
Description | A description of the site. |
Physical Status | The physical status of the site (for example: In Use). These can be defined in Physical Status Reference Data (accessed by navigating to Functions > Core > Reference Data > Core). |
Environmental Factor | The site's environmental factor. These can be defined in Environmental Factor Reference Data (accessed by navigating to Functions > Core > Reference Data > Core). |
Tenure | The site's tenure (for example: Freehold). These can be defined in Tenure Reference Data (accessed by navigating to Functions > Core > Reference Data > Core). |
Estates Terrier Number | The number that relates to associated legal documentation of the site. |
Alternative Name | An alternative name for the site. |
Area | The area of the site. |
Net Area | The net area of the site. |
Perimeter | The perimeter of the site. |
Global Analysis | The category of the site. These can be defined in Global Analysis Reference Data (accessed by navigating to Functions > Core > Reference Data > Core). |
Comments | Any relevant comments regarding the site. |
Heritage Designation | The special purpose or status of the site. These can be defined in Heritage Designation Reference Data (accessed by navigating to Functions > Core > Reference Data > Core). |
Include in Suitability/Sufficiency Calculations | Whether to include the site in the Suitability and Sufficiency module calculations. |
Conservation Area | Whether the site is a conservation area. |
Tree Preservation Order | Whether the site has a tree preservation order. |
Site or Special Scientific Interest | Whether the site is of special scientific interest. |
Ancient Monument | Whether the site contains an ancient monument. |
Application Resource | Whether to allows the creation of applications for the site (for example: an application to use a site for a specific purpose). |
Click Save.
New sites are then displayed in the Navigator panel.
To add or edit a restriction or warning:
Search for and open the relevant site record.
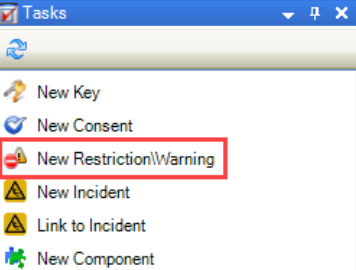
Click the New Restriction\Warning option in the Tasks panel.
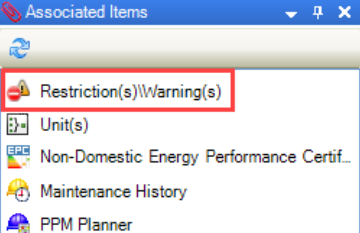
Alternatively, click the Restriction(s)\Warning(s) option in the Associated Items panel and then double-click an existing record to open it.
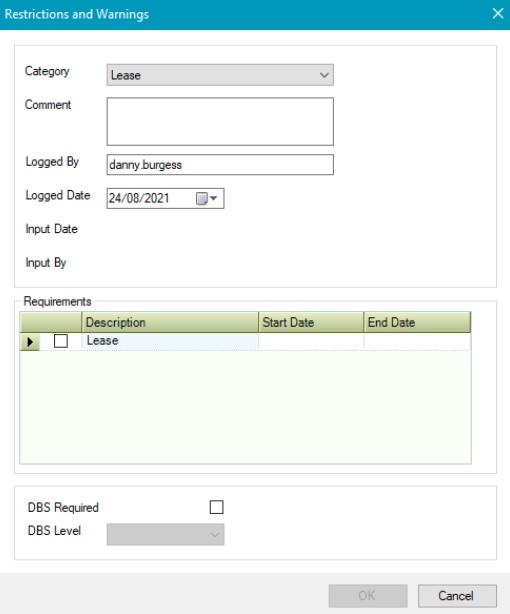
The Restrictions and Warnings window is displayed.
The fields on the Restriction and Warnings window are described in the following table:
This field… | Holds this information... |
|---|---|
Category | The category of restriction or warning. These can be defined in Restriction And Warning Category Reference Data (accessed by navigating to Functions > Core > Reference Data > Restrictions and Warnings). |
Comment | Any comments on the restriction or warning. This field is mandatory. |
Logged By | The user who logged the restriction or warning. This defaults to the logged-in user but can be amended. |
Logged Date | The date the restriction or warning was logged |
Input Date | The date the restriction or warning was input. This defaults to the logged-in user on saving and cannot be amended. |
Input By | The user who input the restriction or warning. This defaults to the logged-in user and cannot be amended. |
Requirements | Any requirements for the restriction or warning. This is populated based on the selected Category and can be defined in Restriction And Warning Requirements Reference Data (accessed by navigating to Functions > Core > Reference Data > Restrictions and Warnings). |
DBS Required | Whether a DBS check is required. |
DBS Level | The DBS level required for the restriction. This list is hard-coded and cannot be edited. |
Click OK.
To add or edit an occupant:
Navigate to the relevant location.
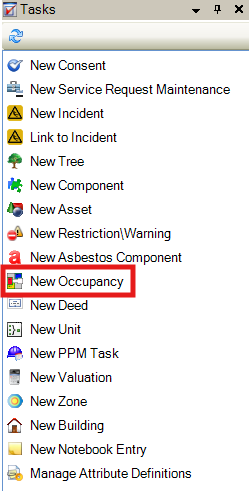
Click the Occupancy option in the Tasks panel.
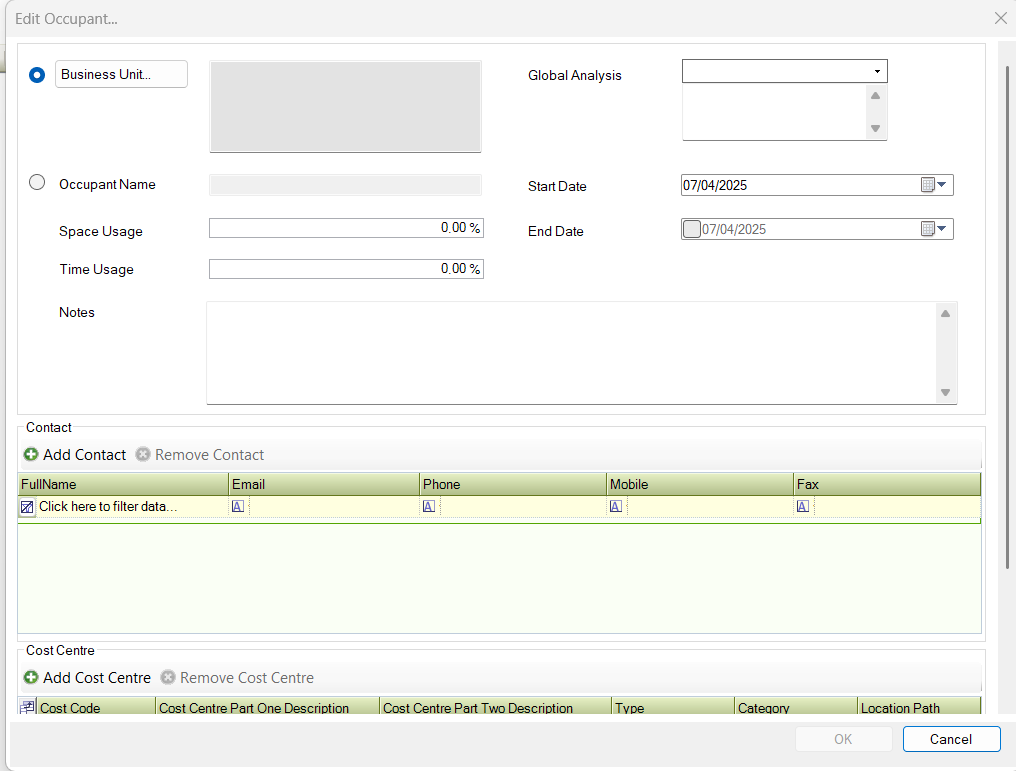
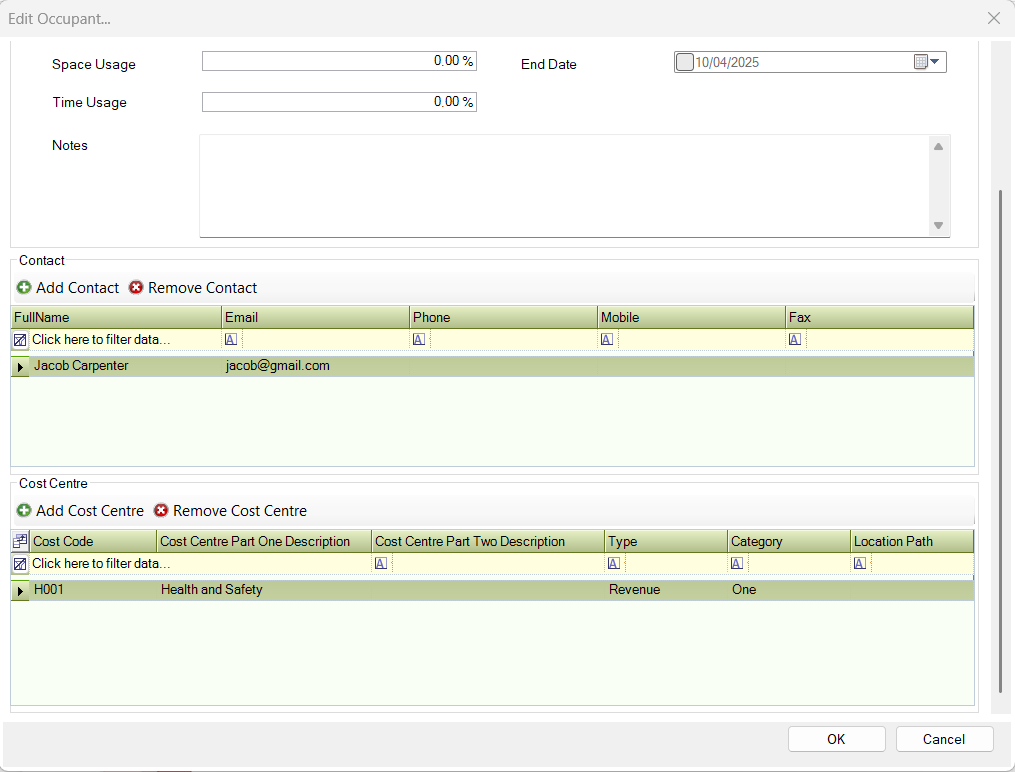
The Edit Occupant editor is displayed.
Enter or edit the relevant details.
The fields on the Edit Occupant editor are described in the following table:
This field… | Holds this information... |
|---|---|
Business Unit | The name of the business unit. |
Occupant Name | The name of the occupant. |
Space Usage | The total percentage of space utilized. |
Time Usage | The total percentage of time utilized. |
Notes | Allows user to add notes to the occupant. |
Global Analysis | The level of global analysis. These can be defined in Global Analysis Reference Data (accessed by navigating to Functions > Core > Reference Data > Core). |
Start Date | The start date of the occupant. |
End Date | The end date of the occupant. |
Contact | The contact Refer to Adding or Editing a Contact for further information. |
Cost Centre | The cost centre. These can be defined in Core reference data (accessed by navigating to Functions > Core > Reference Data > Core). |
To add the contact:
Click the Add Contact button.
The Contact Picker window is displayed.
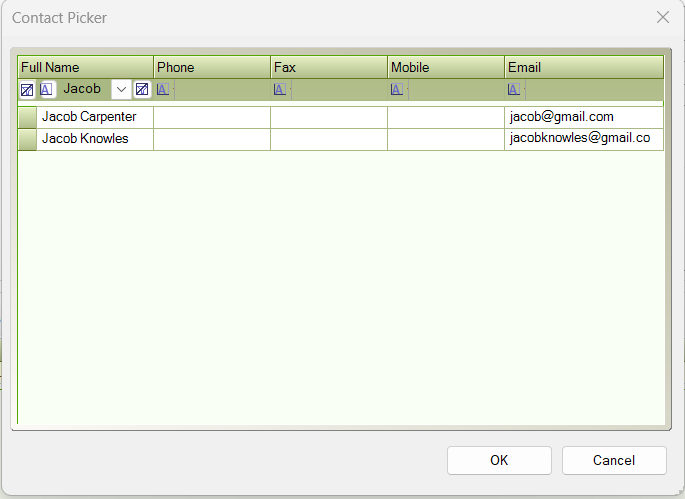
Select the relevant contact.
Click OK.
To add the Cost Centre:
Click the Add Cost Centre button.
The Select Cost Centre window is displayed.
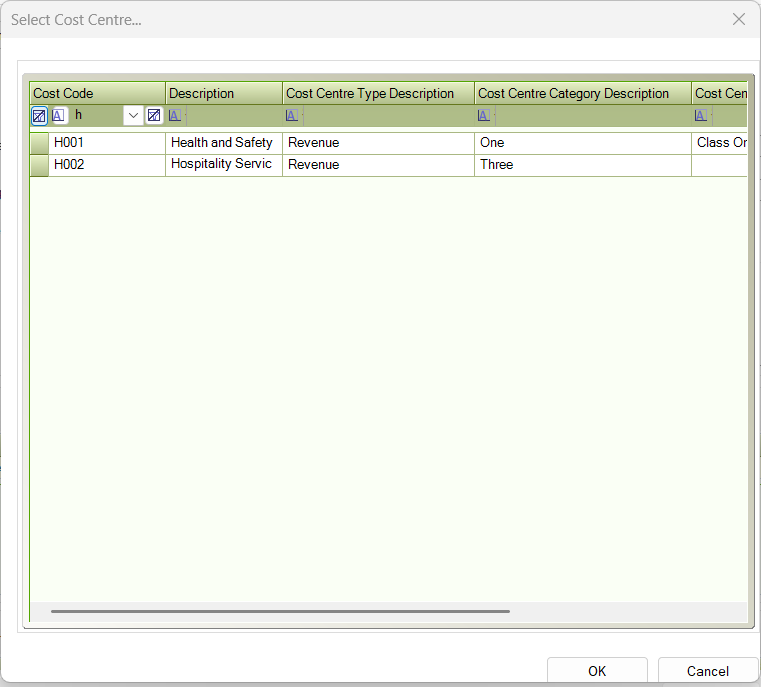
Select the relevant cost centre.
Click OK.
Click Save.
To remove a contact or cost centre, select the item and then click the Remove contact or Remove Cost Centre button.
Click Yes.
Click Save.