
The Key functionality allows you to manage key records and issue keys.
Select from the following to view information on managing keys:
Adding or Editing a Key
To add or edit a key, do one of the following:
-
Navigate to Business Continuity > Key > New Key.
-
Click the New Key option in the Tasks panel of a location, asset or component record.
-
Click the Key(s) option in the Associated Items panel of a location, asset or component record, then double-click an existing record to open it.
-
Search for and open an existing key record.
-
Check that the Key Editor is displayed.
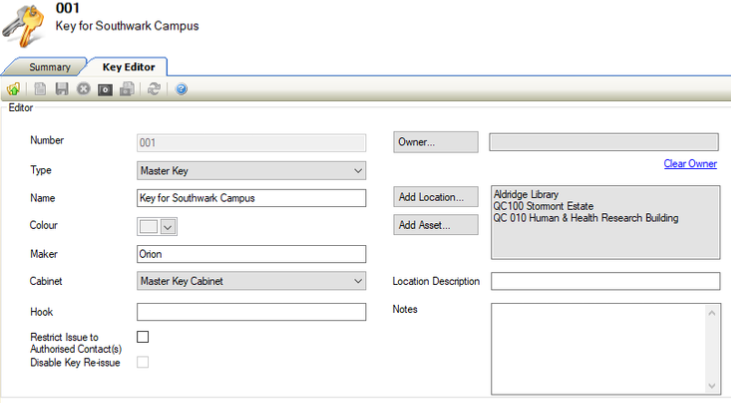
-
Enter or edit the relevant details.
The fields on the Key Editor are described in the following table:
|
This field… |
Holds this information... |
|---|---|
|
Number |
The number of the key. This may be populated automatically depending on the Key Auto Unique Numbering system option (accessed by navigating to Tools > System Options and then clicking the System Options button). |
|
Type |
The type of key. These can be defined in Key Type Reference Data (accessed by navigating to Business Continuity > Key > Key). |
|
Name |
The name of the key. |
|
Colour |
The colour of the key. |
|
Maker |
The manufacturer of the key. |
|
Cabinet |
The cabinet that the key is kept in. These can be defined in Key Cabinet Reference Data (accessed by navigating to Business Continuity > Key > Key). |
|
Hook |
The hook that the key is kept on. |
|
Restrict Issue to Authorised Contact(s) |
Whether the key can only be issued to authorised contacts. |
|
Disable Key Re-issue |
Whether the key can be re-issued. If selected, the key must be returned before being issued again. This is only enabled if the Restrict Issue to Authorised Contact(s) check box is selected. |
|
Owner |
The business unit that owns the key. |
|
Add Location |
The Business Unit\Unit that has been selected for the key location. |
|
Add Asset |
The Asset that represents the key, linking both records together. |
|
Location Description |
A description of the location of the key. |
|
Notes |
Any additional notes of the key can be recorded here. |
-
Click Save.
Other Tasks/Associated Items
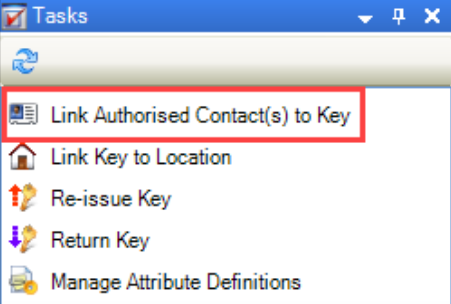
Linking Authorised Contact(s) to Keys
To link authorised contacts to keys:
-
Search for and open the relevant key record.
-
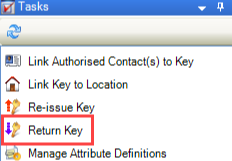
Click the Link Authorised Contact(s) to Key option in the Tasks panel.
-
Check that the Contact Picker is displayed.

-
Select the contacts that you want to have authorisation for being issued the key.
-
Click OK.
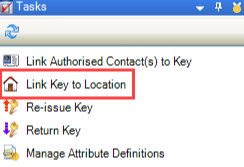
Linking Keys to Locations
To link keys to locations:
-
Search for and open the relevant key record.
-
Click the Link Key to Location option in the Tasks panel.
-
Check that the Select location window is displayed.
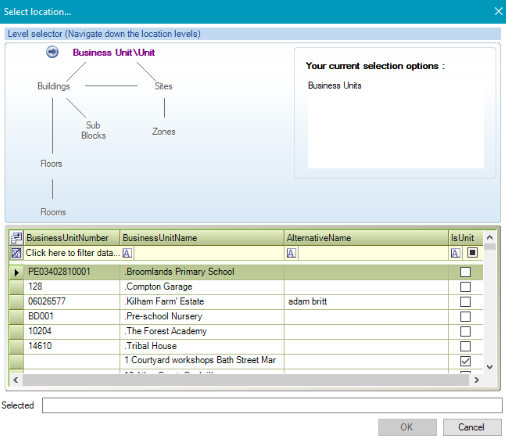
-
Select the location that the key is linked to.
-
Click OK.
Issuing a Key
-
Search for and open the relevant key record.
-
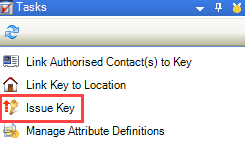
Click the Issue Key option in the Tasks panel.
-
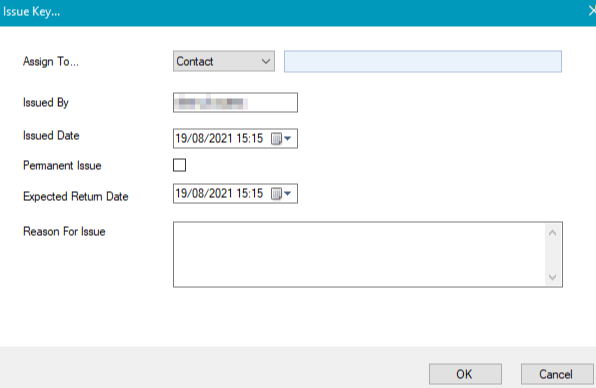
Check that the Issue Key window is displayed.
-
Enter the relevant details.
The fields on the Issue Key window are described in the following table:
|
This field… |
Holds this information... |
|---|---|
|
Assign To |
The person to assign the key to.
|
|
Issued By |
The person issuing the key. This defaults to the currently logged-in user but can be edited. |
|
Issued Date |
The date the key was issued. |
|
Permanent Issue |
Whether the key has been permanently issued. |
|
Expected Return Date |
The date that the key is expected to be returned. This is only enabled if the Permanent Issue check box is deselected. |
|
Reason For Issue |
The reason why the key is being issued. |
-
Click OK
Re-issuing a Key
Re-issuing a key extends the ‘Expected Return Time’ on the key issue record.
If the Disable Key Re-issue check box on the Key Editor is selected, the re-issue option is not available.
To re-issue a key to the person who has it checked out:
-
Search for and open the relevant key record.
-
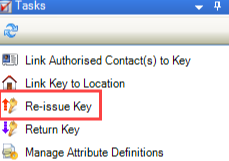
Click the Re-issue Key option in the Tasks panel.
-
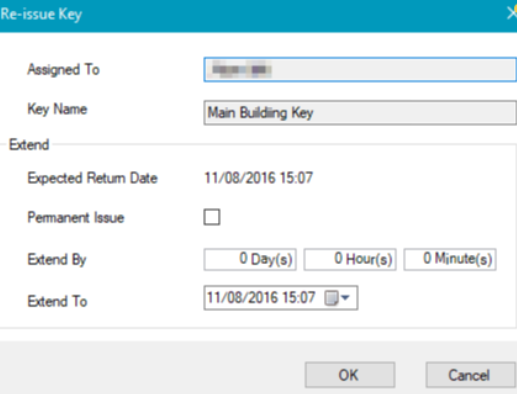
Check that the Re-issue Key window is displayed.
-
Enter the relevant details.
The fields on the Re-issue Key window are described in the following table:
|
This field… |
Holds this information... |
|---|---|
|
Assign To |
The person who currently has the key issued to them. This cannot be edited. |
|
Key Name |
The name of the key. This cannot be edited. |
|
Expected Return Date |
The current expected return date of the key. |
|
Permanent Issue |
Whether you want to extend the key issuing permanently. |
|
Extend By |
The number of days, hours and minutes that you want to extend the issue by. Editing these fields will update the Extend To field. |
|
Extend To |
The date and time to extend the issue to. Editing this field will update the Extend By fields. |
-
Click OK.
Returning a Key
To return a key:
-
Search for and open the relevant key record.
-
Click the Return Key option in the Tasks panel.
-
Check that the Return Key window is displayed.

-
Enter the relevant details.
The fields on the Return Key window are described in the following table:
|
This field… |
Holds this information... |
|---|---|
|
Returned By |
The person who returned the key.
|
|
Returned To |
The person to whom the key was returned to. This defaults to the currently logged-in user but can be edited. |
|
Key Name |
The name of the key. This cannot be edited. |
|
Returned Date |
The date and time that the key was returned. |
-
Click OK
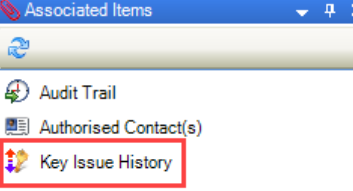
Viewing Key Issue History
You can view the history of the key issues by clicking the Key Issue History option in the Associated Items panel of a key record.
Related Topics
Click the links below to navigate to the following related topics: