
Departments are an organisation's divisions that deal with a specific area of activity. Department records are linked together to create an organisational hierarchy.
Use K2 to do the following:
Adding or Editing a Department
To add or edit a department:
Do one of the following:
-
Navigate to Organisation > Department > New Department to add a department.
-
Search for and open the relevant existing department.
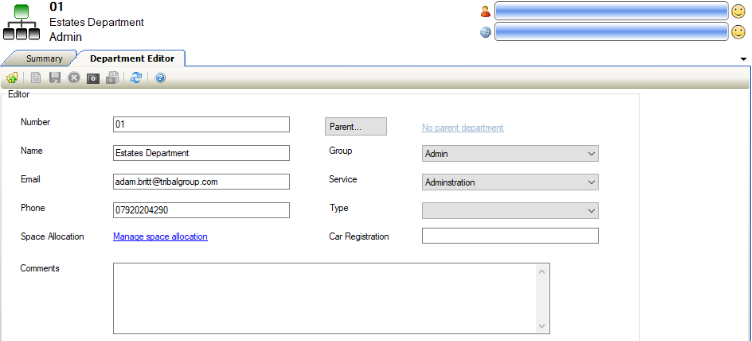
The Department Editor is displayed.
-
Enter or edit the relevant details.
The fields on the Department Editor are described in the following table:
|
This field |
Holds this information... |
|---|---|
|
Number |
A unique reference number for the department. |
|
Name |
The name of the department. |
|
|
The department's email address. |
|
Phone |
The department's phone number. |
|
Space Allocation |
This link is only enabled after saving the unit record. Refer to Managing Space Allocations for further information. |
|
Parent |
The department's parent department, if applicable. This is populated automatically if the New Child Department link was clicked in the Tasks panel. Refer to Add a Child Department for further information. |
|
Group |
The department's group. These can be defined in Department Group Reference Data (accessed by navigating to Organisation > Department > Department). |
|
Service |
The service that the department provides. These can be defined in Department Service Reference Data (accessed by navigating to Organisation > Department > Department). |
|
Type |
The type of department. These can be defined in Types Reference Data (accessed by navigating to Organisation > Department > Department). |
|
Car Registration |
The registration numbers of vehicles, if the department has pool vehicles for staff or students. |
|
Comments |
Any comments regarding the department. |
-
Click Save.
Managing Space Allocations
Spaces are assigned to departments so that there is a record of what spaces or rooms they use. Spaces are assigned for the period of time it is available to them and the percentage of use on either a time or area basis for example: Department A has access to Room 1 (60m2) from 1st August to 31st August for 50% use. This can either mean they have access to 60m2 of the room area for mornings only (50% of the time) or they have access to 30m2 (50% of the room area) for the whole day. Each room must be split across departments on the same basis. Space allocation is used for reporting and benchmarking on the number of square meters of space each department uses, as well as the basis for the on-charging calculation.
To add a space allocation:
-
Search for and open the relevant existing department record, if it is not already open.
-
Do one of the following:
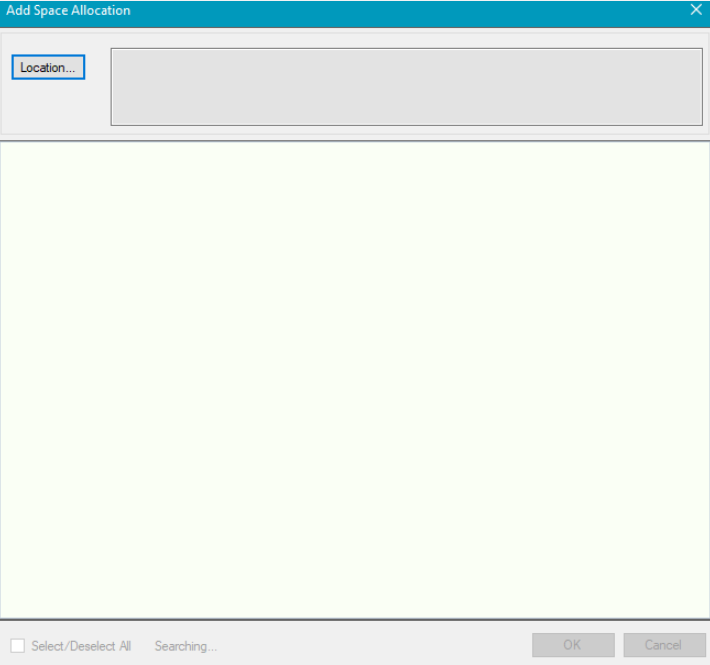
The Add Space Allocation window is displayed.
-
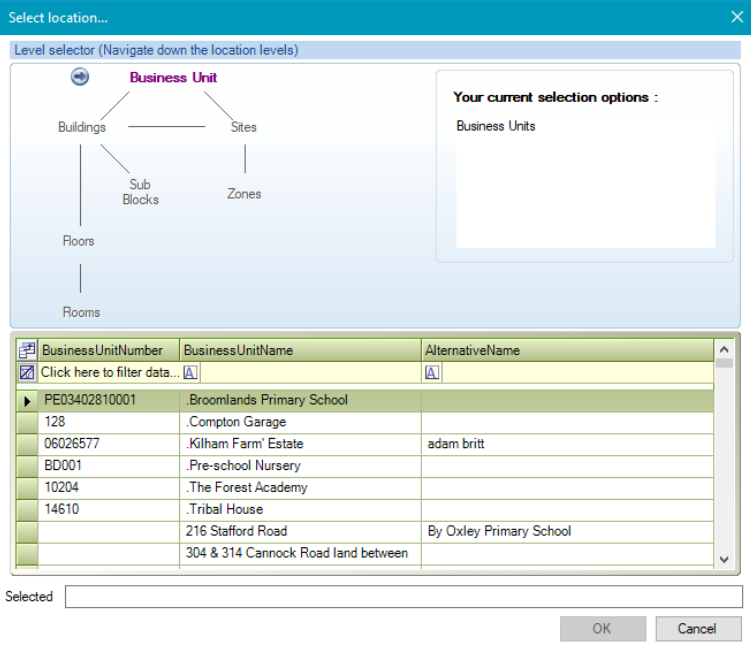
Click the Location button to display the Select location window.

-
Use the level selector to select the relevant room, and then click OK.
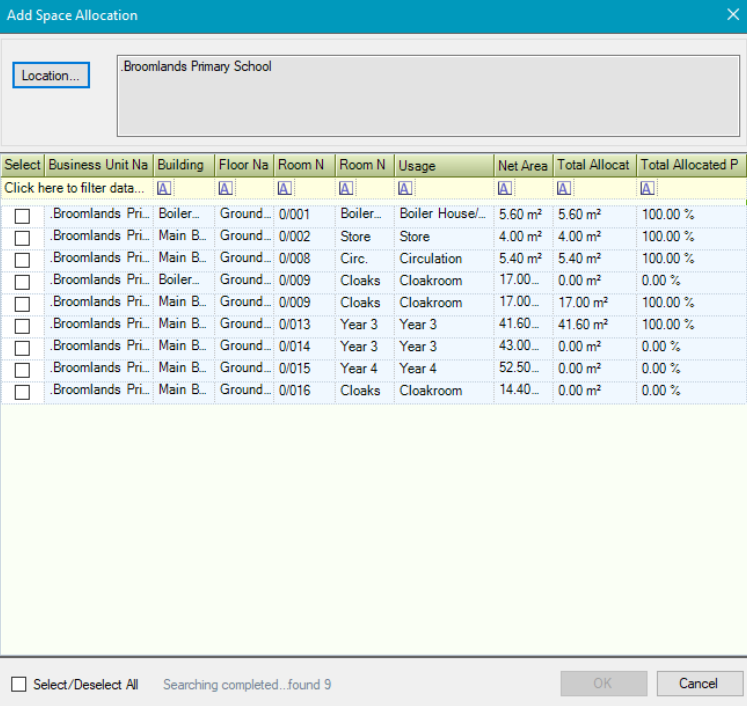
The relevant rooms (that is: those with the Use in Space Allocation check box selected in the Room Editor) are displayed in the Add Space Allocation window.
-
Select the relevant room(s) and then click OK.
You can also use the Select/Deselect All check box if required.
The selected rooms are then added to the Space Allocation List.
You can also access the Space Allocation List screen by clicking the Manage Space Allocations link in the Department Editor.
The fields on the Space Allocation List are described in the following table:
|
This field |
Holds this information... |
|---|---|
|
Business Unit |
The business unit to which the room belongs. |
|
Building Name |
The building name that the room is in. |
|
Floor Name |
The floor that the room is on. |
|
Room Number |
The number of the room. |
|
Room Name |
The name of the room. |
|
Usage |
The room's purpose. |
|
Net Area |
The net area of the room. This is the maximum area that can be allocated. |
|
Current Allocated Area |
The area of the room that has already been allocated. |
|
Current Allocated Percentage |
The percentage of the room that has already been allocated. |
|
Allocated Department |
The department(s) that the room is allocated to. |
|
Allocated Area |
The area of the room to allocate to the selected department. Editing this field automatically amends the Allocated Percentage field. |
|
Allocated Percentage |
The percentage of the room to allocate to the selected department. Editing this field automatically amends the Allocated Area field. |
|
Effective From |
The date that the room allocation is effective from. |
|
Effective To |
The date that the room allocation will terminate if known. |
|
Cost Centre |
The cost centre that the room allocation will be charged to.
|
|
Recharge Cost Required |
Whether the room is included in the custodial services on-charge calculation. |
Link an Asset to a Department
To link an asset to a department:
-
Open the relevant department record.
-
Click the Link Asset(s) To Department option in the Tasks panel.

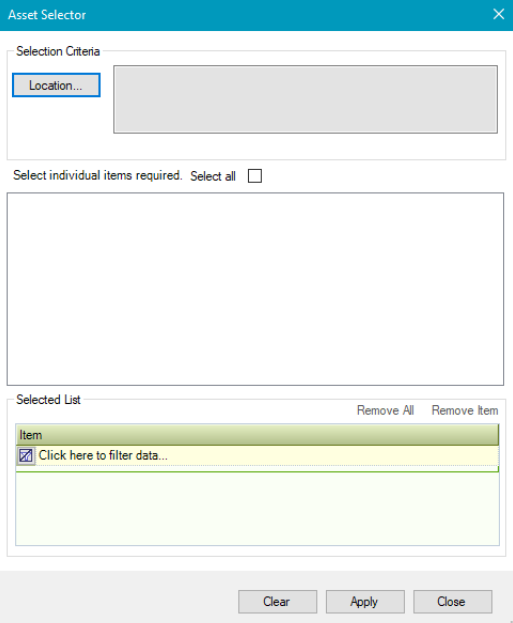
The Asset Selector window is displayed.
-
Click the Location button to display the Select location window.
-
Navigate to the relevant location and then click OK.
The assets associated with the selected locations are then displayed on the Asset Selector.
-
Select the relevant assets.
-
Click Apply then Close.
The Asset List is then displayed, which lists all assets associated with the department.
This screen can also be accessed by clicking the Asset(s) option in the Associated Items panel.
Adding a Location to a Department
To add a location to a department:
-
Open the relevant department record.
-
Click the Add Location option in the Tasks panel.
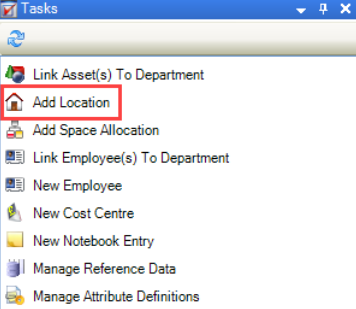
The Select location window is displayed.

-
Select the relevant location and then click OK.
Linking an Employee to a Department
To add an employee to a department:
-
Open the relevant department record.
-
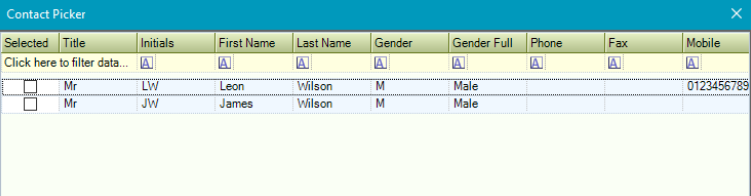
Click the Link Employee(s) To Department option in the Tasks panel.

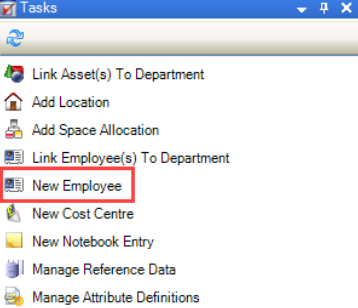
Note: If the employee does not exist in the system, click the New Employee option instead. Refer to Adding or Editing a Contact for further information.
The Contact Picker window is displayed.
-
Select the relevant records and then click OK.
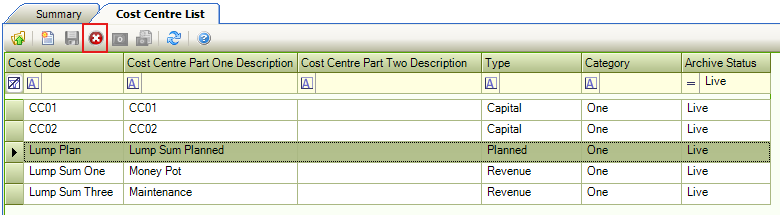
Managing Department Records Cost Centre
To add a cost centre to a department:
Either
-
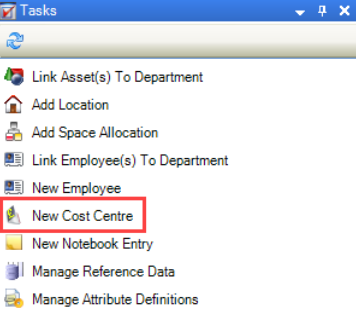
Click the New Cost Centre option in the Tasks panel.
Or
-
Click the Cost Centre(s) option from the Associated Items panel.
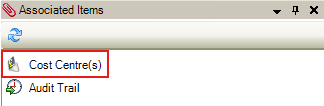
This option will only appear if the department already has cost centres linked to it.
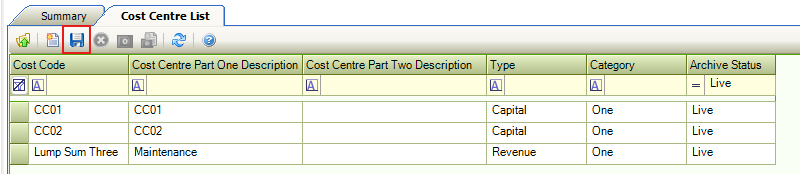
-
Click the New button from the Cost Centre List.

The Select Cost Centre window is displayed.
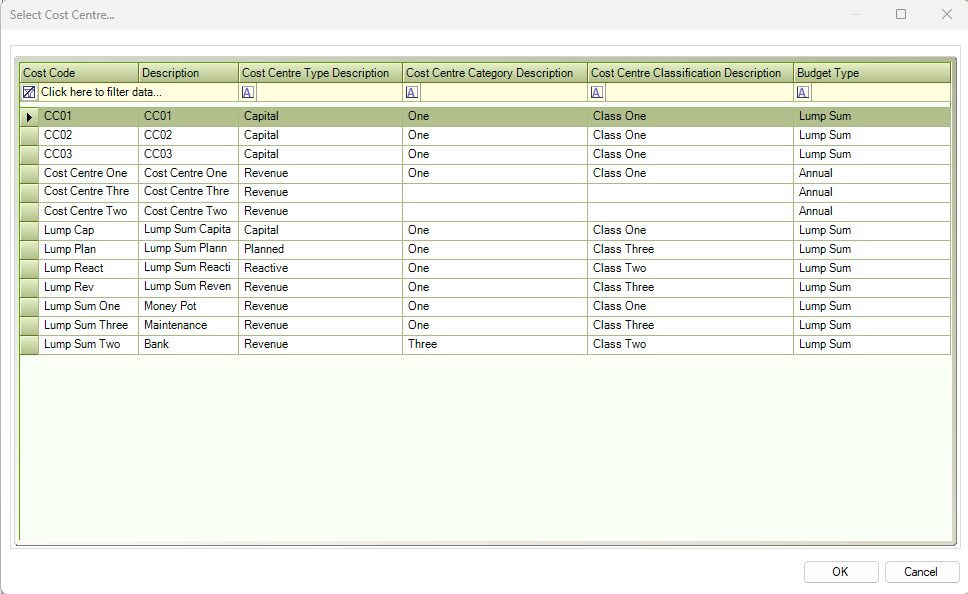
-
Select the relevant cost centre and then click OK.
-
Click the Save button to save the change.
To remove a cost centre:
-
Select the row or rows to be removed.
-
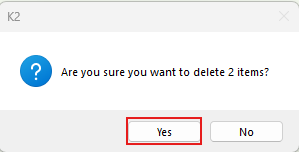
Click the Delete button.
-
Click Yes to confirm.
-
Click the Save button to save the change.