Incident
Incidents in K2 are used to record instances affecting properties or physical assets (for example: the collapse of a building due to a severe earthquake, accidents involving vehicles or a water pipe burst causing rooms to flood).
Select from the following for information on managing incident records:
The Incident Overview displays all incidents in a grid.

It can be accessed by navigating to Business Continuity > Incident > Incident Overview.
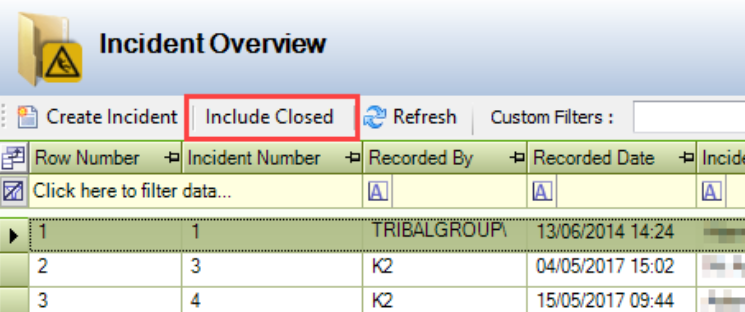
By default, only open incidents are displayed but clicking the Include Closed button displays all incidents.
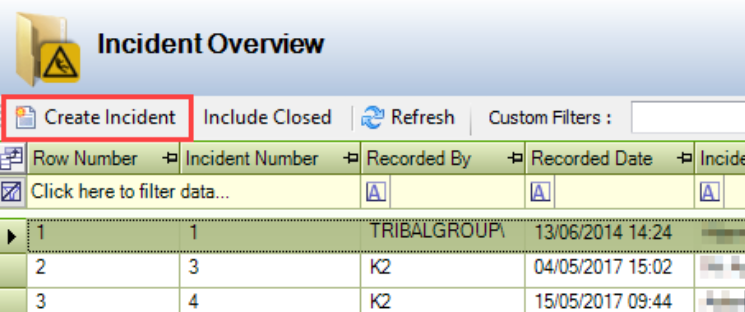
Double-click a record to open it, or click the Create Incident button to add a new record.
Refer to Adding or Editing an Incident for further information.
To add or edit an incident:
Navigate to Business Continuity > Incident > New Incident to create an incident record.
The Incident Editor screen is displayed.
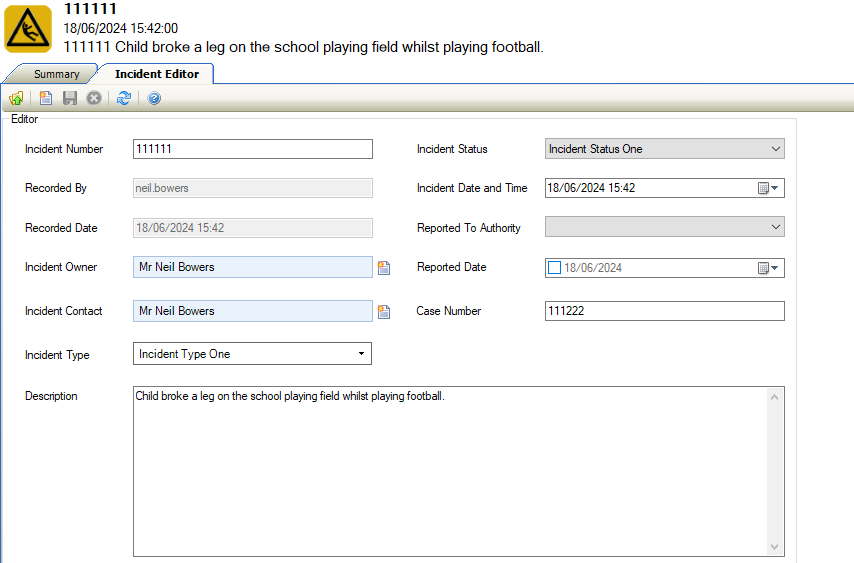
The fields on the Incident Editor are described in the following table:
This field… | Holds this information... |
|---|---|
Incident Number | The incident number. This may be populated automatically depending on the Incident Auto Unique Numbering system option (accessed by navigating to Tools > System Options and then clicking the System Options button). |
Recorded By | The user who recorded the incident. This is populated automatically with the logged-in user's username and cannot be edited. |
Recorded Date | The time the record was recorded. This is populated automatically and cannot be edited. |
Incident Owner | The person responsible for the incident.
|
Incident Contact | The contact for the incident.
|
Incident Type | The type of incident. These can be defined in Incident Type Reference Data (accessed by navigating to Business Continuity > Incident > Incident). |
Incident Status | The status of the incident (for example: open or closed). These can be defined in Incident Status Reference Data (accessed by navigating to Business Continuity > Incident > Incident). |
Incident Date and Time | The time and date that the incident occurred. |
Reported To Authority | The authority that the incident was reported to (for example: the police or the council). These can be defined in Authority Reference Data (accessed by navigating to Business Continuity > Incident > Incident). |
Reported Date | The date that the incident was reported to the authority. |
Case Number | The case number. |
Description | A description of the incident. |
Enter the required information.
Click on Save.
Navigate to Business Continuity > Incident > Incident Overview
The incident is displayed.

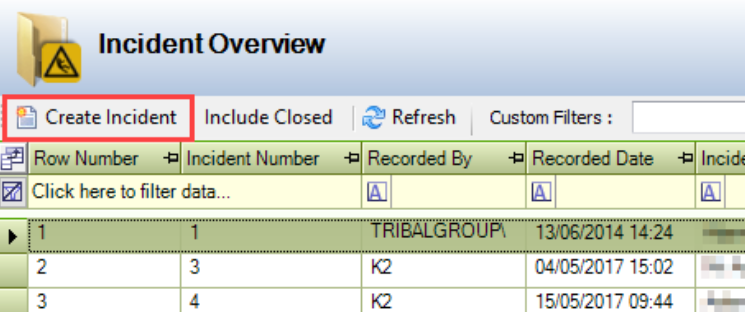
Click the Create Incident button on the Incident Overview screen.
The Incident Editor screen is displayed.

Enter the required information.
Click on Save,
The incident is displayed.

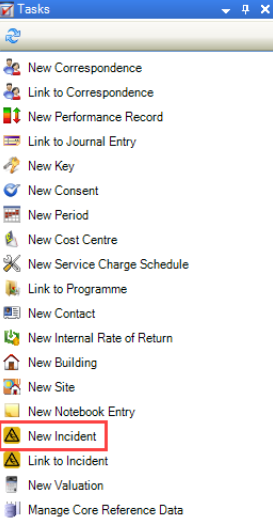
Click the New Incident option in the Tasks panel.
A new incident can be created from the following: Location, Contact, Project, Job, Asset, or Component Record to attach an incident to that record.
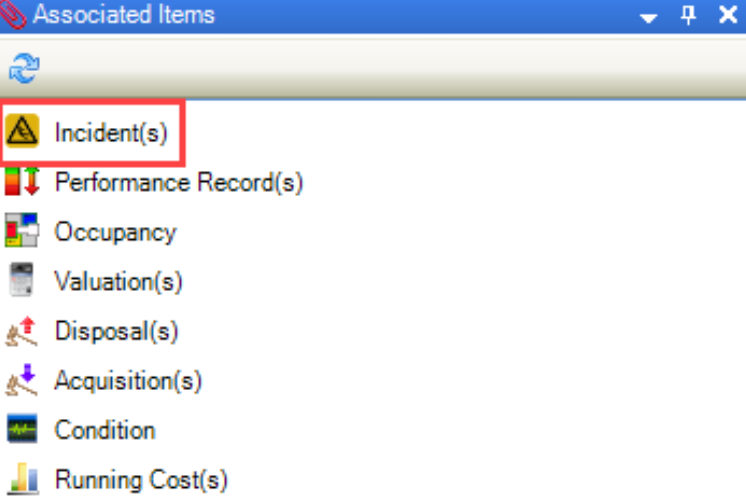
Click the Incident(s) option in the Associated Items panel from a location, contact, project, job, asset, or component record, and then double-click an existing record to edit it.
Search for an existing incident record
Check that the Incident Editor is displayed.
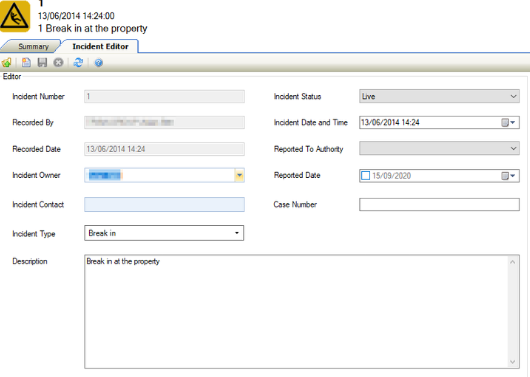
Enter or edit the relevant details.
Click on Save.
Other Tasks/Associated Items:
To link an incident to an asset or component:
Open the relevant incident record.
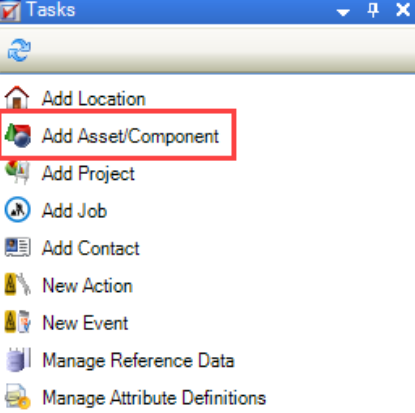
Click the Add Asset/Component option in the Tasks panel.
Check that the Asset Selector window is displayed.
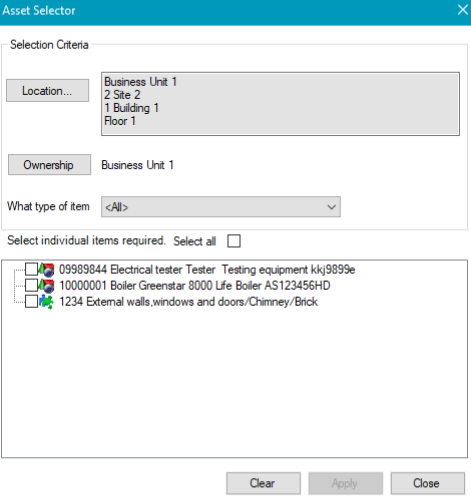
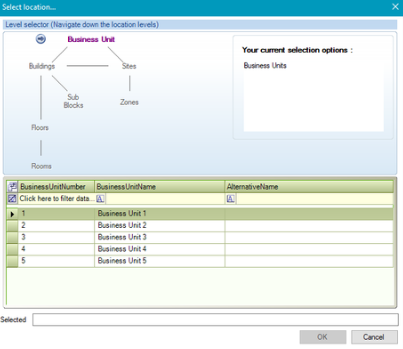
Click the Location button and use the Level selector to select the location of the asset system or asset.
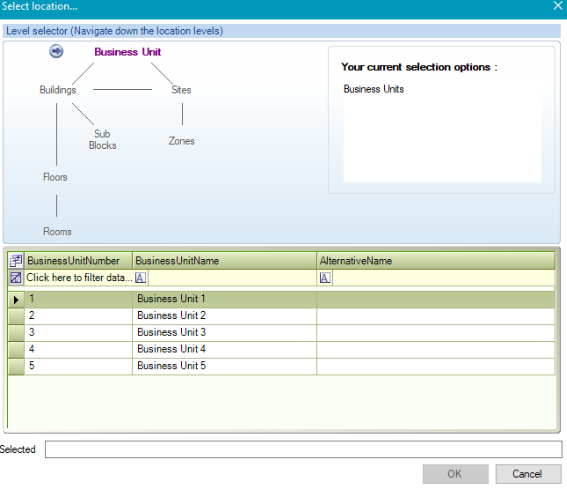
Alternatively, click the Ownership button and select the relevant business unit.
If required, select from the What type of item list if you want to filter the list of items by whether they are assets or components.
Select the relevant items, or click the Select All button to select all items.
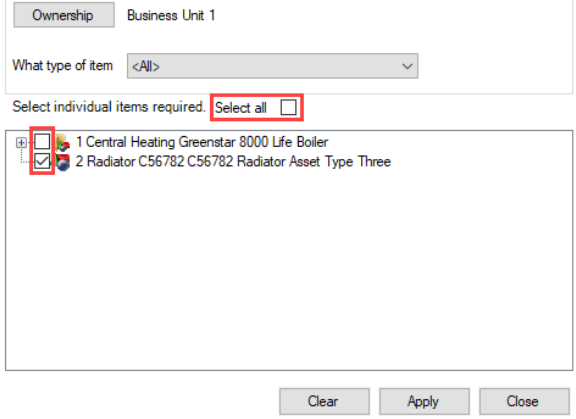
Click Apply and then Close.
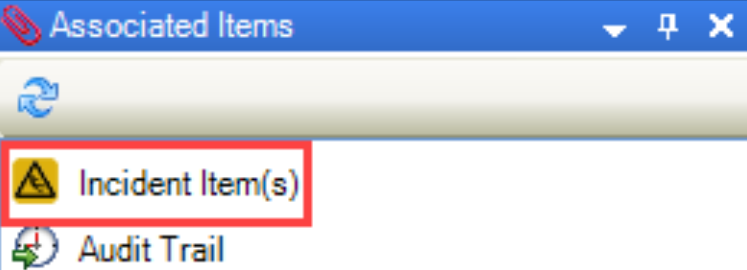
The record is then displayed in the Incident Item List. This can also be accessed by clicking the Incident Item(s) option in the Associated Items panel.
To link an incident to a contact:
Open the relevant incident record.
Click the Add Contact option in the Tasks panel.
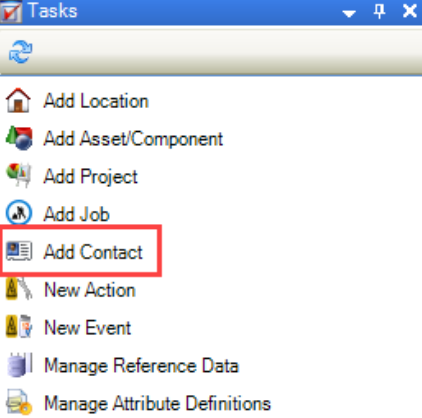
Check that the Select window is displayed.
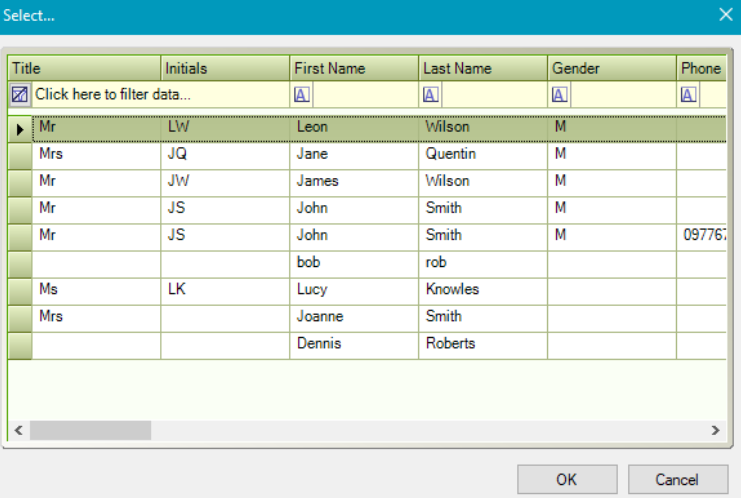
Select the relevant contact and then click OK.
The record is then displayed in the Incident Item List.

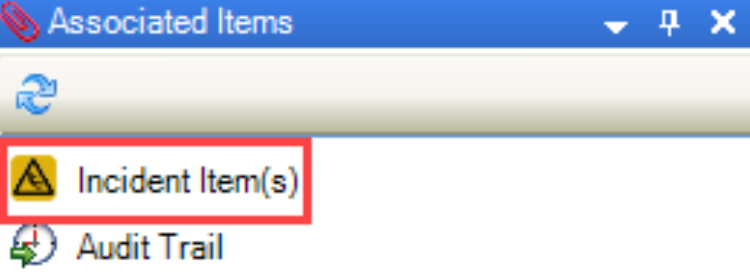
This can also be accessed by clicking the Incident Item(s) option in the Associated Items panel.
To link an incident to a location:
Open the relevant incident record.
Click the Add Location option in the Tasks panel.
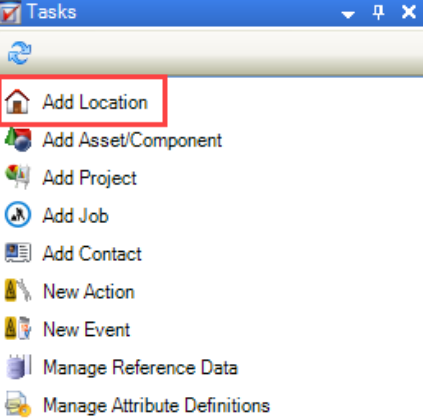
Check that the Select Location window is displayed.
Enter the relevant details.
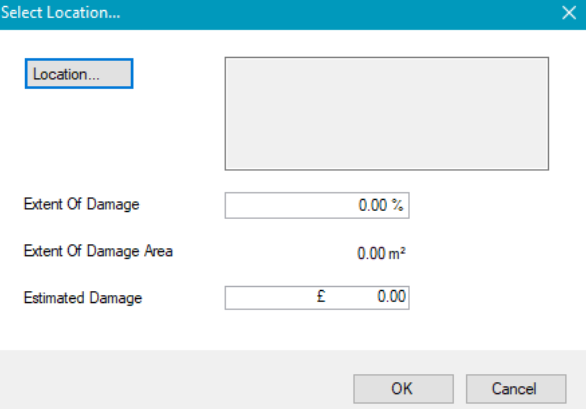
The fields on the Select Location window are described in the following table:
This field… | Holds this information... |
|---|---|
Location | The location of the incident.
 |
Extent Of Damage | The percent of the location that is damaged. |
Extent Of Damage Area | The damage area. This is calculated based on the Extent Of Damage and the location's area. |
Estimated Damage | The cost to repair the damage. |
Click OK.
The record is then displayed in the Incident Item List.
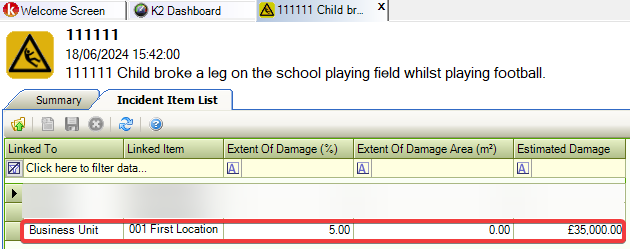
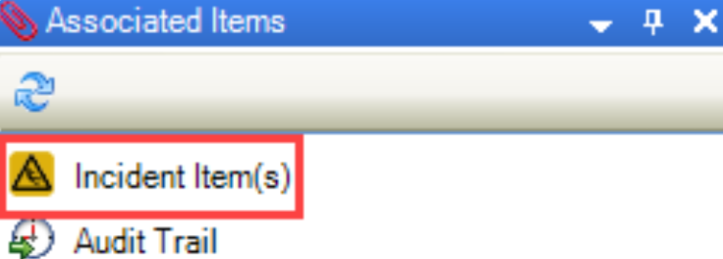
This can also be accessed by clicking the Incident Item(s) option in the Associated Items panel.
To link an incident to a job:
Open the relevant incident record.
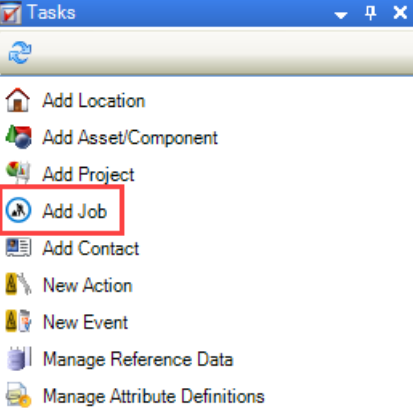
Click the Add Job option in the Tasks panel.
Check that the Select window is displayed.
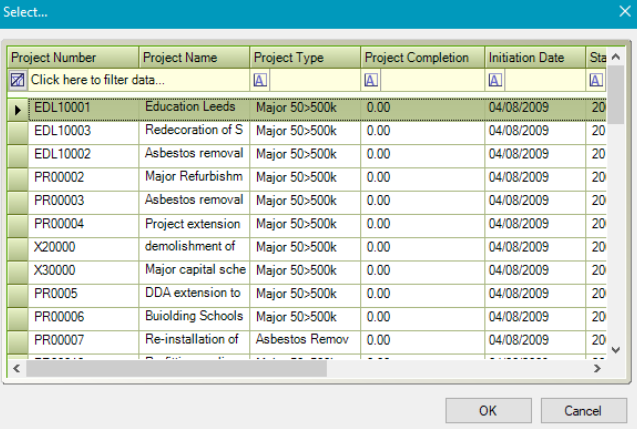
Select the relevant project and then click OK.
The record is then displayed in the Incident Item List.
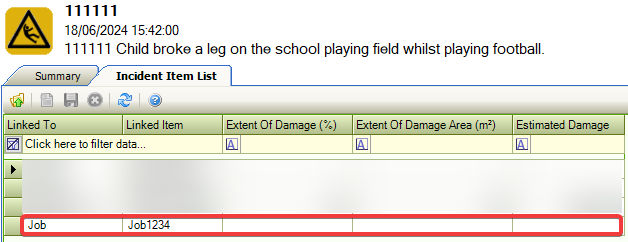
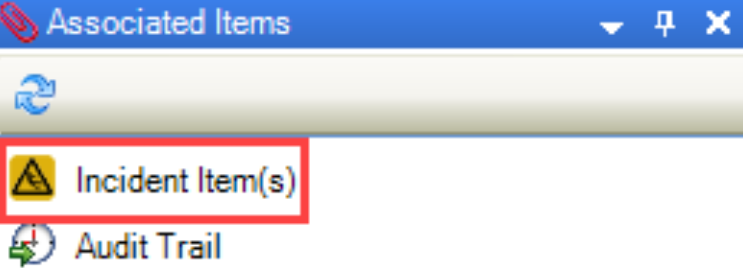
This can also be accessed by clicking the Incident Item(s) option in the Associated Items panel.
To link an incident to a project:
Open the relevant incident record.
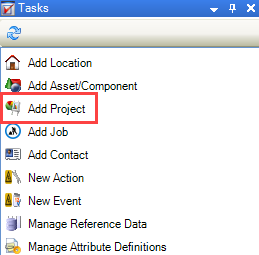
Click the Add Project option in the Tasks panel.
The Select window is displayed.
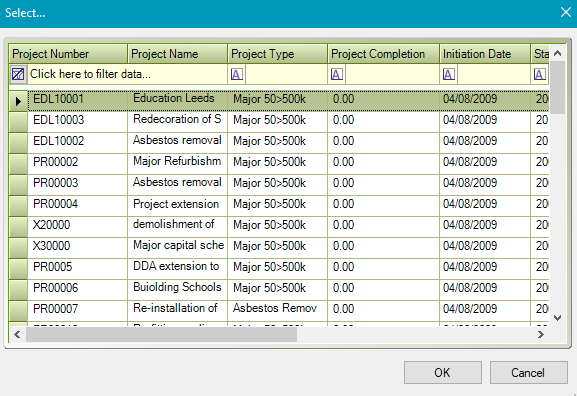
Select the relevant project and then click OK.
The record is then displayed in the Incident Item List.
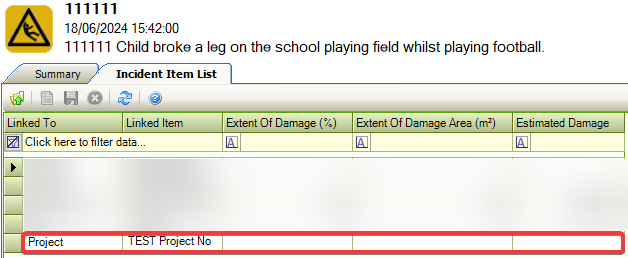
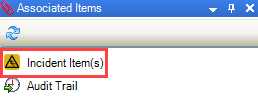
This can also be accessed by clicking the Incident Item(s) option in the Associated Items panel.
To record an action in response to an incident:
Open the relevant incident record.
Click the New Action option in the Tasks panel.
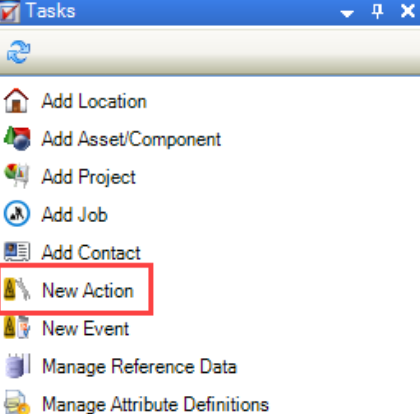
Check that the Action window is displayed.
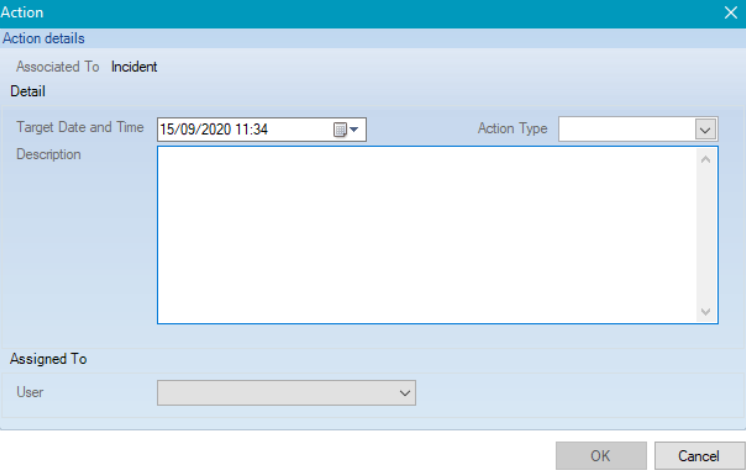
Enter the relevant details.
The fields on the Action window are described in the following table:
This field… | Holds this information... |
|---|---|
Target Date and Time | The date and time that the action should be completed by. |
Action Type | The type of action to be carried out. These can be defined in Action Type Reference Data (accessed by navigating to Functions > Core > Reference Data > Core). |
Description | A description of the action. |
User | The user that the action is assigned to. |
Click OK.
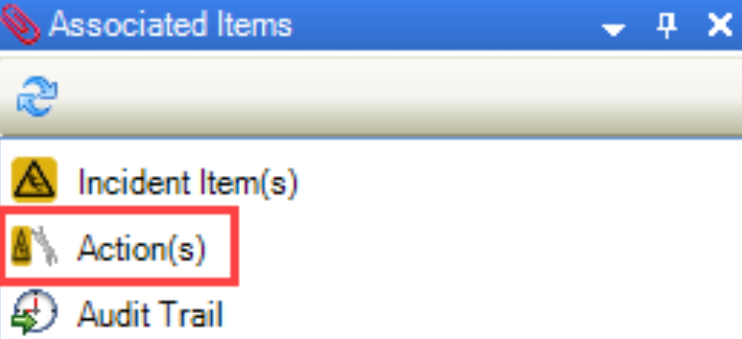
The record is then displayed in the Action List. This can also be accessed by clicking the Action(s) option in the Associated Items panel.
To record an incident event:
Open the relevant incident record.
Click the New Event option in the Tasks panel.
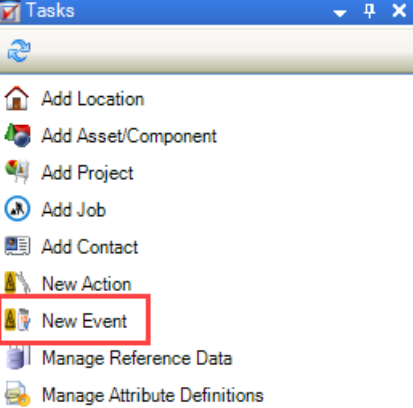
Check that the Event window is displayed.
Enter the relevant details.

The fields on the Event window are described in the following table:
This field… | Holds this information... |
|---|---|
When | The date of the event. |
Status | The status of the event. These can be defined in Incident Status Reference Data (accessed by navigating to Business Continuity > Incident > Incident). |
Event Type | The type of event. These can be defined in Incident Event Type reference data (accessed by navigating to Business Continuity > Incident > Incident). |
Description | A description of the event. |
Comment | Any comments on the event. |
Notify | Whether to send the user a notification of the event. Selecting this check box enables the remaining Notification fields, where you can select when to send the notification. |
Last edited by | The user who last edited the event. This cannot be edited. |
Click OK.
The record is then displayed in the Events List.

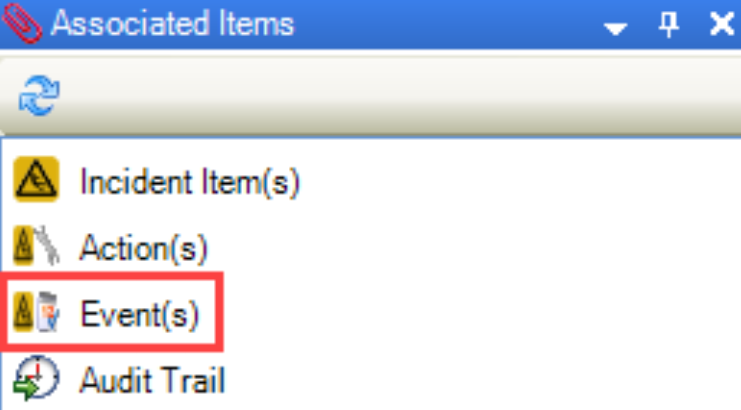
This can also be accessed by clicking the Event(s) option in the Associated Items panel.
Refer to Incident Reference Data for further information.
Refer to Using Attribute Manager for further information.
Related Topics
Click the links below to navigate to the following related topics:
