Key
The Key functionality allows you to manage key records and issue keys.
Select from the following to view information on managing keys:
To add or edit a key, do one of the following:
Navigate to Business Continuity > Key > New Key.
Click the New Key option in the Tasks panel of a location, asset or component record.
Click the Key(s) option in the Associated Items panel of a location, asset or component record, then double-click an existing record to open it.
Search for and open an existing key record.
Check that the Key Editor is displayed.
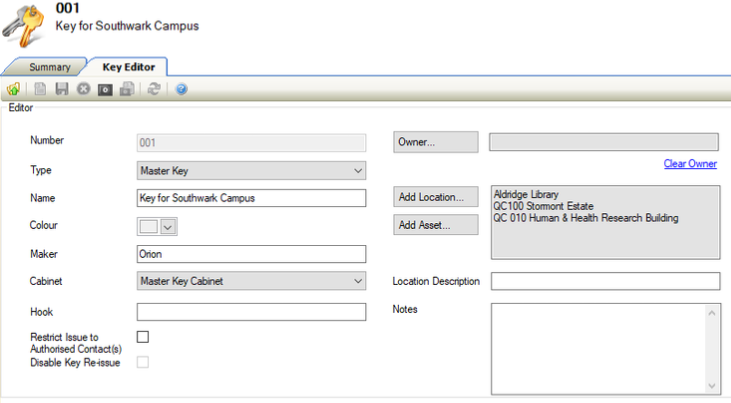
Enter or edit the relevant details.
The fields on the Key Editor are described in the following table:
This field… | Holds this information... |
|---|---|
Number | The number of the key. This may be populated automatically depending on the Key Auto Unique Numbering system option (accessed by navigating to Tools > System Options and then clicking the System Options button). |
Type | The type of key. These can be defined in Key Type Reference Data (accessed by navigating to Business Continuity > Key > Key). |
Name | The name of the key. |
Colour | The colour of the key. |
Maker | The manufacturer of the key. |
Cabinet | The cabinet that the key is kept in. These can be defined in Key Cabinet Reference Data (accessed by navigating to Business Continuity > Key > Key). |
Hook | The hook that the key is kept on. |
Restrict Issue to Authorised Contact(s) | Whether the key can only be issued to authorised contacts. |
Disable Key Re-issue | Whether the key can be re-issued. If selected, the key must be returned before being issued again. This is only enabled if the Restrict Issue to Authorised Contact(s) check box is selected. |
Owner | The business unit that owns the key. |
Add Location | The Business Unit\Unit that has been selected for the key location. |
Add Asset | The Asset that has been selected for the key location. |
Location Description | A description of the location of the key. |
Notes | Any notes on the key? |
Click Save.
To link authorised contacts to keys:
Search for and open the relevant key record.
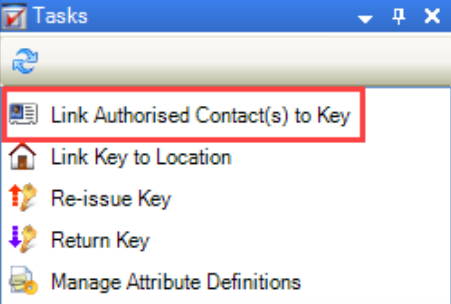
Click the Link Authorised Contact(s) to Key option in the Tasks panel.
Check that the Contact Picker is displayed.
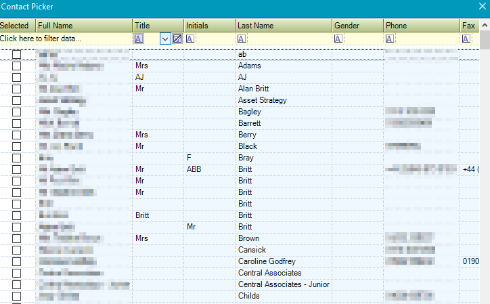
Select the contacts that you want to have authorisation for being issued the key.
Click OK.
To link keys to locations:
Search for and open the relevant key record.
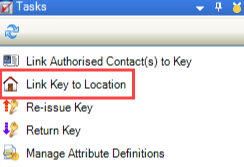
Click the Link Key to Location option in the Tasks panel.
Check that the Select location window is displayed.
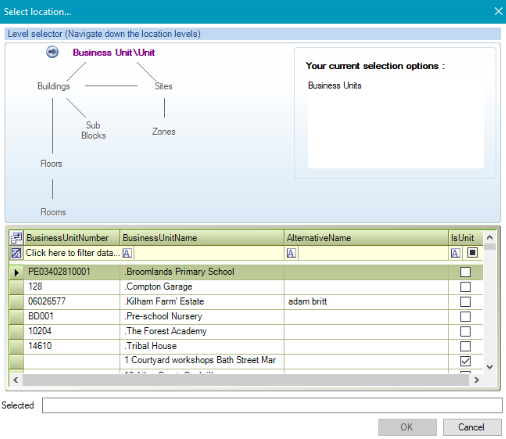
Select the location that the key is linked to.
Click OK.
Search for and open the relevant key record.
Click the Issue Key option in the Tasks panel.
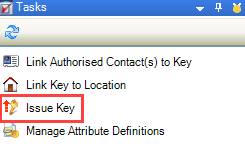
Check that the Issue Key window is displayed.
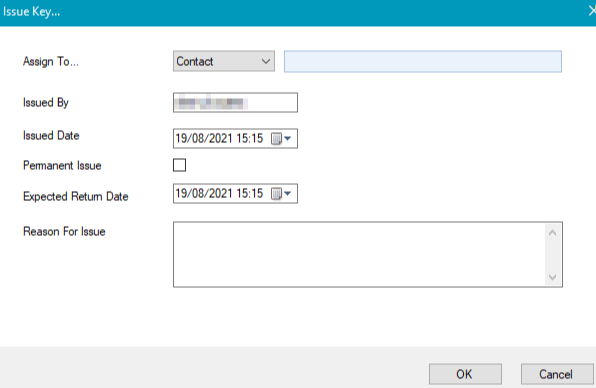
Enter the relevant details.
The fields on the Issue Key window are described in the following table:
This field… | Holds this information... |
|---|---|
Assign To | The person to assign the key to.
|
Issued By | The person issuing the key. This defaults to the currently logged-in user but can be edited. |
Issued Date | The date the key was issued. |
Permanent Issue | Whether the key has been permanently issued. |
Expected Return Date | The date that the key is expected to be returned. This is only enabled if the Permanent Issue check box is deselected. |
Reason For Issue | The reason why the key is being issued. |
Click OK
You can view the keys currently issued on the Keys In Issue Overview screen by navigating to Business Continuity > Key > Keys In Issue.

Any keys that are overdue to be returned are marked in the Expected Return Date column with the colour defined in the Background Colour For Past Return Time setting in System Options (accessed by navigating to Tools > System Options and then clicking the System Options button).
You can do the following from the Keys In Issue Overview screen:
Double-click a record to open the Key Editor
Link Authorise Contact(s) to a Key by selecting the relevant record and clicking the Link Authorised Contact(s) to Key option in the Tasks panel
Link a Key to a Location by selecting the relevant record and clicking the Link Key to Location option in the Tasks panel
Re-issue a Key by selecting the relevant record and clicking the Re-issue Key option in the Tasks panel
Return a Key by selecting the relevant record and clicking the Return Key option in the Tasks panel
Re-issuing a key extends the ‘Expected Return Time’ on the key issue record.
If the Disable Key Re-issue check box on the Key Editor is selected, the re-issue option is not available.
To re-issue a key to the person who has it checked out:
Search for and open the relevant key record.
Click the Re-issue Key option in the Tasks panel.
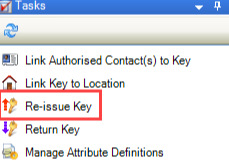
Check that the Re-issue Key window is displayed.
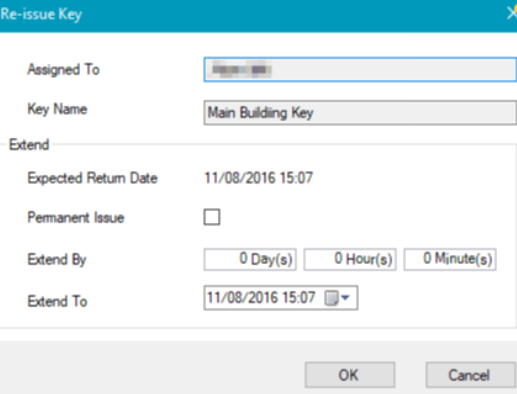
Enter the relevant details.
The fields on the Re-issue Key window are described in the following table:
This field… | Holds this information... |
|---|---|
Assign To | The person who currently has the key issued to them. This cannot be edited. |
Key Name | The name of the key. This cannot be edited. |
Expected Return Date | The current expected return date of the key. |
Permanent Issue | Whether you want to extend the key issuing permanently. |
Extend By | The number of days, hours and minutes that you want to extend the issue by. Editing these fields will update the Extend To field. |
Extend To | The date and time to extend the issue to. Editing this field will update the Extend By fields. |
Click OK.
To return a key:
Search for and open the relevant key record.
Click the Return Key option in the Tasks panel.
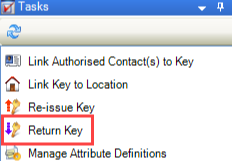
Check that the Return Key window is displayed.
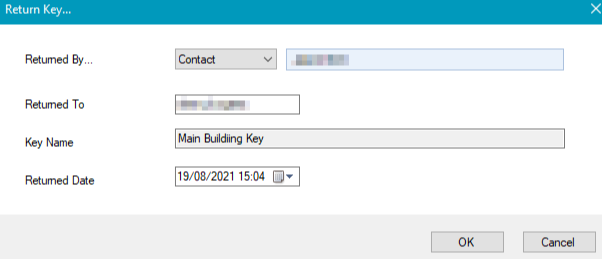
Enter the relevant details.
The fields on the Return Key window are described in the following table:
This field… | Holds this information... |
|---|---|
Returned By | The person who returned the key.
|
Returned To | The person to whom the key was returned to. This defaults to the currently logged-in user but can be edited. |
Key Name | The name of the key. This cannot be edited. |
Returned Date | The date and time that the key was returned. |
Click OK
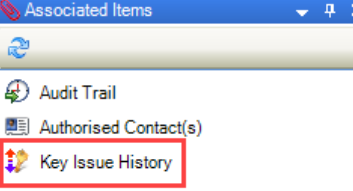
You can view the history of the key issues by clicking the Key Issue History option in the Associated Items panel of a key record.
Refer to Adding or Editing a Service Request and Key Request Type for further information.
Refer to Using Attribute Manager for further information.
Related Topics
Click the links below to navigate to the following related topics:
