
The Acquisition module allows the details of how a deed has been acquired to be recorded.
Select from the following for information on managing acquisition records:
Adding or Editing an Acquisition
To add or edit an acquisition:
Do one of the following:
-
Navigate to Estates > Acquisition > New Acquisition.
-
Search for an existing acquisition record.
-
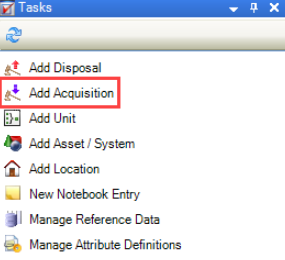
Click the Add Acquisition option in the Tasks panel of a Deed Record.
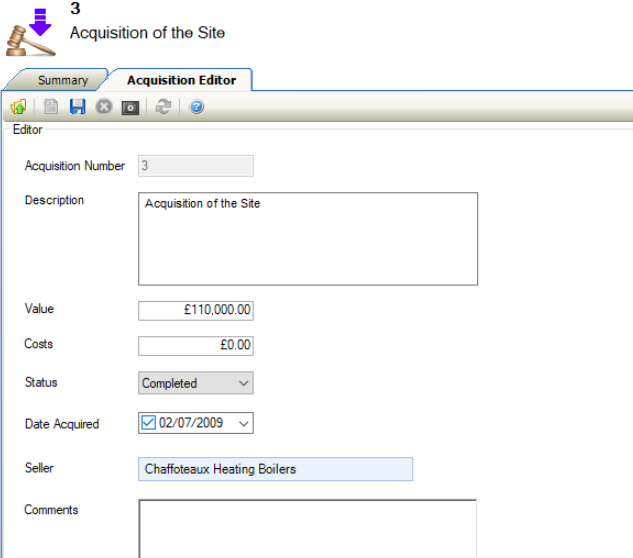
The Acquisition Editor is displayed.
-
Enter or edit the relevant details.
The fields on the Acquisition Editor are described in the following table:
|
This field… |
Holds this information... |
|---|---|
|
Acquisition Number |
The acquisition number. This is populated automatically if the Acquisition Record Auto Unique Number system setting (accessed by navigating to Tools > System Options and then clicking the System Options button) is set to 'True'. |
|
Description |
A description of the acquisition. |
|
Value |
The overall value of the acquisition. |
|
Costs |
Any costs incurred from the acquisition (for example: legal fees). |
|
Status |
The status of the acquisition. These can be defined in Acquisition Status Reference Data (accessed by navigating to Estates > Acquisition > Acquisition). |
|
Date Acquired |
The date the acquisition was acquired. |
|
Seller |
The name of the seller (agency). Refer to Adding or Editing an Agency for further information. |
|
Comments |
Any comments on the acquisition. |
-
Click Save.
Archiving an Acquisition
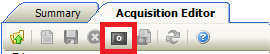
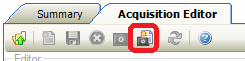
To Archive an Acquisition, click on the Archive button in the toolbar.
A prompt will then appear to confirm that the record is fine to Archive.
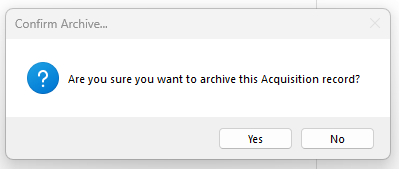
When pressing Yes, the record will be archived and locked down. This prevents any new Tasks to be created against the record, other than New Notebook Entry.
Reinstating an Acquisition
To Reinstate an archived Acquisition in K2, click the Reinstate button in the toolbar.
A prompt will then appear to confirm that the record is fine to Reinstate.
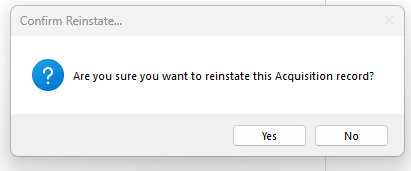
When pressing Yes, the record becomes enabled and allows for the creation of all Tasks.
Other Tasks/Associated Items
Adding or Editing Acquisition Events
To add or edit an event:
-
Search for and open the relevant acquisition record.
-
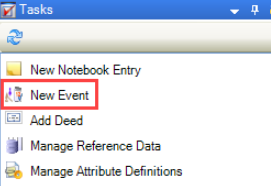
Select the New Event option in the Tasks panel.
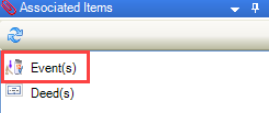
Alternatively, select the Event(s) option from the Associated Items panel, and then double-click an existing record.
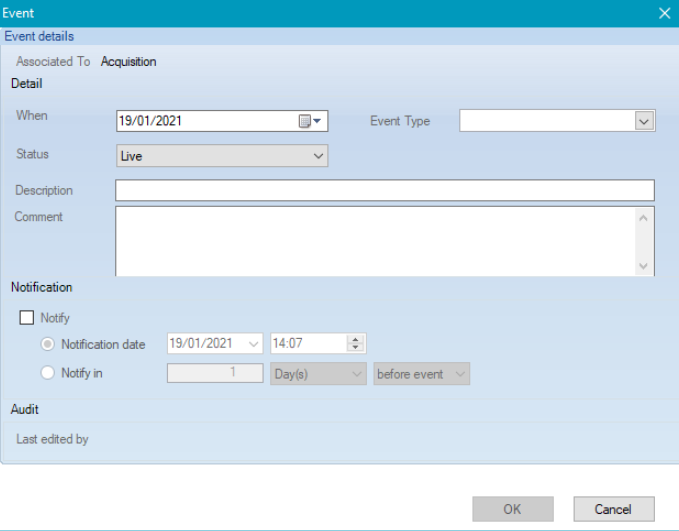
The Event window is displayed.
-
Enter or edit the relevant details.
The fields on the Event window are described in the following table:
|
This field… |
Holds this information... |
|---|---|
|
Associated To |
The record type that the event is linked to. This defaults to Acquisition and cannot be edited. |
|
When |
The date of the event. |
|
Status |
The event status (for example: Live). |
|
Event Type |
The event type. These can be defined in Acquisition Event Type Reference Data (accessed by navigating to Estates > Acquisition > Acquisition). |
|
Description |
A description of the event. |
|
Comment |
Further information on the event. |
|
Notify |
Whether to create a notification message. If selected, do one of the following:
|
|
Last edited by |
The user who last updated the event details. |
-
Click OK.
Deleting Acquisition Events
To delete an event from an acquisition:
-
Search for and open the relevant acquisition record.
-
Select the event record to be deleted.

-
Click on the delete icon.
Only users with Full access to Acquisition or the System Administrator role can delete an event.
-
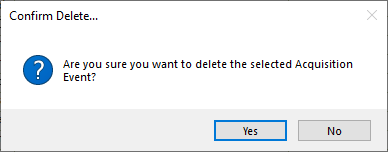
The following message is displayed.
-
Click Yes and the event will be deleted.
When deleted, this action will be captured in the Audit Trail and the event will be removed from the Calendar.
Adding a Deed to an Acquisition
To add a deed to an acquisition:
-
Search for and open the relevant acquisition record.
-
Click the Add Deed option in the Tasks panel.
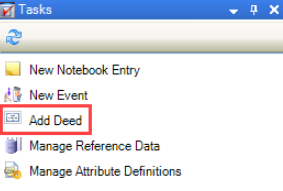
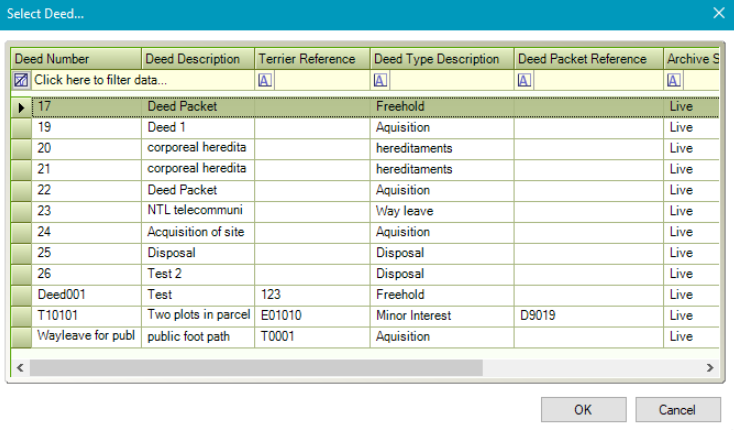
The Select Deed window is displayed.
-
Select the relevant deed and then click OK.
The Deed List is displayed with the new deed included.
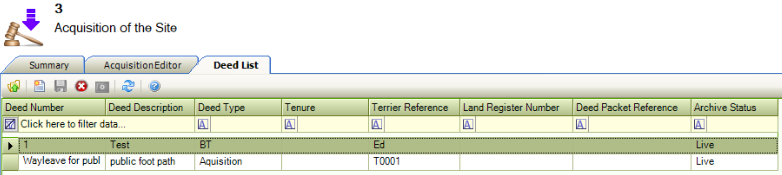
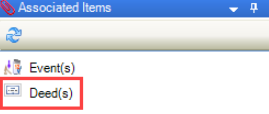
This screen can also be accessed by clicking the Deed(s) option in the Associated Items panel.
You can use this screen to remove deed records by selecting the relevant record and then clicking the Delete button.

Related Topics
Click the links below to navigate to the following related topics: