
The Journal Entry Editor allows you to add a new journal entry or edit an existing one.
Adding New Journal Entry
The Journal Entry Editor allows you to add a new journal entry or edit an existing one.
To create a new Journal Entry:
-
Navigate to Finance > Journal > New Journal Entry.
Alternatively, search for and open the relevant Journal Entry Editor.
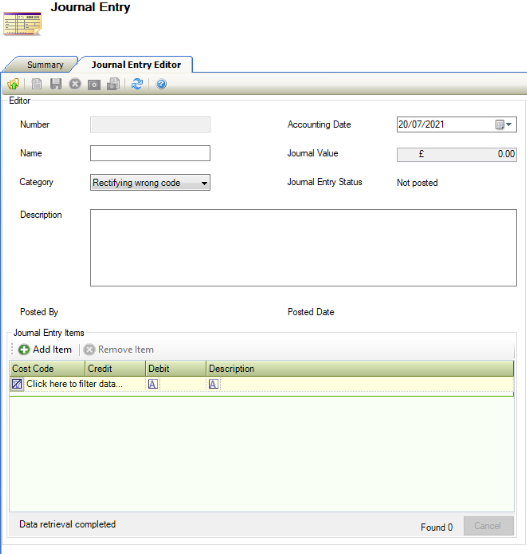
The Journal Entry Editor is displayed.
-
Enter details of the journal entry.
The fields on the Journal Entry Editor tab are described in the following table:
|
This Field… |
Holds This Information |
|---|---|
|
Number |
The unique journal entry number. |
|
Name |
The individual associated with the journal entry. |
|
Category |
The journal category. These can be defined in Category Reference Data (accessed by navigating to Finance > Journal > Journal ). |
|
Description |
The description of the journal entry. |
|
Posted By |
The individual posting the journal entry. |
|
Accounting Date |
The accounting date. |
|
Journal Value |
The journal value. |
|
Journal Entry Status |
The journal entry status. |
|
Posted Date |
The date that the journal entry was posted. |
|
Journal Entry Items |
Items associated with the journal entry. |
-
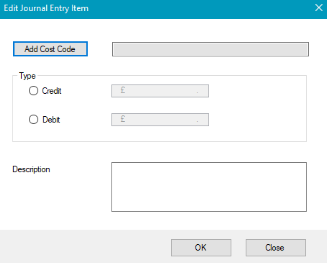
Click Add Item to add an item to the journal entry.
The Edit Journal Entry Item window is displayed.
-
Enter details of the journal entry item.
The fields on the Edit Journal Entry Item window are described in the following table:
|
This Field… |
Holds This Information |
|---|---|
|
Edit Cost Code |
The cost code associated with the journal entry. This field is mandatory. |
|
Credit |
The journal entry credit amount. This field is mandatory. |
|
Debt |
The journal entry debit amount. This field is mandatory. |
|
Description |
The description of the journal entry. This field is mandatory. |
-
Click Add Cost Code to apply a cost code to the journal entry item.
The Cost Code Editor window is displayed
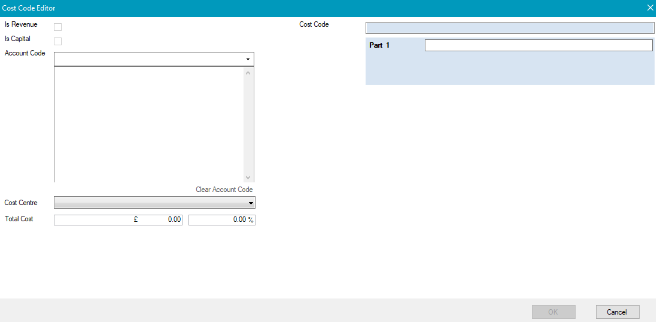
The fields on the Cost Centre Editor window are described in the following table:
|
This Field… |
Holds This Information… |
|---|---|
|
Is Revenue |
Whether the cost is related to revenue. |
|
Account Code |
The account code. |
|
Cost Centre |
The cost centre. These can be defined in Core Reference Data (accessed by navigating to Functions > Core > Reference Data > Core). |
|
Total Cost |
The total cost |
|
Cost Code |
The cost code |
-
Click OK.
-
Click Save.
Other Tasks/Associated Items:
Post Journal
A Posted Journal represents a record that is ready to be stored as a financial entry in the ledger. This action will work similar to authorisation, where the record is locked down and cannot be further updated. To Post a Journal entry:
-
Search for an existing journal entry.
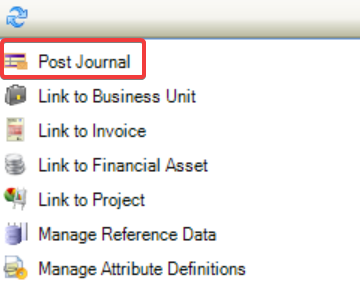
You cannot post a journal that has been created by the same person. Post Journal will appear inactive within the Tasks menu.
-
Click on Post Journal.
The following message is displayed.
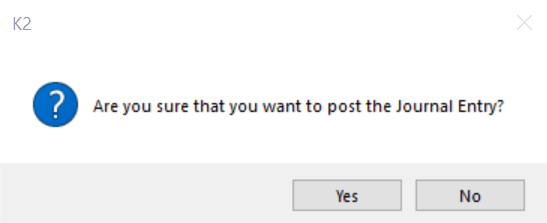
-
Click on Yes.
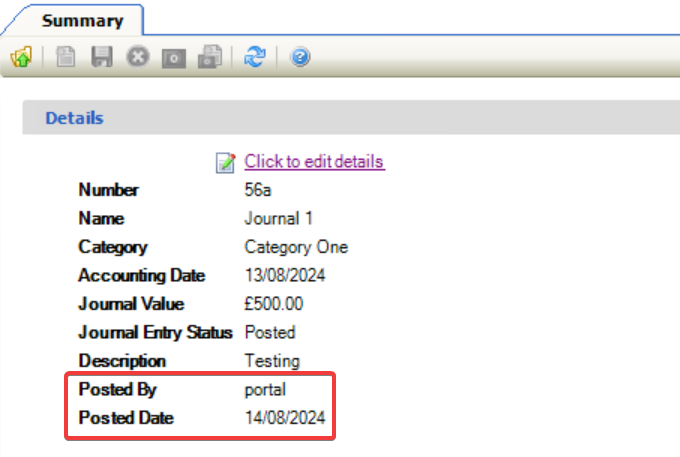
The status of the journal has changed to Posted.

The details display the Posted By and Posted Date on the Summary tab.
-
Click on Click to Edit Details.
The journal has been posted and cannot be edited.
Linking a Journal to a Business Unit
To link a Journal to a Business Unit:
-
Open the relevant Journal record.
-
Click the Link to Business Unit option in the Tasks panel.
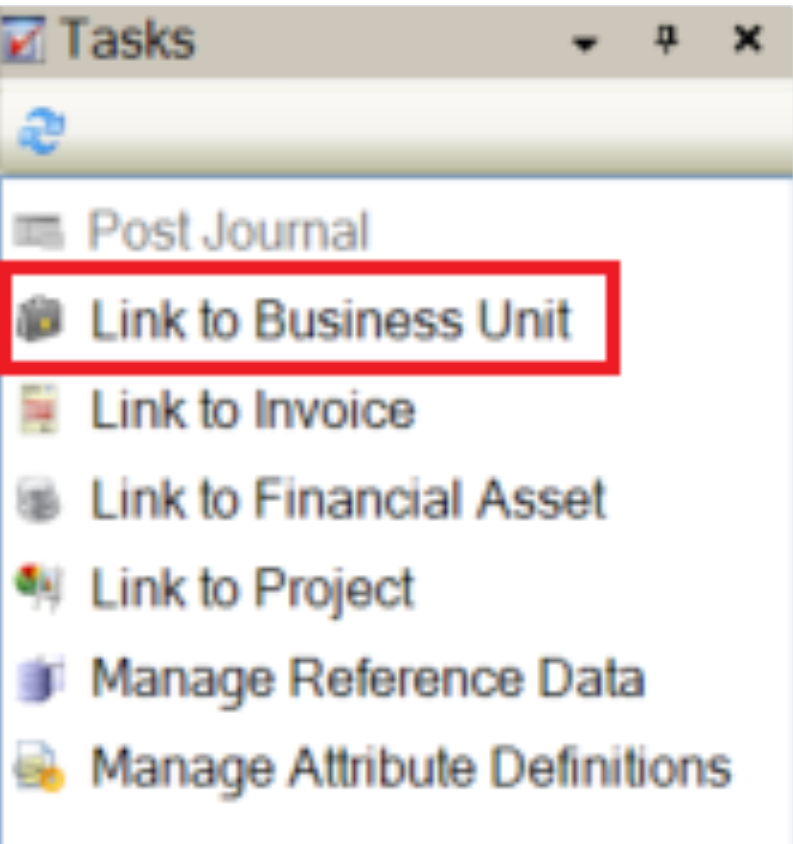
The Select Business Unit to Add window is displayed.
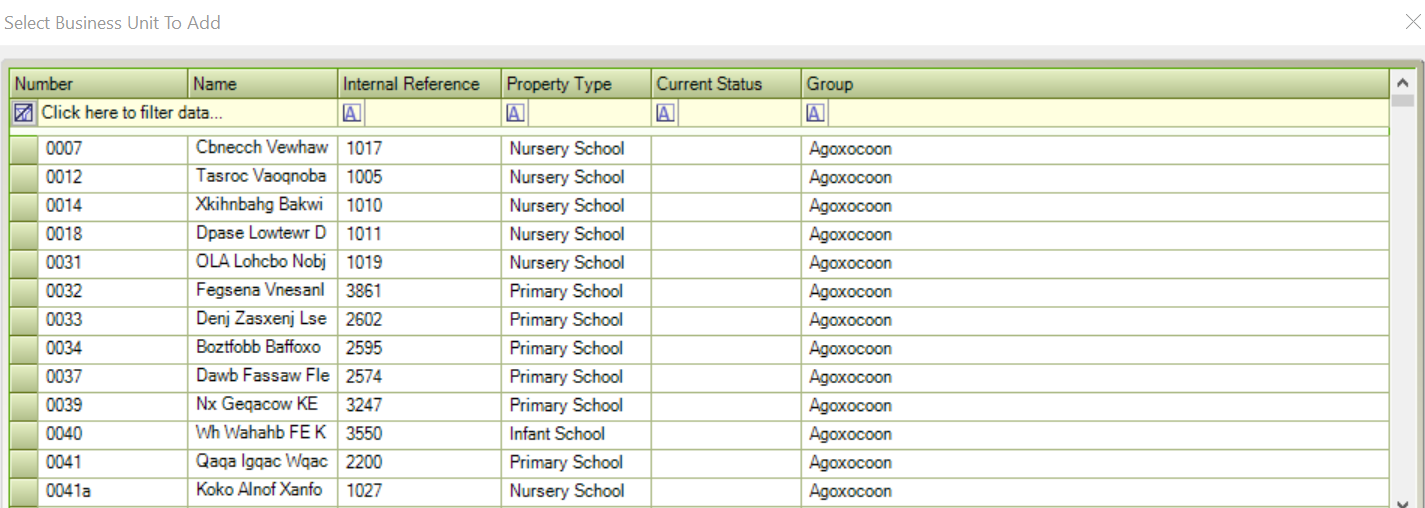
-
Select the relevant Business Unit and then click OK.
Linking a Journal to an Invoice
To link a Journal to an Invoice:
-
Open the relevant Journal record.
-
Click the Link to Invoice option in the Tasks panel.
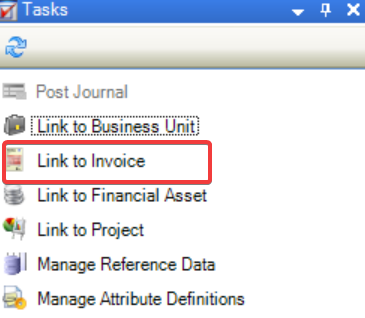
The Select Invoice to Add window is displayed.
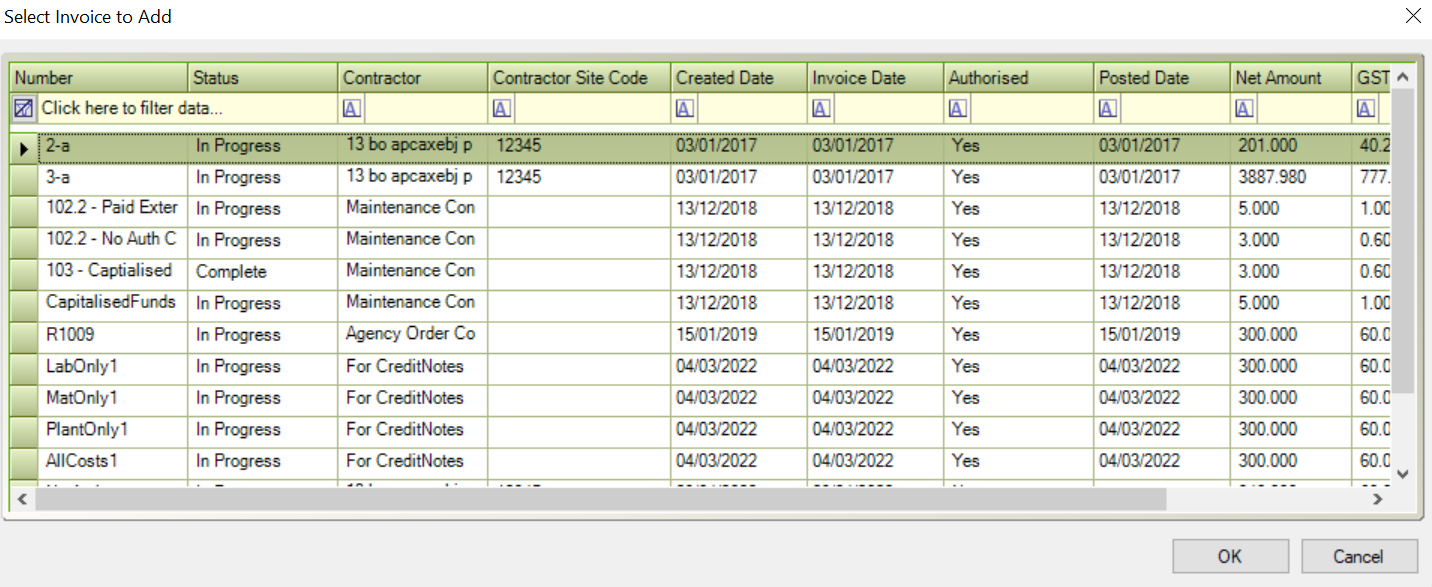
-
Select the relevant Invoice and then click OK.
Linking a Journal to a Financial Asset
To link a Journal to a Financial Asset:
-
Open the relevant Journal record.
-
Click the Link to Financial Asset option in the Tasks panel.
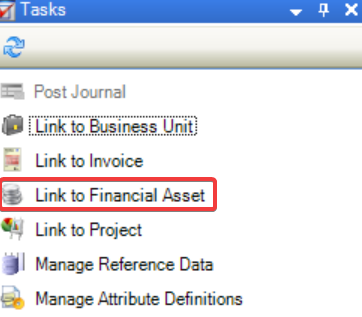
The Select Financial Asset to Add window is displayed.
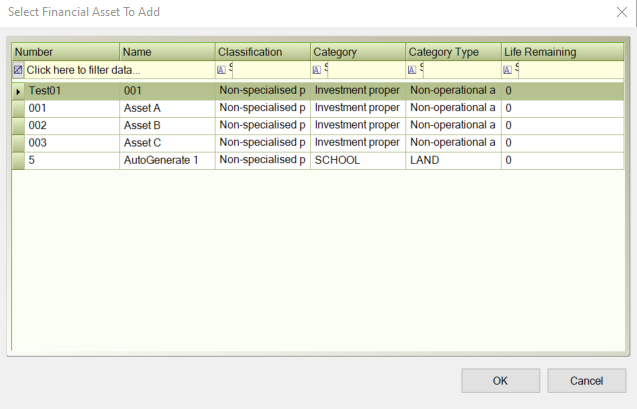
-
Select the relevant Financial Asset and then click OK.
Linking a Journal to a Project
To link a Journal to a Project:
-
Open the relevant Journal record.
-
Click the Link to Project option in the Tasks panel.
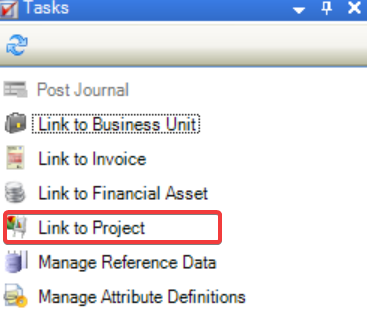
The Select Project to Add window is displayed.

-
Select the relevant Project and then click OK.