Managing Business Units
A business unit is the overall function and purpose of a business or organisation (for example a school). It consists of both physical and logical elements. An organisational hierarchy defines departments and divisions. These different departments may be separated by physical location, in different buildings or areas.
Use K2 to:
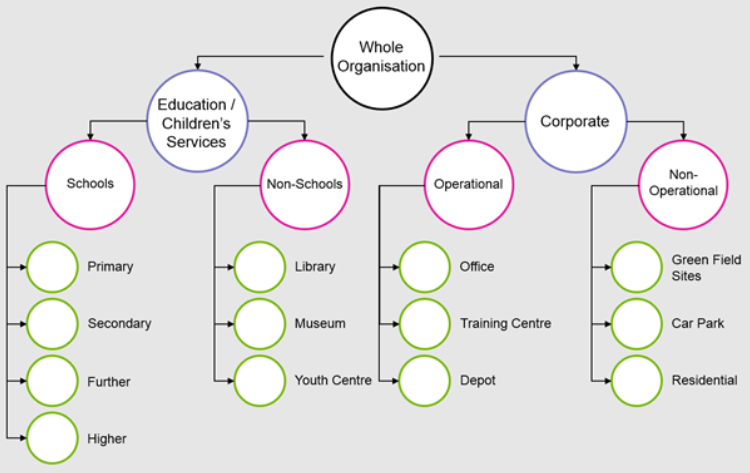
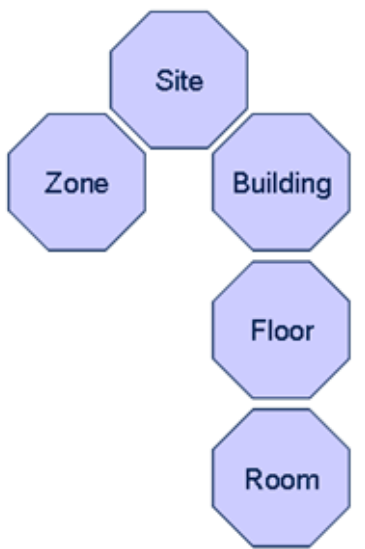
Business units can be broken down further into the following hierarchy of physical structures.
To add or edit a business unit:
Do one of the following:
Navigate to Organisation > Business Units > New Business Unit to add a business unit.
Select an existing business unit in the Navigator panel, and then click the Click to edit details button on the Summary tab.

Search for and open the relevant existing business unit, and then click the Click to edit details button on the Summary tab.
The Business Unit Editor is displayed.
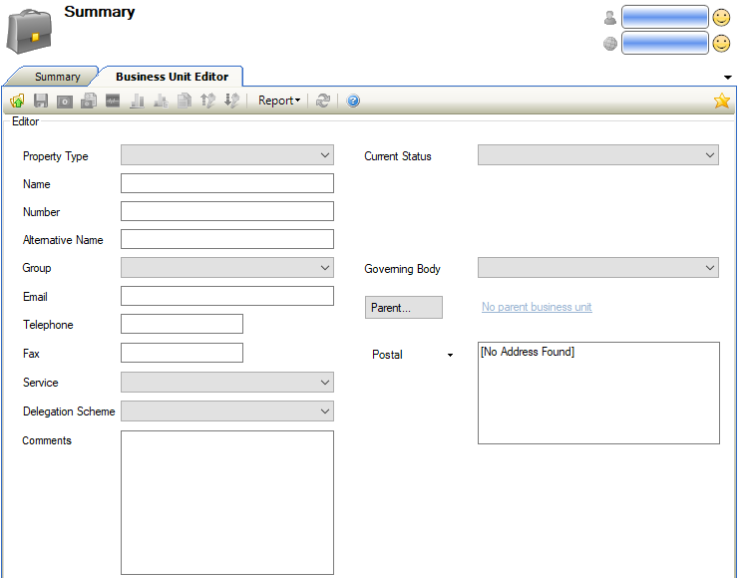
Enter or edit the relevant details.
The fields on the Business Unit Editor are described in the following table:
This field… | Holds this information... |
|---|---|
Property Type | The type of property. These can be defined in the Container Type Reference Data (accessed by navigating to Functions > Core > Reference Data > Business Units or Organisation > Business Unit > Business Unit). |
Name | The name of the business unit. |
Number | A unique number for the business unit. |
Alternative Name | An alternative name for the business unit. |
Group | The group to which the business unit belongs. These can be defined in the Groups Reference Data (accessed by navigating to Functions > Core > Reference Data > Business Units or Organisation > Business Unit > Business Unit). |
The email address of the business unit. | |
Telephone | The telephone number of the business unit. |
Fax | The fax number of the business unit. |
Service | The service provided by the business unit. These can be defined in the Service Reference Data (accessed by navigating to Functions > Core > Reference Data > Business Units or Organisation > Business Unit > Business Unit). |
Delegation Scheme | The delegation scheme of the business unit (that is: the authority delegated to a school by the location authority). Note: These can be defined in the Delegation Scheme Reference Data (accessed by navigating to Functions > Core > Reference Data > Business Units or Organisation > Business Unit > Business Unit). |
Comments | Any comments about the business unit. |
Current Status | The status of the business unit. These can be defined in the Current Status Reference Data (accessed by navigating to Functions > Core > Reference Data > Business Units or Organisation > Business Unit > Business Unit). |
Governing Body | The governing body that directs the business unit. These can be defined in the School Governing Body Reference Data (accessed by navigating to Functions > Core > Reference Data > Business Units or Organisation > Business Unit > Business Unit). |
Parent | The business unit's parent. Clicking the Parent button displays the Select Business Unit window, where you can select the parent. |
Invoice/Postal/Trade |
Double-clicking in the field displays the Edit Address Details window, where you can edit the details for the address type. |
Click Save.
New business units are then displayed in the Navigator panel.
Select a business unit in the Navigator to display the Summary screen.
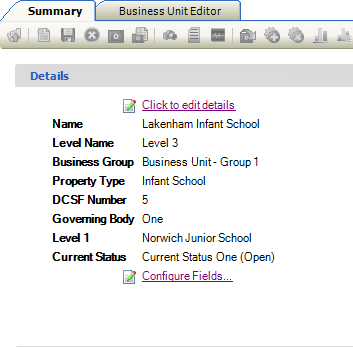
The Summary screen consists of the following sections:
Details - displays a selection of details of the business unit. You can specify which fields to view and the order in which they appear by clicking the Configure Fields button.
Nutrigraph - displays a graphical indication of the state of a Business Unit in terms of audits.
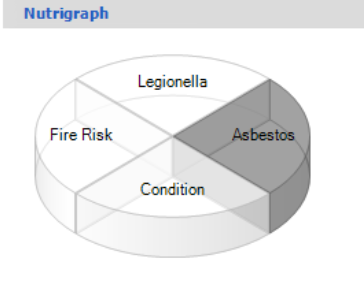
Each segment of the Nutrigraph represents the state of the titled section about the displayed summary (for example: a red Asbestos segment and a green Condition segment on a building summary indicate that there are outstanding issues with some related asbestos component records, but the condition of the building is generally good).
The colours and ranges shown are brought through from the reference information for the appropriate records. Asbestos colouring, for example, is based on the settings stored in Risk Formulae in the Asbestos reference data.
Clicking on any of the coloured Nutrigraph segments displays a grid. This grid shows a breakdown of the segment records. Double-clicking on any of the rows in the grid populates the Search Results panel with the related documents and allows navigation to individual records.
Business Unit Measurements - displays various measurements of the business unit.
Refer to Using Attribute Manager for further information.
Refer to Business Units Reference Data for further information.
Associated Items/Tasks
Refer to Adding or Editing a Permanent Building for further information.
Refer to Adding or Editing a Consent Record for further information.
Refer to Adding or Editing a Contact for further information.
Refer to Correspondence for further information.
To add a cost centre to a business unit:
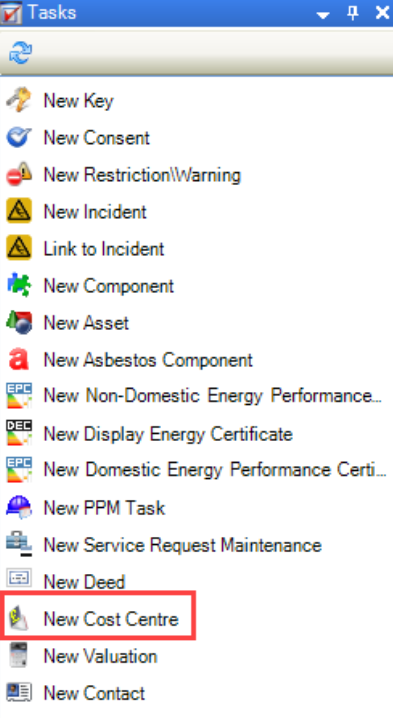
Click the New Cost Centre option in the Tasks panel.
The Select Cost Centre window is displayed.
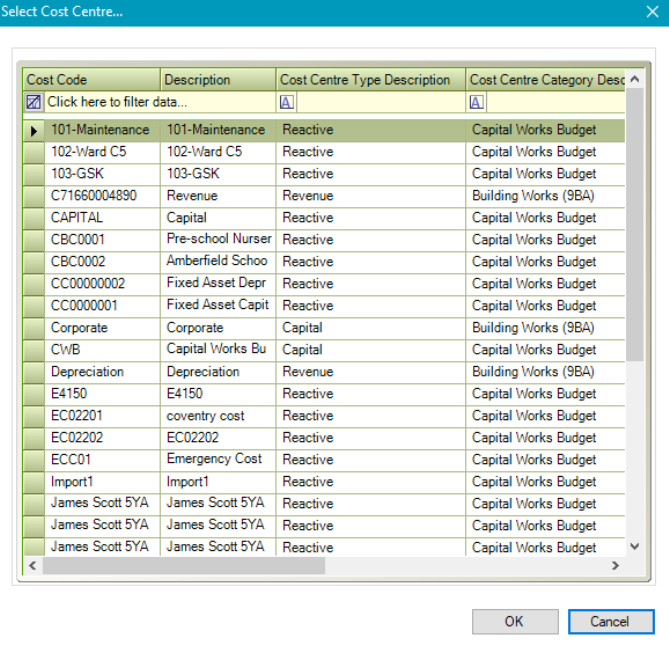
Select the relevant cost centre and then click OK.

The Archive Status column can be filtered on Live and Archived.
Refer to Adding or Editing a Deed for further information.
Refer to Adding or Editing an Incident for further information.
Refer to Managing Notes for further information.
To add or edit a performance record:
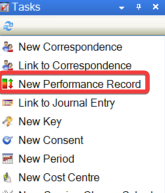
Select New Performance Record from the Task Panel.
Select an Assessment Date.

Enter Performance Indicator Score or Text against each Performance Category.
Click Save.
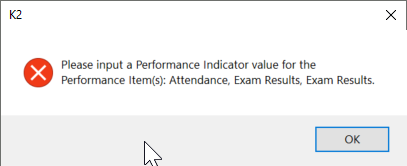
A warning will appear if performance scores or text hasn’t been completed against a category.
After saving, Performance Record(s) will appear in Associated Items panel.
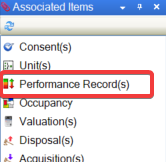
Click Performance Record(s).

Performance Record List will display all records against the business unit.
The Audit Trail will only log updates to Performance Records. Entries are identified by Performance Item and Category.
Refer to Adding or Editing Pupil On Roll Records for further information.
You can use K2 to manage charges for recurring services (for example bin collection).
To add or edit a service charge schedule:
Search for and open the relevant business unit.
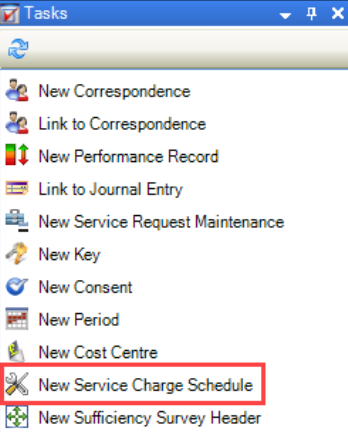
Click the New Service Charge Schedule option in the Tasks panel.
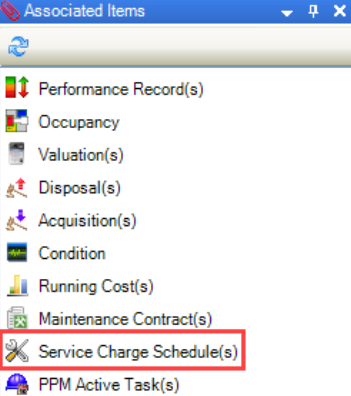
Alternatively, click the Service Charge Schedule(s) option in the Associated Items panel and then double-click an existing record to edit it.
The Service Charge Schedule window is displayed.
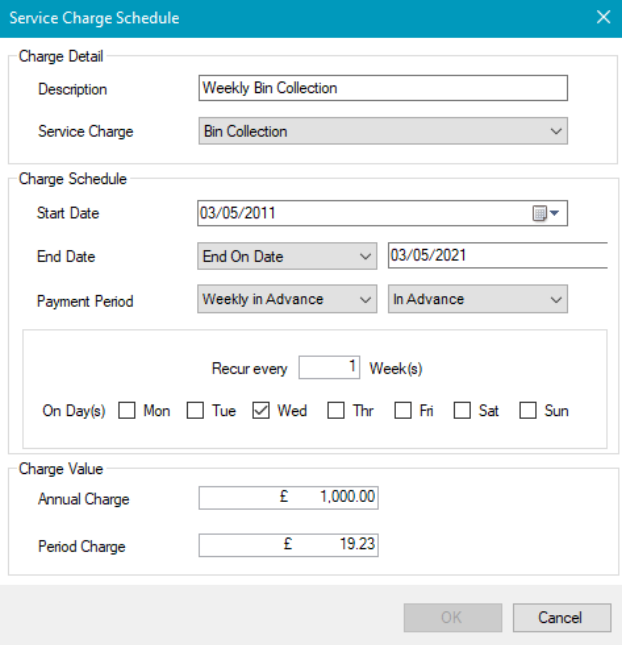
Enter or edit the relevant details.
The fields on the Service Charge Schedule window are described in the following table:
This field… | Holds this information... |
|---|---|
Description | A description of the charge. |
Service Charge | The category of service charge. These can be defined in Service Charge Reference Data (accessed by navigating to Functions > Core > Reference Data > Core). |
Start Date | The date the recurring charge started. |
End Date | The date the recurring charge ended or will end. |
Payment Period | The time and frequency of the payment.
|
Annual Charge | The total annual charge. Editing this field amends the Period Charge field automatically. |
Period Charge | The charge per period (that is: the Annual Charge divided by the number of time periods in a year, as selected in the first Payment Period drop-down). For example: if the 'Weekly in Advance' option is selected, then the Period Charge is the Annual Charge divided by 52. Editing this field amends the Annual Charge field automatically. |
Click OK.
Refer to Adding or Editing a Service Request for further information.
Refer to Adding or Editing a Site for further information.
Refer to Adding or Editing a Sufficiency Header for further information.
Refer to Adding or Editing a Suitability Record for further information.
Refer to Adding or Editing a Standard Valuation for further information.
Related Topics
Click the links below to navigate to the following related topics:
